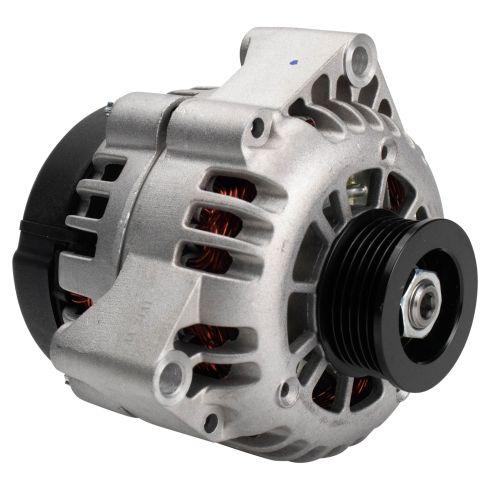
Drive End To Pulley 1st Groove Distance: 40 mm 1.57 in
Rotation Direction: Clockwise (Right)
Pulley Groove Quantity: 6
Brushless: No
Specification
VIN Code
8th Vin Digit R
Engine Displacement (Metric)
V8 5.7L
Product Features
Engineered to match exact vehicle specifications
Upgraded Service Life: Pressure-Fit High-Capacity Diodes for improved heat dissipation
Improved Reliability: Double insulated rotors and stators to reduce signal degradation
Item Condition:New
Attention California Customers:
WARNING: This product can expose you to chemicals including Lead and Lead Compounds, which are known to the State of California to cause cancer, and birth defects or other reproductive harm. For more information, go to www.P65Warnings.ca.gov.
Lifetime Warranty
This item is backed by our limited lifetime warranty. In the event that this item should fail due to manufacturing defects during intended use, we will replace the part free of charge. This warranty covers the cost of the part only.
Returns: Parts with electrical components cannot be returned once installed.
FREE Shipping is standard on orders shipped to the lower 48 States (Contiguous United States). Standard shipping charges apply to Hawaii and Alaska.
Shipping is not available to a P.O. Box, APO/FPO/DPO addresses, US Territories, or Canada for this item.
Expedited is available on checkout to the United States, excluding Alaska, Hawaii.
Final shipping costs are available at checkout.
How to Replace Alternator 1996-99 GMC Sierra K1500 5-7L
How To Replace Alternator 1996-99 Chevy Suburban
Created on:
Tools used
13mm Socket
Socket Extensions
Pry Bar
8mm Wrench
8mm Socket
10mm Wrench
10mm Socket
3/8 Inch Drive Ratchet
13mm Wrench
1. Disconnecting the Battery
Disconnect the negative terminal with a 5/16 or 8mm wrench
Move the terminal to the side
2. Removing the Serpentine Belt
Familiarize yourself with the route of the serpentine belt
Insert the 3/8 inch drive ratchet into the tensioner
Turn the tensioner clockwise to loosen the belt
Pull the belt off the alternator
Release the tensioner
Pull the belt off by hand
3. Removing the Alternator
Remove the 10mm bolt at the rear of the alternator
Remove the two 13mm bolts at the bottom of the alternator
Wiggle and lift the alternator out of its brackets with a pry bar
Disconnect the wiring harness from the alternator
Lift the rubber boot
Remove the 13mm bolt
Remove the alternator
4. Installing the Alternator
Lay the alternator first on the pulley side
Reinstall the power terminal, lock washer, and 13mm nut
Close the boot over the nut
Connect the wiring harness
Press the alternator into place
Tighten the 13mm bolts to the alternator
Tighten the 10mm bolt to the alternator
5. Installing the Serpentine Belt
Loop the belt around the crank pulley
Bring it around the water pump
Bring it under the power steering pulley
Bring it around the A/C Pulley
Bring it around the belt tensioner
Bring it under the idler pulley
Pull the tensioner clockwise with the 3/8 inch ratchet
Pull the belt over the alternator
Release the tensioner
6. Reconnecting the Battery
Disconnect the negative terminal with a 5/16 or 8mm wrench
Move the terminal to the side
Hi, I'm Mike from 1AAuto. We've been selling auto parts for over 30 years! We're dedicated to delivering quality auto parts, expert customer service, and fast and free shipping, all backed by our 100% satisfaction guarantee. So visit us at 1AAuto.com, your trusted source for quality auto parts.
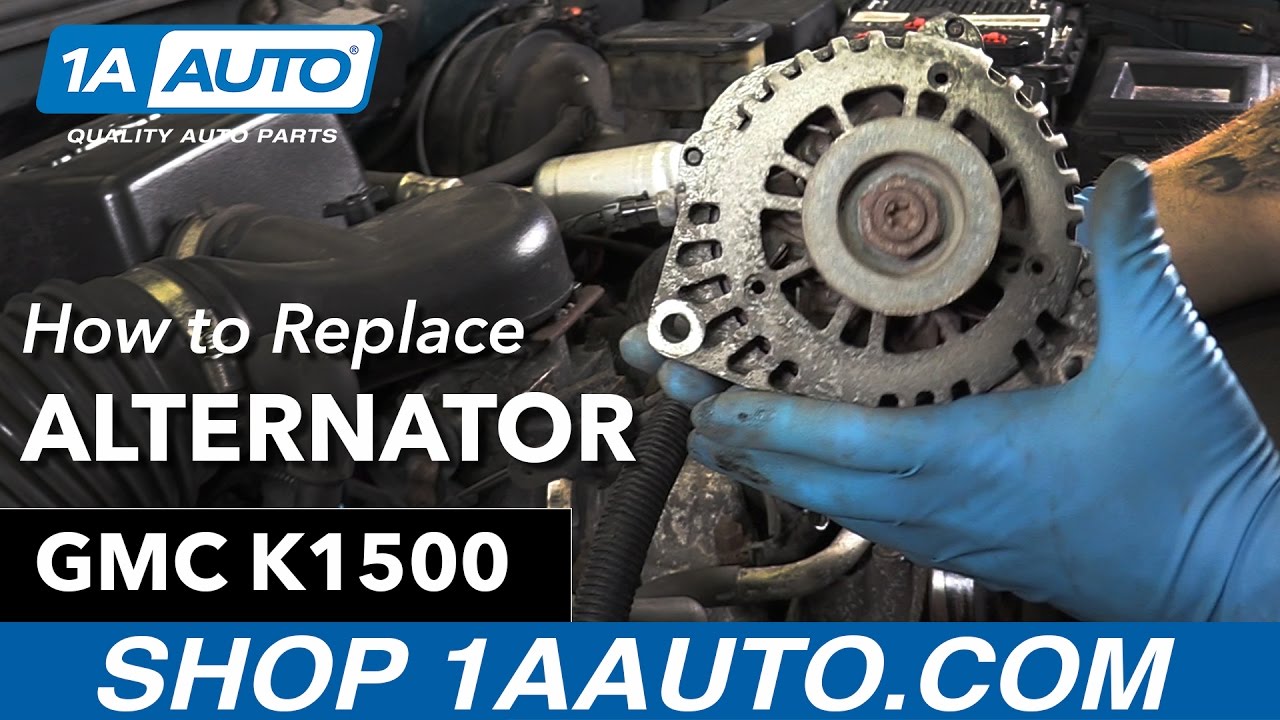
In this video, we're going to be working with our 1996 GMC Sierra K1500 5.7-liter V8. We're going to show you how to remove and replace your vehicle's alternator.
If you like this video, please click subscribe. We have a ton more information on this truck as well as many other makes and models. If you need this part for your vehicle, you can follow the link down in the description over to 1aauto.com.
Here are the items you'll need for this repair: 8 to 13mm sockets, ratchet, socket extension, 8 to 13mm wrenches, pry bar
Remove the negative post from your battery using a 5/16 or an 8mm wrench. Remove the terminal and isolate it from the battery.
Be sure your vehicle has a belt path diagram somewhere on the cowl or under the hood before removing the belt. If it's missing or unclear, be sure to draw it somewhere under the hood or take a good picture. Put the 3/8 drive of a ratchet into the square on your serpentine belt tensioner and turn it counterclockwise to release tension. Then simply pull the belt off of any one of the pulleys, slowly release the tension from the tensioner. Remove your ratchet, and take the belt off of the pulleys.
Remove the 10mm bolt on the top of the bracket at the rear of your alternator. I'm using the 10mm wrench. You could use a socket and ratchet and try to sneak around this cooling line here. I don't want to miss breaking that, so I'll just use the smaller tool. Remove the two 13mm bolts at the bottom of the alternator. Carefully wiggle and lift the alternator out of its brackets. You may need to use a small pry bar to help lift it out. Carefully reposition the alternator so you can easily access the wiring on the back. Lift up on the tab for the clip and remove that connector. Lift up on the rubber boot and remove this 13mm bolt with a socket and ratchet. Theirs is actually on a stud that's spinning, so we'll need a 13mm wrench on the bottom side to hold that in place. Once the connections are undone, remove your alternator from the vehicle.
Reinstall the alternator, laying it first on the pulley side. Reinstall the power terminal, the lock washer, and the 13mm nut, which we'll then tighten down with our 13mm socket and ratchet. You don't have to go crazy here. Just get it snug. That lock washer should keep anything from falling off. Throw the boot back on. Reconnect the plug. Lay the alternator back into position. Reinstall the two 13mm bolts at the bottom first. Tighten them down with the 13mm socket and ratchet. Reinstall the 10mm bolt at the back of the alternator. Tighten it back down with the 10-mm wrench.
Hook the serpentine belt around the crank pulley or harmonic balancer from the passenger side. Be sure that it seats fully into the grooves of the pulley and doesn't lay over the edge on either side. Wrap the driver's side of the belt around the water pump, under the power steering pump on the other side, and up and over the AC compressor. I already have the left side wrapped around the tensioner here just because that's where it falls. Then, from over the AC compressor under the idler pulley, reinstall the ratchet into the tensioner. Turn the ratchet counterclockwise to release the tension, and install your belt over the alternator. Take a second just to look around and make sure that your belt is seated and routed properly before releasing the tension and removing your ratchet.
Reconnect your battery, and you're good to go.
Thanks for watching. Visit us at 1AAuto.com for quality auto parts, fast and free shipping, and the best customer service in the industry.
Tools used
15mm Wrench
Flat Blade Screwdriver
Rubber Mallet
8mm Wrench
Ratchet
13mm Wrench
1. Disconnect the battery
Use an 8mm wrench to disconnect the negative battery cable
2. Remove the serpentine belt
Use a 3/8 ratchet handle to release the tension
Remove the belt
3. Remove the alternator
Disconnect the lead.
Unclip the AC hose
Remove the 15mm mounting bolts.
Pry up the alternator.
Disconnect the wiring harness.
4. Install the new alternator
Put the alternator in its mounting.
Connect the wiring harness and snug the alternator into place.
Bolt the alternator in.
Clip the AC hose on.
Bolt the lead back in using two wrenches.
5. Put the serpentine belt back on
Thread the serpentine belt into place and release the tension using a wrench to get it all the way on.
Reconnect the battery.
This video is brought to you by www.1AAuto.com, your source for quality replacement parts and the best service on the internet.
Hi, I'm Mike from 1A Auto. In this video we're going to show you how to replace an alternator on a Vortech 5700 equipped 1999 Suburban. The Vortech engine was a very popular V8 used by GM from '96 to '01. Here's a list and you can pause it yourself if you want and check it out. This is not all-inclusive. There may be other trucks that do have this engine in it. For this replacement you will need a 3/8 drive ratchet handle, 15 mm wrench, 13 mm wrench, a 5/16 wrench, and a large screwdriver or a small pry bar, and a rubber mallet.
Now the first thing you want to do is find your belt routing diagram shown here. It's usually right near the radiator. This will help you when you want to reroute the belt at the end of This sticker located in the glove box is your RPO code sticker, regular production option. This will tell you how big of an alternator you have in your truck. Most trucks have the K68 code which is 105 amps. If you have a heavy duty alternator, a 140 amp, it's either a K98 or a KG9, but again most trucks have the K68 105 amp alternator.
And with that we can start replacing the alternator. First you want to disconnect your battery with a wrench. Then using your 3/8 ratchet you want to move the serpentine belt pulley, and here you can see where you would insert that ratchet. It has a small square hole, and then you push down which takes the tension off the belt and you slip it off the idler pulley, and now it's clear of your alternator for you. After this you're going to disconnect the rear wire and you're going to put a wrench on, and actually you're going to put another wrench holding the stud so you actually have two wrenches, and you hold one wrench while you loosen the other one because the stud will just spin in the alternator if you don't do it this way. After this there's just a little A/C hose that you pull out of the clip to give yourself some room to move the alternator. Then you remove the two mounting bolts. Here I have them kind of almost removed out. I didn't get a shot of loosening them, but you use a 15 mm wrench and loosen them, and then you use your screwdriver or pry bar and pry up the alternator because they actually use pressure fittings to hold it in place. Once you get the alternator up you expose the other one wire that's in there. You can pull that easily off with your fingers, and then your alternator is out.
And to reinstall, reverse the procedure. Make sure you have that wire out of the way. Put the alternator down in there. Connect your single wire. Then get the alternator into place and take a little bit of force and kind of force it, start it down into the bracket a little bit. See I kind of put my hands around the top of it and shake it down in there, jiggle it a little bit, and then after you get it somewhat in place, use a rubber mallet, and obviously a rubber mallet and not a hammer. You don't want to use metal-to-metal contact on an alternator. Then you just kind of tap the alternator down into place, and then you can get the bolts back in and you might need a little bit of tapping to work them in a little more, and then once the bolts are in place, you tighten them up again with a 15 mm wrench which I don't show here, but trust me. You do want to tighten them up. You don't have to tighten those crazy tight, 45-50 foot pounds.
After that, then you reconnect your rear line, and obviously this is where you must have your battery disconnected because you'll get a lot of sparks here if you don't, and tighten it up. Again, you're going to use two wrenches, one to hold the studs, and then one to tighten up the nut. Put that hose back in, and then you're going to put your belt back in. First check it. We just kind of go along the length. Make sure the outside doesn't have any holes, and then if it's cracked on the rib side that's OK. The ribs cracked are fine, but just make sure the outside is all solid, and you run it the way you're supposed to run it. Get your 3/8 wrench in there, and then push it down into the idler pulley as you're pushing down on the wrench and you got it. Reconnect your battery and you're ready to get back on the road.
This video was brought to you by www.1AAuto.com, your source for quality replacement parts and the best service on the internet. You can call us toll free, 888-844-3393. We are the company on the internet and there in person for you. Thank you very much.
ALA94400
In Stock
Product Reviews
Loading reviews
5.00/ 5.02
2 reviews
5 Stars
4 Stars
3 Stars
2 Stars
1 Star
2
0
0
0
0
Steve
February 18, 2023
Very good product at your service is phenomenal. Thank you very much.
great product.
Jerry
July 26, 2024
Battery kept dying. finally replaced the alternator and no more issues.
Customer Q&A
Does that come with the pulley?March 19, 2022
Gregory B
10
The pulley will be included as part of this assembly.
March 21, 2022
John D
Are these new or remanufactured?June 20, 2023
Arnold C
10
Im not sure but if it was reman it was in as good of shape as a new one and works just like a new one.
June 20, 2023
Jarrett C
10
This part will be new.
June 21, 2023
Jessica D
Customer service
877-844-3393
Monday - Friday 8:00am - 9:30pm ET Saturday - Sunday 8:00am - 4:30pm ET
Chevrolet is a registered trademark of General Motors Company. 1A Auto is not affiliated with or sponsored by Chevrolet or General Motors Company.See all trademarks.
Enter Vehicle Year Make Model
Specify your vehicle's year, make and model to guarantee fit.
Year
Make
Model
Options
Drivetrain
This part doesn’t fit a . Select from parts that fit.