Replaces


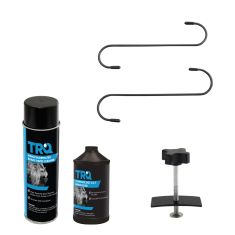
Frequently bought together
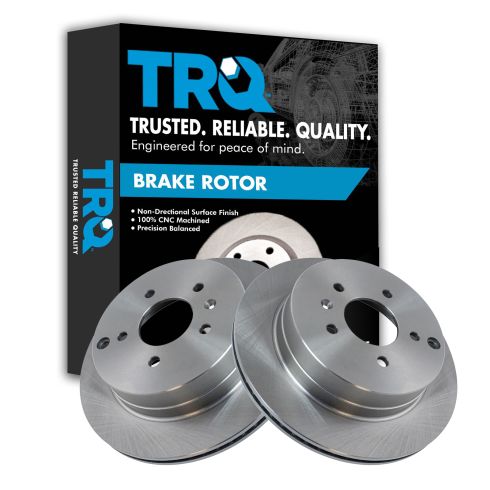
Part Details
About TRQ:
TRQ is a trusted brand dedicated to making every repair a success story by combining premium parts with easy installation. Each TRQ part is engineered by a team of automotive experts to meet or exceed OEM standards, delivering enhanced performance and maximum longevity. With rigorous in-house testing, the brand ensures superior fit and function across every product line. TRQ also provides customers with best-in-class, step-by-step installation videos—so you can complete repairs with confidence, whether you're a first-time DIYer or an industry professional.
Product Features
TRQ brake rotors are manufactured using premium G3000 casting alloy to reduce noise while braking and enhance service life. TRQ rotors have a non-directional finish to minimize the break-in period for new rotors and reduce vibrations throughout the rotor’s lifecycle. TRQ recommends replacing brake pads when you replace rotors to ensure even wear and improved component performance. All products are fit and road-tested in our Massachusetts R&D facility to ensure we deliver on our promise of Trusted Reliable Quality.
Attention California Customers:
 WARNING: This product can expose you to chemicals including Lead and Lead Compounds, which are known to the State of California to cause cancer, and birth defects or other reproductive harm. For more information, go to www.P65Warnings.ca.gov.
Lifetime Warranty
This item is backed by our limited lifetime warranty. In the event that this item should fail due to manufacturing defects during intended use, we will replace the part free of charge. This warranty covers the cost of the part only.
FREE Shipping is standard on orders shipped to the lower 48 States (Contiguous United States). Standard shipping charges apply to Hawaii and Alaska.
Shipping is not available to a P.O. Box, APO/FPO/DPO addresses, US Territories, or Canada for this item.
Expedited is available on checkout to the United States, excluding Alaska, Hawaii.
Final shipping costs are available at checkout.
Created on:
Tools used
Brought to you by 1AAuto.com, your source for quality replacement parts and the best service on the Internet.
Hi, I'm Mike from 1A Auto. I hope this how-to video helps you out, and next time you need parts for your vehicle, think of 1AAuto.com. Thanks.
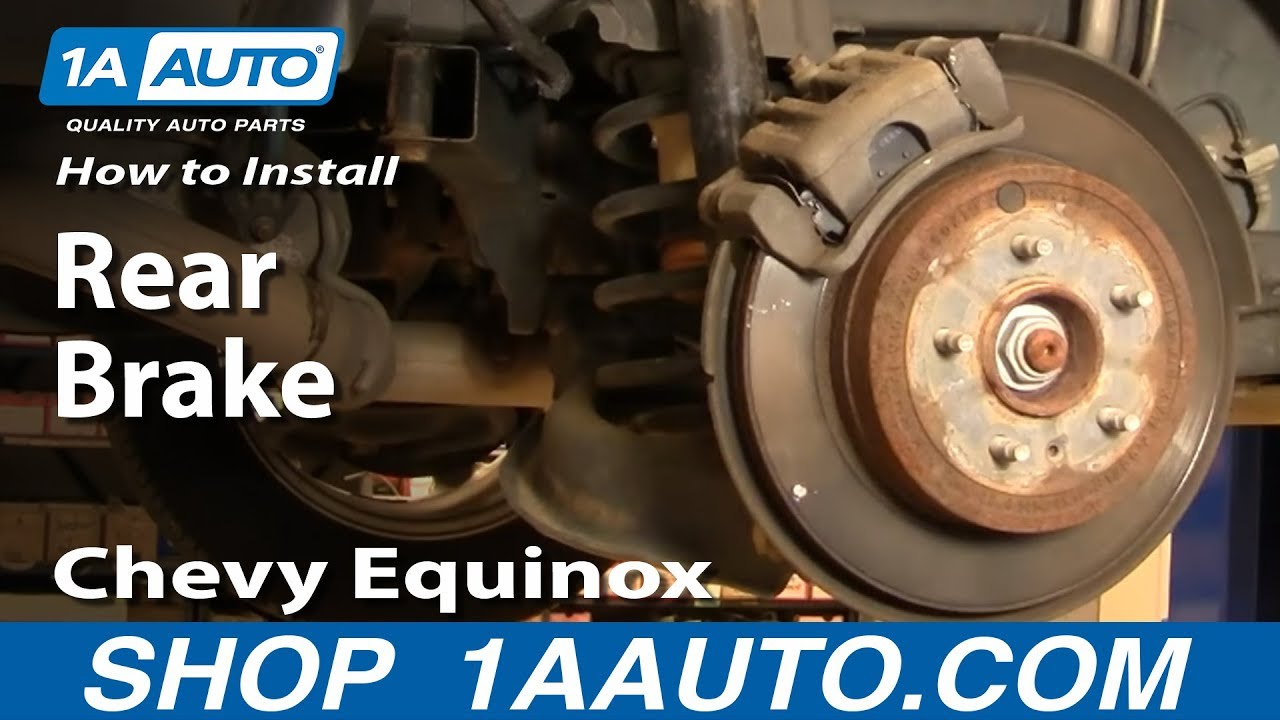
In this video, we're going to show you how to do a rear brake job on this 2008 Chevy Equinox. This is basically the same for any Equinox and the Pontiac Torrent of this generation. Tools you'll need are jack and jack stands; tire iron or 19-millimeter socket with a breaker bar to remove the lug nuts; a 5-pound sledgehammer . that's kind of optional; our vehicle had the aluminum wheels, and they were somewhat stuck on .; 14- and 15-millimeter wrenches; a T30 Torx driver socket with a ratchet, if you are planning on replacing the rotors; a ball-peen hammer, again, for replacing the rotors; wire brush; large C-clamp; and a torque wrench.
If you don't have the benefit of air tools, you'll want to loosen the lug nuts while your vehicle's still on the ground, then raise and support the vehicle. Remove the lug nuts and wheel and tire. I'm fast forward as I remove those lug nuts. Okay, now you saw that I tried to hit it. I did put a lug nut back on and tried kicking, seeing if that can break it free. Unfortunately, it doesn't. Kicking it like that usually works, but if it doesn't, make sure you have a couple lug nuts on a few turns, big hammer, and you want to make sure you hit the tire. You do not want to hit the rim at all. Couple good hits with that.
Now you can inspect the brakes. The pads are worn pretty low. These rotors are still pretty nice and smooth. Pretty low-mileage vehicle, so they're in good shape. For now, we're just going to replace the pads, but I will show you how to take the rotor off and put it back on.
For the pads, there are two bolts. You want to loosen this bolt and remove this bolt. Bolts are 14 millimeter, and they should come off with a relatively small wrench. For this top one, you either want to use a wrench or just have a small extension for your ratchet. It's always easy to put the wrench on, hook another wrench on there. Gives you a little more leverage. Nice and smooth. Pull out on this caliper a little bit, just loosens it up. Remove this bolt down here, and the caliper just flips right up like that. Just use a regular flat-blade screwdriver to pry these pads right out. What you want to do next is, there's just these little stainless steel slides, pull those off. Then use a wire brush and clean them up really well. As soon as my slide's all cleaned up, I just put a touch of anti-seize. You can use that or some white grease. Just push these back into place. It always helps to just take a screwdriver, and make sure you push these on nice and tight. If you were just changing the pads, you put the pads back on.
If you want to take this whole rotor off, get in behind again. There are two more bolts, one here and one up there. These are 15-millimeter bolts. I'm going to use the wrench method again, just pull nice and easy until they come loose. I'm just going to fast-forward here. All I'm doing is working that wrench and removing those 15-millimeter bolts. Take that whole assembly right off.
This is a T30 Torx screw right here. If it doesn't come right off, put your lug nuts back on just a few turns. You want to use the ball end of a ball-peen hammer. You don't want to contact the rotor face. You want to hit it in the hub area. Once you see it moving, it pulls right off. Obviously, reinstall the new one. Put it on, and if the emergency brake doesn't feel a little bit resistant, you can actually adjust the emergency brake here. That can also be reached here. You could also reach that adjuster by pulling out this plug and using a screwdriver to turn that adjuster. I'll put that back on. Now put our bracket back in place. Put these bolts back in place, and then move it around a little bit until you get the bolts started. Fast-forward again here as I work those wrenches. Like I said, you put that bracket down in place, push the bolts in, and then turn them clockwise to get them started. Then I'm just working with the wrenches to tighten them up preliminarily. These should be tightened up to 75 or 80 foot-pounds. Lock my wrenches together again. Get them nice and tight.
Now you want to force this piston here, back into the caliper. What I generally do is take one of the old pads, put it right in there, a big C-clamp. Then as I tighten the C-clamp, it pushes that piston back in. Next thing you want to check is these bolts should slide back in place very easily, so just make sure they do.
Take my new pads from 1A Auto. You want to put the wear indicator, and you want to make sure it's on the down side, on the inside. Put the pads in. Make sure they squeeze together. Now to put the caliper back down, we have to push in on that side. These bolts can go back on. These bolts should only be tightened to about 20 to 22 foot-pounds, which I generally just use a wrench like this, and get them tight. Pretty much just give them a good push with this small wrench. That's usually pretty close. You see that this actually started spinning on me. I don't quite have the right wrench, so I'm just going to use a pair of pliers, make sure that's nice and tight.
Last but not least, if you did take the rotor off and replace it, put this little Allen bolt back in. Put this Torx bolt back in. Use a little brake parts cleaner or some mineral spirits to clean off the surface of the rotors.
I'll speed it up here as I put the wheel and tire back on. First, thread the lug nuts on by hand. Then tighten them preliminarily with a wrench before you put the vehicle on the ground. Torque the lug nuts to 100 foot-pounds using a star pattern. Last but certainly not least, make sure you pump up your brake pedal. Get it a good, firm pedal, then do test stops from 5 and 10 miles an hour before road testing your vehicle.
We hope this helps you out. Brought to you by www.1AAuto.com, your source for quality replacement parts and the best service on the Internet. Please feel free to call us toll-free, 888-844-3393. We're the company that's here for you on the Internet and in person.

BRA76178