Brought to you by 1AAuto.com, your source for quality replacement parts and the best service on the Internet.
Hi, I'm Mike Green. I'm one of the owners of 1A Auto. I want to help you save time and money repairing and maintaining your vehicle. I'm going to use my 20 plus years experience restoring and repairing cars and trucks like this to show you the correct way to install parts from 1AAuto.com. The right parts installed correctly. That's going to save you time and money. Thank you, and enjoy the video.
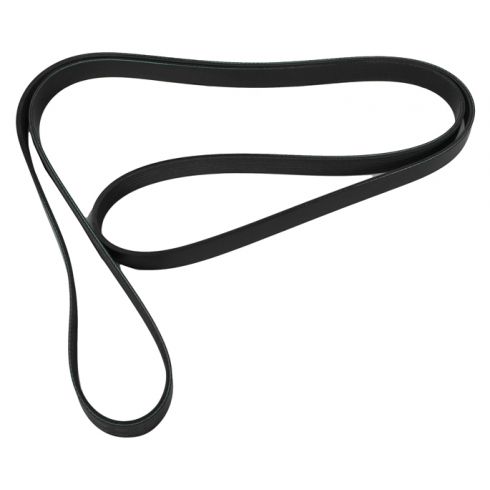
In this video, we're going to show you how to remove and reinstall the serpentine belt on this '98 Dodge Durango. Same for any '90 to '03 5.2, 5.9, or 4.7 Liter. Only tool you'll need is a 15mm socket and ratchet or wrench. Okay. Removing and replacing your serpentine belt. It's really a pretty easy operation. On your vehicle, you want to make sure you find this, here, which is your belt routing diagram. If you can't find this, then what you want to do is probably draw out on a piece of paper how your belt is routed. Draw all the pulleys and make circles in the right places, and then draw out where your belt goes, because that will help you out a whole lot. If you don't have the diagram and you just take this apart, chances are, it's going to be difficult to figure out how to get it back together.
Okay. Your belt tensioner is right down here. 15mm wrench, or a socket and ratchet, like this. Going to put the socket on that bolt right in the middle of my tensioner. Okay. Then I'm going to turn it clockwise and you can see the tension come off the belt, and then I'm just going to flip the belt right off my alternator right here. Okay. Release the tensioner. Get my wrench back. Now it's a matter of pulling the belt off the pulleys. Okay. Then the biggest problem will be the one down here on the crank. Just reach down, flip it off, and then you pull the belt right up and out. So to get it back on, what you want to do is, you want to put it down in there, and get it down around the bottom pulley, which is the crank pulley first. That's a little difficult to video, but basically what I'm doing is I'm just feeding this loop down, and I can reach down with my other hand and I can feel that bottom pulley, so I feed the belt into my other hand. Pull it down and around that pulley down there. Then it's just a matter of routing it kind of the same way. It goes up and around.
Now you can put it up and around this middle pulley, which is your water pump, and up over here. I'm just doing that. Get it around there, and down and around here. Now I'm just putting it around my power steering pulley. Okay, and up and around here. We pretty much have our belt routed, so I'm going to put my wrench on the tensioner here, and then I'm going to push down here with this hand and as I, actually, usually the easier way is to put it down and around the side of the pulley. Okay. Now I have it here with my hand, and I can pull my tensioner and put it around the alternator, here. There we go. Okay.
Let it out slowly. Okay. Pull it again a little bit, just push it in here on the idler pulley a little bit. That wrench off. Just now do a quick check. Make sure it's on all the pulleys correctly. Okay, and way down in there, it's on my crank pulley down there correctly. It should be all good.
We hope this helps you out. Brought to you by www.1AAuto.com, your source for quality replacement parts and the best service on the Internet. Please feel free to call us toll-free, 888-844-3393. We're the company that's here for you on the Internet and in person.