Hey friends. It's Len here at 1 A Auto. Today we're going to be working on our 1996 Dodge Ram 1500 5.9. We're going to be replacing the starter.
As always, if you need any parts, check us out at 1AAuto.com. Thanks.
Okay, so now that we're underneath the hood, what we want to do first is disconnect the negative battery cable. I'm going to take off this nut right here, or at least loosen it to the point that I can twist this a little bit, and we'll be able to move along.
It feels pretty loose. I'm just going to lift this up. Here we go. We'll set this aside so we know that it can not make contact with that negative terminal.
At this point, our truck has no power going to it, so you don't have to worry about any of the wires touching when you get down underneath. Let's move along.
All right, so we have our starter right here. You have your power wires going to it. We know we disconnected the battery. If you skip that step and you didn't disconnect the battery, you need to go up and do that now. Assuming that you've disconnected the battery, you can move along. We're going to take out this mounting bolt right here, and then there's going to be a bolt the exact same right up on top. We'll get both of those out, and we can continue.
So now, before we get that one all the way completely out, I'm going to go ahead and start doing the top one now. Just got an extension, a swivel socket. I'm using a 17, so here we go. Let's get this top one loose. Okay. So, there's our bolt. Get the lower one out, and we can get the starter down. Getting pretty loose. Starter's going to be ready to fall down. You want to make sure you don't let it bounce down on those cables. There we are. Bring that down. We've got our bolt. We've got a clear view of our cables right here. Cool. If yours looks like this, you're probably going to want to replace your starter cause it's a pretty good chance that this is going to break off.
This is just plain old coming right apart here. Yeah. Well generally speaking, this nut will come off of here and you'll have this wire to be able to come off and then this one right here, that will come off, and then that'll come off all as one piece. As you could tell, this one's not thinking what I'm thinking. It's going to do something a little different. So we'll have to figure it out from here. Just going to try to hold this with pliers just so I can get it off of here. We're just going to get a new starter so I'm not worried about it. But I do need to get the cable off. That's right off of there. There's that. I'm going to take this one off right here. By the look of it, this might even be the original starter, or it was replaced quite awhile ago. I'd say it's definitely time for a new one in this bad boy.
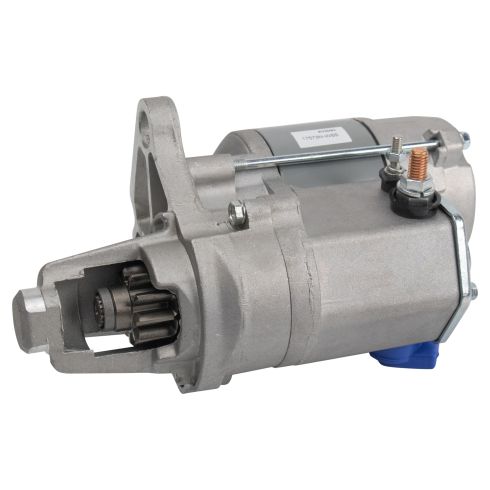
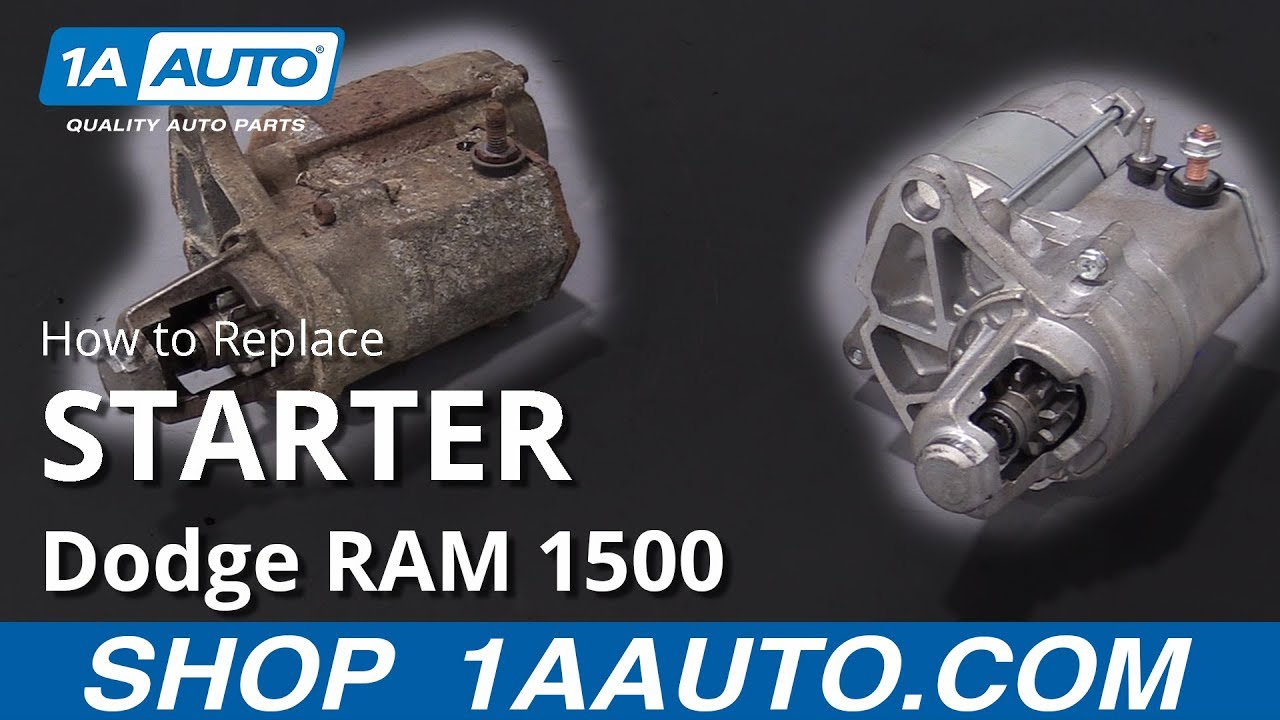
So, here we are friends, a quick product comparison for you. Right here we have our starter out of our 1996 Dodge Ram 1500. Over here we have our brand new quality 1A Auto part. Yeah, it's a little dirty. Sorry, my gloves are dirty, but if I hold these up close to each other, you'll be able to tell that both of these are the exact same. As you can tell, you've got the end here. You got the point right in there where it catches onto your flywheel. All right. Got your mounting holes. Super important. You want to make sure you have two mounting holes on both of your starters. You've got the area where the wires are supposed to go on to. You get the big one. Right there is where the small one's supposed to be. This one broke off because, well, you know it's been around for 20 something years probably. Comes with a brand new wire down here. Super important.
As you can tell, this one's garbage. This one's nice and covered so you don't have to worry about anything like that. As you can tell, this is a quality part. I don't see any reason why I wouldn't want to install into the vehicle. So, I'm going to go ahead and do it. If you need this or any other part, check us out 1AAuto.com. Thanks.
So, we're just going to clean these up. This is where it's going to make connection to the starter, so you want to make sure you have it nice and clean so you can make great connection.
This tool is available 1AAuto.com by the way.
As you can tell, it works amazingly.
So now, taking a look at this, this is the positive lead. As you can tell, there's plenty of bare copper showing. I don't like that very much. So, we're just going to put on a little bit of shrink wrap, try to cover the majority of that so it won't make any spots where it can touch up against anything and ground out. So, we'll just try to clean this up right up along here, down along the bare wires. If you happen to see a lot of green, like this one has very minimal green, which isn't a very big deal, but if there was a lot, and you had some broken wires that looked like they were fraying, like you could go like this and wires are breaking, you need to go ahead and replace this.
This one looks like it's perfectly reusable. Let me take some of my shrink wrap here. I had to get a big one because obviously it's got to go over this ear and bring it right up over part of the cable. Just go right around it and make sure you got it as shrunk down as it's going to go. Obviously, we don't want to catch it on fire so you don't stay in one spot very long.
So, I'm just going to go over this with some electrical tape just because I want to be sure that the shrink wrap is as tight as possible. The size that we had to use was a little bit bigger than what we would normally like to use for this wire only because this ear. So, I want to make sure that no moisture can make its way in there and corrode our wire.
Okay. That's as far as we're going to go. Use up the rest of it. Why not? Since I'm here anyway.
All right. So, I've got this end cleaned up a little bit. We're just going to do the same to this end. Use a little bit more heat shrink. Just go right up here. Make sure it goes up on to where the wire is. I've still got plenty of metal area for where I'm going to connect to my starter. This melted.
All right, so we know that we have our battery disconnected still, right? As long as it's not reconnected for any reason, you didn't go up there and connect it, we're going to get our starter hooked up onto these, and then we'll put it up into the vehicle. When the starter goes in, it's going to go in just like this. So, here's where our terminal ends are going to be. As you can tell, they'll be fairly hard to get to while they're up there. So, that's why we're doing it while it's right here.
Just going to get that right on there. We have a new starter so we're going to use our new nut. Just snug it up.
Feels pretty good. Just give it a little wiggle. Nice. Get our other wire on there, little itty bitty nut. Get it on there. Sometimes these small ones are super hard to do with gloves on. This is a very small stud so you definitely do not want to break it off into the starter. Feels good. Make sure that this and this are not touching anywhere where they're metal. Okay? That looks pretty great. If they are touching, your starter's just going to remain constantly on, and it's going to cause a major issue obviously. Probably don't have to explain that too much.
You can take this right up in here because you're going to want to line right up. Awesome. Just try and get it started in a little bit. Cool. Theres the other one. See if I can get my hand.
All right, let's grab the tool to start tightening these down. So we're going to use our 16 millimeter socket with an extension. Definitely want to make sure that these are nice and snug. That one's tight for sure. Same thing for this one. All right. It's bottomed out. Let's give it a little bit more. That's nice and snug as well.
Now, you just want to pay attention to where your wires are. If yours is hanging down like this one is, it couldn't hurt to use a couple of wire ties and just try to wire tie it up so it can't hang down. The last thing you want is this getting caught on something and give it a nice yank. So, we'll wire tie it up, make it look nice and pretty.
All right, so now it's time to reconnect the battery. We make sure we've got our safety glasses on. That's super important. Hand protection. Just going to connect that right on just like that, I'm going to use my socket. Snug this right up. Hold down my wires so they don't come up on me while I'm doing this of course. Make sure it's nice and snug. Get my socket off of there of course. Just grab the terminal, give it a nice little wiggle. If it's still wobbles around, you need to go ahead and tighten this up some more. This feels really great. I'd say we're good to go.
Thanks for watching. Visit 1AAuto.com for quality auto parts shipped to your door, the place for DIY auto repair. And if you enjoyed this video, please click the subscribe button.