Hi, I'm Mike from 1A Auto. We've been selling auto parts for over 30 years.
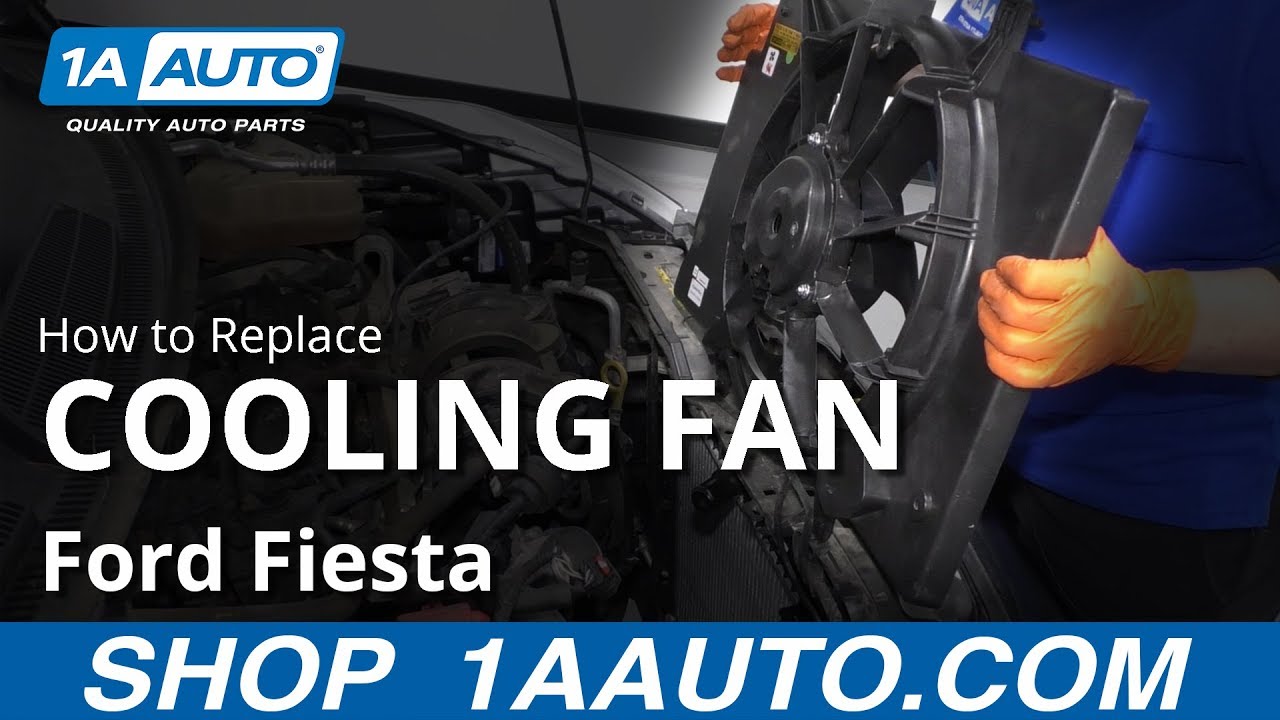
Hey everyone, Sue here from 1A Auto, and today we have a 2011 Ford Fiesta in the shop. I'm going to show you how to remove and replace the cooling fan motor shroud. If you need this part, or any other part for your car, click on the link below, and head on over to 1AAuto.com.
We're gonna remove the air box itself, so I'm gonna take off the mass air flow sensor connector. Lift that safety tab and push down there and release it. I'm gonna take this hose off the vent to the throttle body. And now I'm gonna take a flathead screw driver and I'm gonna reach down here and I'm gonna take that clamp off the throttle body.
There we go. I'm gonna take the hose off. Grab the housing itself and see the rubber bushing right here? There's some below that are just like it. I'm gonna end up takin the lid off because the housing is just, it's just rubber bushings, but it's kind of rusted in there. So, these are a Torx bit head, and they are T20. If they're rusted and worn out, like one of them is, I'm gonna use the T25. This one right here is rusted out so I'm gonna force a T25 in there. There's four mounting screws to take this lid off. And this is a T25 because it's worn out. Now I can just lift that right out and put that aside.
I'll take the air filter out. So now that the lid is off the air box cover, you can see there's a rubber bushing here and a rubber bushing there and this one right here. So you're gonna grab with a firm hand and pull it right out of that rubber bushing. Everything's plastic so you don't wanna break it.
There you go. There we go. It's probably been a long time since it's been out. So I'm gonna take this piece off right now. Now you've got this vent hose. Once we get this up, we can see how it's a twist to release. Pinch these pieces, and putt it right off.
So now the air box is out of the way, I'm gonna take this vent hose, make sure I don't break it because it is plastic, put that over there out of the way. And now we can see that we have a sensor right here, mounted, and it's just a little pinch and pull. Seems to be the vent for the transmission. I'm gonna make sure this is out of the way. Don't forget to put that back on.
Now I'm gonna take the electrical harness that goes to the fan and I'm gonna pop it out of the plastic ears that hold the harness onto the shroud. So with a body style tool, I'm just gonna reach in there and pull these clips off. And now we can see there's one more right here. Then one right here. Okay. Now I can feel the connector for that fan. I see it right there. Pull back on this tab and pull up on the plug. So now the electrical plug is up and out of the way, and we move it from the, follow the release cable from the hood up from there, the same with that harness. Get those out of the way.
Now I'm gonna get a bucket, place it underneath here and I'm gonna raise the vehicle up first and drain the radiator because I'm gonna have to remove the upper radiator hose and I don't want coolant to go everywhere. So, on this particular model, style of vehicle, there is no drain plug or petcock for the radiator. So we're just gonna take the little hose off and hope for the best. I'm not into taking coolant baths. But I think I'm gonna probably take the clamp off, make sure this move, which it moves real easy. And now I'm gonna lower it down enough that I can reach underneath and just pull that hose off and into the bucket so I don't get showered on.
Now from up above, I can just reach down, grab that hose, and let it drain into the bucket. Now with that coolant draining, I can remove the upper radiator hose. Get some pliers, squeeze that clamp back. I'll just wiggle that hose off. And I like to bend it up out of the way. So now all you do is you grab these two tabs, they're right here, and you lift these up, push the shroud out. Maybe I can do one side at a time. Then lift this side out. Pull it out from the bottom tabs. Gonna have to probably do a little rotation or actually, comes right out from below. There you go. Let it come down below. Comes right out.
Here we have our brand new radiator shroud with a cooling fan from 1A Auto and here is the factory one that we just took out of our 2011 Ford Focus. You can see they're the same size, they have identical markings for mounting. Same connector location and tab. Balanced fan. Balanced is the tabs right here, these metal tabs, the factory has run it, checked it, and balanced it for vibration. If you need this part or any other part for your car, click on the link below and head on over to 1AAuto.com.
So, let's take the new shroud and we went from the bottom up, so let's do it again. So we're gonna take the shroud and put it up at the angle this way. Straighten it out. And from here, we can actually see the tabs down below now. And I'm gonna slide it right into the spot. And with the wiring harness right here, it's easy to get to. I'm gonna click it right in, line the tabs up, snap it in, put the harness in the spots. So now the tabs are lined up and you just line them up and click it right in. And that's it.
Reconnect your harness all the way up with the body tabs on the wiring loom. Make sure you put it back into this little safety hook. Now we can put our grill tabs back in. There's four of them straight across. I'm gonna put the center push-pins. Now I'm gonna put the air box back in. But first I'm gonna spray the rubber bushings. Give them a little help with the slipperiness of them, make sure they slide back in smoother. Bring that right down in there. Now we can line that up with the bushings from down below. That one's lined up, going to push down, snap the air inlet hose connector.
So now I'm gonna put the transmission vent back on, the little tab right here, pushes down. Then we can put the vent back in the air box tube. Now I'm gonna put the upper radiator hose on. Line that clamp up. It's a release style, I gotta release it from the ... there we go. Perfect.
Okay. Everything's in place. Snap this down. Looks like it popped up. Now I can put the air filter back in and the air box cover. Make sure it's seated all the way down. Line up the mounting screws. I'm gonna reconnect the mass air flow sensor and then push that red tab down, put that vent hose back on. Flat blade screw driver and I'm gonna tighten the clamp on the throttle body end. Make sure that hose is all the way down. The car will not run if there is a vacuum leak on the air hose. Make sure it's tight.
Now with the T20, you can tighten down the air box bolts. Last one. It's gonna be a T25 because it's worn out. Make sure that's tight. You want no water to get in there. Now we're ready to add coolant.
Now we're gonna add our coolant. We use only, only go right through the overflow tank because this doesn't have a radiator cap. This is it. That's where the pressure builds up. So as you fill the overflow or the actual radiator fill, you're gonna take your vent cap and you're gonna take the cap completely off. It's at the highest point, so the coolant will go down and push the air out. You can actually feel the air come out. Do that 'till you see coolant will come out of there. There you go. I can hear air. See if it'll get ...
So now I have a catch bucket underneath there and I'm gonna open this until all the air bubbles stop. I think that might be it. Okay let's start her up and we'll keep an eye on the temp gauge and make sure the fans come on. So now with the car running, I'm gonna let it run for 45 minutes to 50 minutes until the coolant fan comes on. And then make sure I shut it off, let it cool down and top the fluid off to the proper level.
Thanks for watching. Visit us at 1AAuto.com for quality auto parts, fast and free shipping, and the best customer service in the industry.