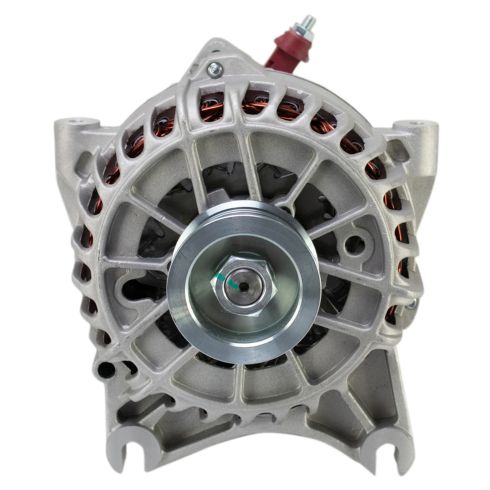
Drive End To Pulley 1st Groove Distance: 35.5 mm 1.42 in
Rotation Direction: Clockwise (Right)
Pulley Groove Quantity: 8
Brushless: No
Product Features
Engineered to match exact vehicle specifications
Upgraded Service Life: Pressure-Fit High-Capacity Diodes for improved heat dissipation
Improved Reliability: Double insulated rotors and stators to reduce signal degradation
Item Condition:New
Attention California Customers:
WARNING: This product can expose you to chemicals including Lead and Lead Compounds, which are known to the State of California to cause cancer, and birth defects or other reproductive harm. For more information, go to www.P65Warnings.ca.gov.
Lifetime Warranty
This item is backed by our limited lifetime warranty. In the event that this item should fail due to manufacturing defects during intended use, we will replace the part free of charge. This warranty covers the cost of the part only.
Returns: Parts with electrical components cannot be returned once installed.
FREE Shipping is standard on orders shipped to the lower 48 States (Contiguous United States). Standard shipping charges apply to Hawaii and Alaska.
Shipping is not available to a P.O. Box, APO/FPO/DPO addresses, US Territories, or Canada for this item.
Expedited is available on checkout to the United States, excluding Alaska, Hawaii.
Final shipping costs are available at checkout.
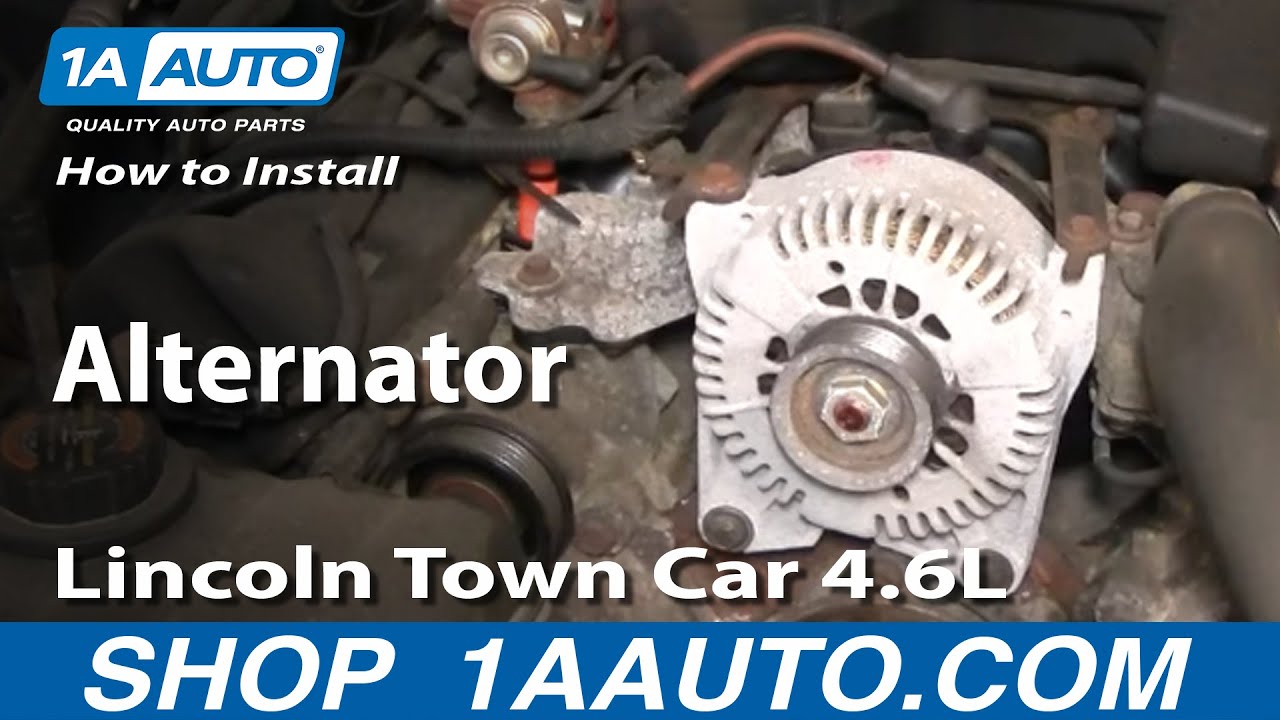
How to Replace Alternator 1998-2002 Lincoln Town Car
Created on:
Tools used
Socket Extensions
8mm Wrench
10mm Socket
Ratchet
3/8 Inch Drive Ratchet
1. Disconnecting the Battery
Use an 8mm wrench to disconnect the negative battery cable
2. Removing the Serpentine Belt
Familiarize yourself with the route of the serpentine belt
Insert the 3/8inch drive ratchet into the tensioner
Turn the tensioner clockwise to loosen the belt
Pull the belt off the alternator
Release the tensioner
Pull the belt off by hand
3. Removing the Alternator
Make sure the negative battery cable is disconnected
Disconnect the battery cable from the alternator with a 10mm socket and ratchet
Remove the two 10mm bolts from the top of the alternator
Remove the two 10mm bolts from the front of the alternator
Disconnect the wiring harness from the alternator
Pull out the alternator by hand
4. Installing the new Alternator
Thread the 10mm bolts for the front of the alternator by hand
Put the alternator into place
Start threading the four 10mm bolts preliminarily
Connect the battery cable to the alternator
Tighten the 10mm bolts
Reconnect the wiring harness
5. Reinstalling the Serpentine Belt
Loop the belt around the crank pulley
Bring it around the power steering pulley
Bring it around the idler pulley
Bring it around the A/C Pulley
Bring it around the belt tensioner
Bring it around the water pump
Pull the tensioner clockwise with the 3/8 inch ratchet
Pull the belt over the alternator
Release the tensioner
6. Reconnecting the Battery
Reconnect the negative battery cable
Brought to you by 1AAuto.com, your source for quality replacement parts and the best service on the Internet.
Hi, I'm Mike Green. I'm one of the owners of 1A Auto. I want to help you save time and money repairing or maintaining your vehicle. I'm going to use my 20-plus years experience restoring and repairing cars and trucks like this to show you the correct way to install parts from 1AAuto.com. The right parts installed correctly: that's going to save you time and money. Thank you and enjoy the video.
In this video, we're going to show you how to replace the alternator on this 2000 Lincoln Town Car, same as any '98 to '02. Tools you'll need are an 8mm wrench, a 3/8 inch ratchet with a 10mm socket and probably an extension as well.
With an eight millimeter wrench, disconnect your negative battery cable. Before you remove your belt you want to make note of how it's routed. There should be, on most vehicles there's a belt routing diagram, although I don't see on this Town Car. You can see that it goes down around your crank pulley, way down there, around the power steering pulley like that, then up to the alternator around the idler pulley down to the AC pulley and then back up to the tensioner and then around the water pump and then down. Removing the belt is quite simple. Right here is your tensioner. It has a 3/8 hole in it right here where you can put a ratchet handle. Then you want to move it clockwise, you can even see the belt loosens up and take the belt off the alternator. Slowly let your handle back, pull it out.
Removing the alternator is pretty straight forward. Take a 10mm socket, and ratchet with a small extension. You want to undo this nut up here, and this is your battery wire so make sure you've disconnected your battery. Then you want to remove these 10mm bolts here. We'll just speed it up here as I remove those 10mm bolts. Then these 10mm bolts down here. We'll speed it up here again. As you can see in a little bit I put the hand tools aside and go get the air ratchet. These lower bolts, you don't have to take all the way out, but it is easier to get the alternator out. As you'll see, I put them back in when I'm reinstalling it. Now you pull this out. You can reach this connector back here a little easier. You can use a screwdriver, pry the tab up, disconnect it, and your alternator comes out.
This alternator is actually fine. You don't really have to take these all the way out. You can thread them in just a little bit. Put the alternator down on, put them in. I'll fast forward through. I'm just preliminarily tightening these up, I'm not tightening them all the way, I'm going to tighten them by hand a little bit later.
I can put my wrench on my tensioner. Pull my tensioner all the way over, the belt comes up and around my alternator. Put my tensioner off and check the belt in all the locations; it looks good. Reconnect and tighten up your negative battery cable, and you should be good to go.
We hope this helps you out. Brought to you by www.1AAuto.com, your source for quality replacement parts and the best service on the Internet. Please feel free to call us toll-free, 888-844-3393. We're the company that's here for you on the Internet and in person.
ALA94408
In Stock
Product Reviews
Loading reviews
There are no reviews for this item.
Customer Q&A
What brand is this alternator? Is it dependable? I run subs in my trunk I want to make sure this will hold up my old one is currently only pushing 13.5 volts max.January 11, 2022
Ashton P
10
TRQ brand parts are manufactured by various aftermarket companies specifically for us and built to your vehicle's exact OEM specifications.
January 11, 2022
Emma F
Customer service
877-844-3393
Monday - Friday 8:00am - 9:30pm ET Saturday - Sunday 8:00am - 4:30pm ET
Enter Vehicle Year Make Model
Specify your vehicle's year, make and model to guarantee fit.
Year
Make
Model
Options
Drivetrain
This part doesn’t fit a . Select from parts that fit.