Returns: Parts with electrical components cannot be returned once installed.
Attention California Customers:
WARNING: This product can expose you to chemicals including Lead and Lead Compounds, which are known to the State of California to cause cancer, and birth defects or other reproductive harm. For more information, go to www.P65Warnings.ca.gov.
Lifetime Warranty
This item is backed by our limited lifetime warranty. In the event that this item should fail due to manufacturing defects during intended use, we will replace the part free of charge. This warranty covers the cost of the part only.
Returns: Parts with electrical components cannot be returned once installed.
FREE Shipping is standard on Orders shipped to the lower 48 States (Contiguous United States). Standard shipping charges apply to Hawaii, Alaska and US Territories. Shipping is not available to Canada.
Expedited is available on checkout to the United States, excluding Alaska, Hawaii and US Territories as well as P.O. Boxes and APO/FPO/DPO addresses. Final shipping costs are available at checkout.
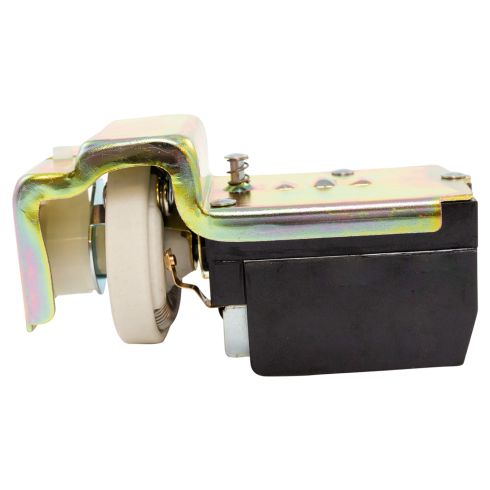
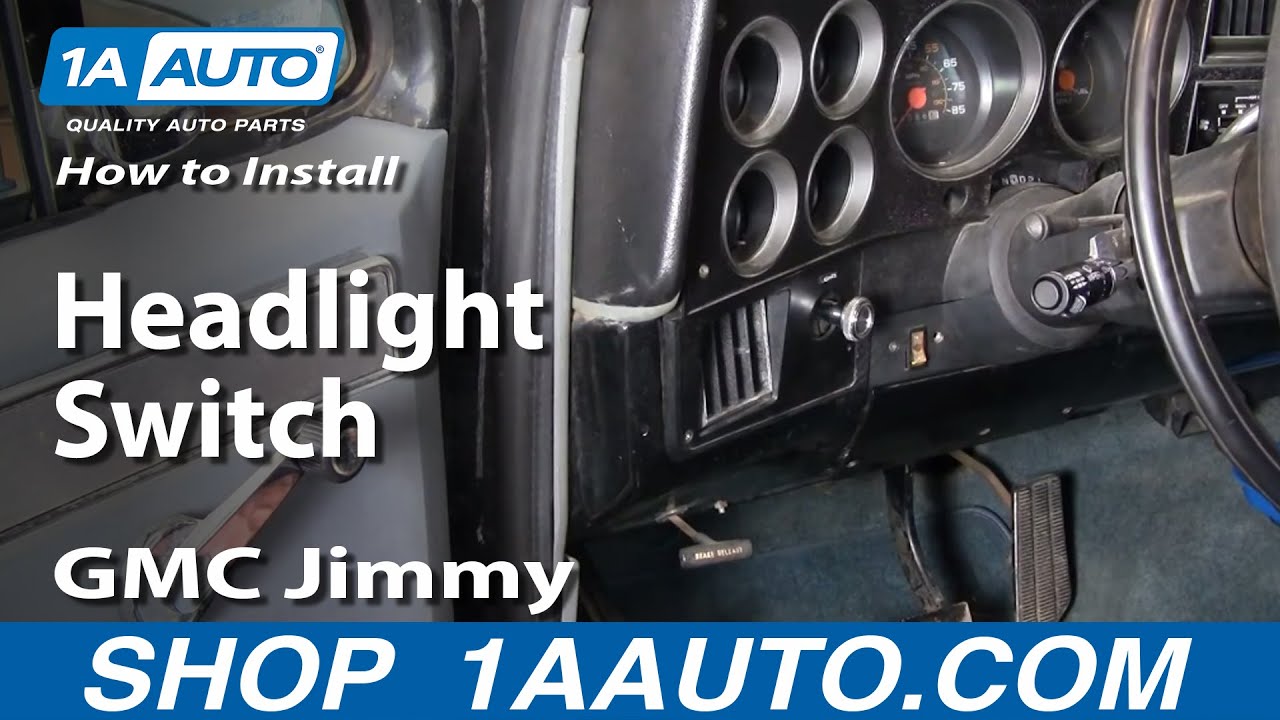
How to Replace Headlight Switch 1970-91 GMC Jimmy
Created on:
Tools used
Flat Blade Screwdriver
Phillips Head Screwdriver
1. Disconnect your battery
Disconnect your negative battery terminal
2. Remove the headlight switch
Reach up under the dash and press the button on the switch to pull the plunger out.
Pull down the AC duct and remove all the screws in the dash trim.
Remove the threaded washer over the switch.
Unplug the switch.
3. Install the new headlight switch
Plug in the new headlight switch.
Replace the threaded washer.
Replace the dash trim and the duct work under the dash.
Put the headlight switch plunger back into place.
Brought to you by 1AAuto.com, your source for quality replacement parts and the best service on the internet Hi, I'm Mike Green. I'm one of the owners of 1A Auto. I want to help you save time and money repairing and maintaining your vehicle. I'm going to use my twenty plus years' experience restoring and repairing cars and trucks like this, to show you the correct way to install parts from 1AAuto.com. The right parts installed correctly. That's going to save you time and money. Thank you and enjoy the video.
In this video, we're going to be showing you how to replace the headlight switch on this 1986 GMC Jimmy. This headlight switch fits many cars and trucks from the 70's through the 80's, so the tools you'll need will differ by your application. For this truck, I basically need a Phillips screw driver and a regular screw driver. That's about it, but you may need some different wrenches and stuff to get the trim on your dash apart. One of the first things you want to do is disconnect your negative battery cable. Plunger style light switch in GM vehicles, okay? You might need to replace it for a number of reasons. Most often what happens is there's a rheostat inside that controls how bright your gauge lights are, and that will go bad and you'll basically lose your lights in your gauges. Really the biggest thing about this is getting to it. This truck has air conditioning so I'm going to remove the lower duct and then I'm going to take out all of these screws and this trim plate will come forward. The one thing about these light switches is, if you reach up behind you'll feel the button on the switch, you push the button after you pull it, and the plunger comes right out.
That allows you to take the panel off and everything. With this plunger in, it's harder to get to panel out. Here on this new switch, I can show you, here's that button. It kind of feels like the top of a little nail head. That switch is mounted in there like that. So you basically want to reach up on the outside of the switch and press that button. You can see it's pretty simple. There's just a little nut that threads into there that basically holds this into the dashboard of the truck. So you can see that I've gotten the plastic trim loose. You can kind of see that that plunger is kind of holding it. So I'll take that back out and now I can move this dash trim. Now you can see there's this big round thing here that I can almost get with my hand. Okay and this might be different on some vehicles. There may be a smaller nut that you'll have to use a screw driver on or something like that. Then you can pull the switch down. Usually it's a little easier to get it apart and you can see it better.
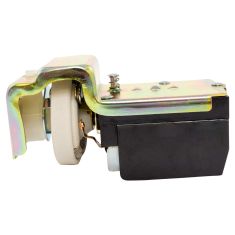
Okay, unfortunately I don't have enough hands to film it here, but basically in order to get this disconnected, just use a screw driver and pry the connection off. And there's your switch. Okay, so here's my original switch. Switch from 1A Auto. You can see everything's the same. All the same locations for the plugs and it is going to mount in there the same. So on this vehicle, there's nothing wrong with the switch so I'm just going to put it back in. So you put it up under there, plug it in. This can be a little difficult because it is sometimes hard to get the switch on there correctly. You just look at the plug, look at the switch and put them together correctly. Okay, just put the switch right up in there. It's got a little tab right there. Got to make sure it's in the right spot. Put your locking washer on there. Get that nice and tight. Then put our trim back and the plunger goes back in. Okay and we'll screw our trim back on and we're all set.
We hope this helps you out. Brought to you by www.1AAuto.com, your source for quality replacement parts and the best service on the internet. Please feel free to call us toll free 888-844-3393. We're the company that's here for you on the internet and in person.
SWA41688
In Stock
Product Reviews
Loading reviews
5.00/ 5.03
3 reviews
5 Stars
4 Stars
3 Stars
2 Stars
1 Star
3
0
0
0
0
Steve
December 16, 2018
Hey thanks for asking me about my recent purchase. Ordering was so easy . And the installation was as well . The switch went to my brother's 1978 ford pick up. The latest part is going on my wife's 2005 gmc yukon xl. I don't like it when things break but I know I can always go to A1 Auto for parts thank you Steve
Works great
Matt
September 29, 2019
Perfect replacement for my 1978 F-150.
Ive seen the light!
Denny
October 28, 2020
ordered a new headlight switch for my 1965 Fairlane 500 and it worked like dream. Accurate listings for older vehicles helps immensely as finding parts for this specific vehicle is always a chore. I will be back for sure A+++
Customer Q&A
does this switch have an internal dimme ?rMay 20, 2024
Preston V
10
Our parts are exact replacements for your vehicle's OEM parts. As long as your vehicle specifications match up with our listing, these parts will directly fit and function like the originals.
May 21, 2024
Kemal S
Customer service
877-844-3393
Monday - Friday 8:00am - 9:30pm ET Saturday - Sunday 8:00am - 4:30pm ET
Mercury is a registered trademark of Ford Motor Company. 1A Auto is not affiliated with or sponsored by Mercury or Ford Motor Company.See all trademarks.
Enter Vehicle Year Make Model
Specify your vehicle's year, make and model to guarantee fit.
Year
Make
Model
Options
Drivetrain
This part doesn’t fit a . Select from parts that fit.