Replaces
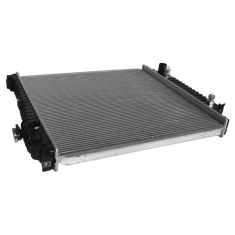
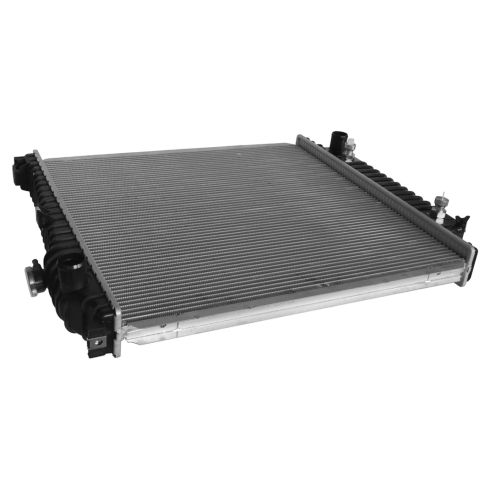
2006 Ford Explorer Radiator TRQ RDA82642
RDA82642
This part doesn’t fit a . Select from parts that fit.
Specify your vehicle's year, make and model to guarantee fit.
This part does not fit a .
Buy in the next and
Get it by: Tuesday, Feb 03 with expedited shipping
Recommended for your 2006 Ford Explorer
Frequently bought together
Specify your vehicle's year, make and model to guarantee fit.
This part does not fit a .
Part Details
- No
- Yes
- 1.5 in
- Top Left
- Yes
- Upper & Lower
- No
- Female
- 610 mm
- 24 in
- 1.25 in
- No
- Plated
- 23.06 in
- Bottom Right
- Aluminum
- 1.5 in
- Down Flow
- Plastic
- 7
- 1
About TRQ:
TRQ is a trusted brand dedicated to making every repair a success story by combining premium parts with easy installation. Each TRQ part is engineered by a team of automotive experts to meet or exceed OEM standards, delivering enhanced performance and maximum longevity. With rigorous in-house testing, the brand ensures superior fit and function across every product line. TRQ also provides customers with best-in-class, step-by-step installation videos—so you can complete repairs with confidence, whether you're a first-time DIYer or an industry professional.
Direct Fit Replacement
- Core thickness equal to the OE part. If radiator core is slightly thinner than the OEM, this can decrease overall performance and lifespan.
Premium Aluminum Core
- Engineered for top performance.
- Provides efficient cooling and heat-transfer.
100% Leak Tested
- Built to strict quality control standards.
Attention California Customers:
![]() WARNING: This product can expose you to chemicals including Lead and Lead Compounds, which are known to the State of California to cause cancer, and birth defects or other reproductive harm. For more information, go to www.P65Warnings.ca.gov.
WARNING: This product can expose you to chemicals including Lead and Lead Compounds, which are known to the State of California to cause cancer, and birth defects or other reproductive harm. For more information, go to www.P65Warnings.ca.gov.
Lifetime Warranty
This item is backed by our limited lifetime warranty. In the event that this item should fail due to manufacturing defects during intended use, we will replace the part free of charge. This warranty covers the cost of the part only.
Packaging:
Radiators may incur bent cooling fins or small imperfections during shipping or manufacturing. A few bent fins or small dents and scratches do not affect the fit or the function of the part. Neither our 60 Day satisfaction guarantee, nor the manufacturer's warranty, cover these types of insignificant damages.
FREE Shipping is standard on orders shipped to the lower 48 States (Contiguous United States). Standard shipping charges apply to Hawaii and Alaska.
Shipping is not available to a P.O. Box, APO/FPO/DPO addresses, US Territories, or Canada for this item.
Expedited is available on checkout to the United States, excluding Alaska, Hawaii.
Final shipping costs are available at checkout.

Created on:
Tools used
- Have a drain pan ready Loosen the white 8mm nut on the radiator drain plug Close the valve
- Have a drain pan ready Loosen the lower radiator hose clamp with pliers Remove the lower radiator hose from the radiator Let the fluid drain Disconnect the transmission lines with a quick disconnect tool Let the transmission fluid drain
- Disconnect the two breather hoses Loosen the two hose clamps with a flat blade screwdriver Remove the air intake
- Disconnect the radiator bottle hose Remove the two 10mm bolts from the radiator bottle Remove the radiator bottle Remove the 8mm bolt from the power steering reservoir Move the power steering reservoir to the side
- Remove the 10mm bolt on either end of the radiator fan shroud Slide back the hose clamp Disconnect the coolant hose from the radiator Pull up and remove the fan shroud
- Remove the two 10mm bolts on the radiator Remove the two 13mm bolts from the radiator mounting brackets Unclip the condenser hose Pull the clip out of the radiator Remove the 10mm bolts from the radiator Push the A/C condenser forward Lift the condenser forward Remove the 10mm from the condenser Disconnect the hose from the lower fan shroud Remove the lower fan shroud
- Disconnect the MAF sensor Check that the lower tube is disconnected Pull the air box up and out
- Pry the fastener out of the lines Pull the radiator up and out Remove the bracket mounts from the radiator
- Connect the brackets to the radiator Zip-tie the condenser into place Lower the radiator into place Cut the zip tie holding the condenser Press the condenser into the radiator Tighten the 10mm bolts with a magnet and extension Tighten the 10mm bolts that hold the bracket to the radiator Lift the radiator bracket into place Tighten the 13mm bolts to the bracket Clip the fastener to the hoses
- Bring the line up and over the radiator Lock the clips into place Insert the lower fan shroud into place Tighten the 10mm bolts to the lower fan shroud Insert the radiator hose and transmission lines into the radiator Tighten the radiator hose clamp Clip the clamp to the transmission lines Reset the clip on the radiator hose into the fan shroud Insert the shroud into place Tighten the 10mm bolts to the shroud Connect the coolant hose Close the hose clamp
- Lower the air box into place Connect the MAF sensor
- Connect the upper radiator hose Close the hose clamp Tighten the 10mm bolts to the coolant bottle Tighten the 8mm bolt to the power steering reservoir Tighten the 10mm bolts to the coolant Connect the hose to the radiator Fill the coolant and radiator to the appropriate level Run the engine
- Connect the air intake Tighten the hose clamps Connect the PCV and breather hoses
- Tighten the 10mm bolts to the coolant bottle Tighten the 8mm bolt to the power steering reservoir Tighten the 10mm bolts to the coolant Connect the hose to the radiator Fill the coolant and radiator to the appropriate level Run the engine
Hi, I'm Mike from 1A Auto. We've been selling auto parts for over 30 years. We're dedicated to delivering quality auto parts, expert customer service, fast and free shipping, all backed by our 100% satisfaction guarantee. Visit us at 1AAuto.com, your trusted source for quality auto parts.
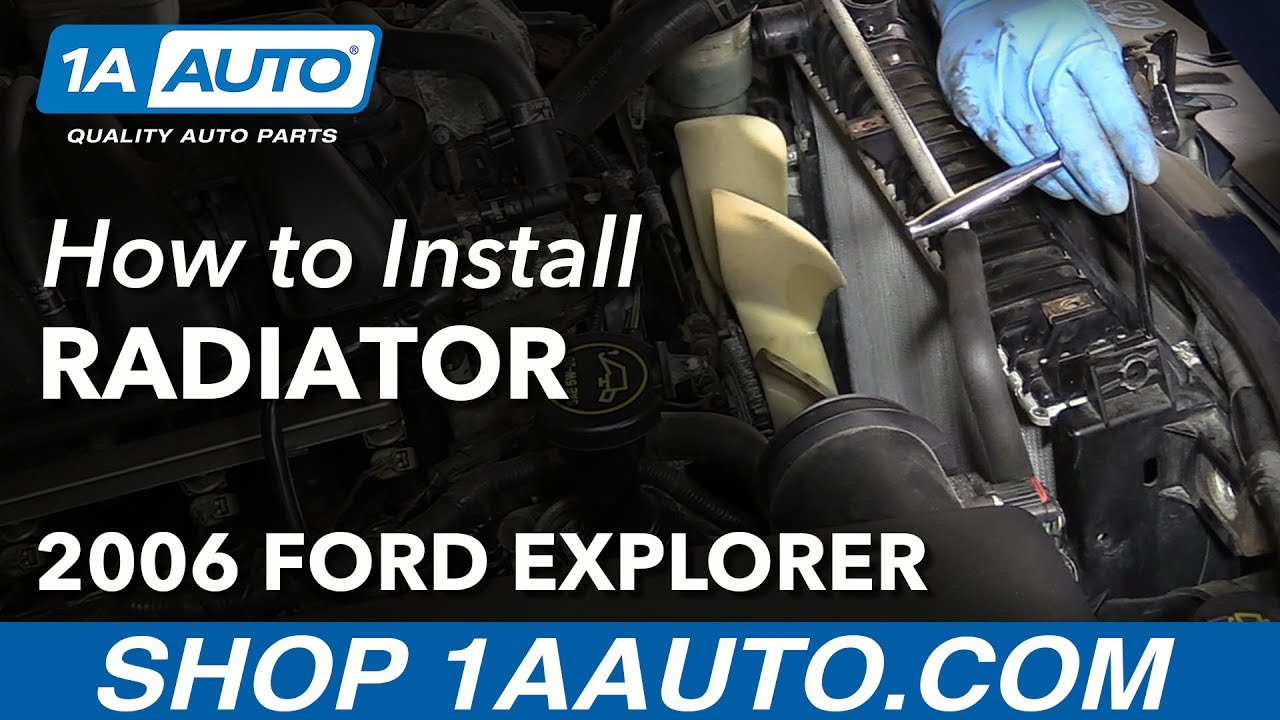
In this video, we're going to show you how to replace the radiator in this 2006 Ford Explorer. This vehicle has the 4.6 liter V8. If you like this video, I hope you do, please click subscribe, check out all our other videos for Ford Explorers as well as other makes and models and for all your parts needs and for a radiator for your Explorer, check out 1aauto.com. The link is below in the description.
Here are the items you'll need for this repair: new radiator from 1aauto.com, 8-13mm sockets, ratchet, socket extensions, pliers, transmission line quick disconnect tool, flat blade screwdriver, magnet, coolant, jack and jack stands, drain bucket, gloves, rags, safety glasses, zip ties, bungee cords, 8mm allen wrench
At the driver's side front of your radiator, there's a drain. You can see the little drain hole here. There's usually a white, eight millimeter nut here that you can loosen. It's also an eight millimeter Allen inside. Drain that. Loosen it up, and your fluid will start draining out. We've actually already drained the fluid, so we're just kind of going through the motions. You're not going to see any fluid drain out, but have a drain pan underneath to collect all your coolant. While the radiator's draining, remove the radiator cap, which will allow air in and the fluid to come out faster. Once your coolant's done draining, close the valve back up.
Now, just in case, move your drain bucket and we're going to disconnect the lower radiator hose. Squeeze this clamp, and it will actually kind of lock. Move it up the hose. Twist the hose to break it free and then pull it off. Check my hose up out of here. I just plug this up, just to stop the coolant from dripping.
To get the transmission lines undone, you'll need a proper sized quick disk connect. Take the plastic retainers off the transmission lines, and we'll get some transmission fluid coming out, so have an oil drain pan. Put the disconnects in, and you have to force it into the fitting and push this in as far as you can. Sometimes you have to twist these a little bit just to find the teeth that are holding it. That comes out. Move it over to the other one.
Actually, once you work it around a few times, it'll come off. You're forcing that quick disconnect in there, work it up and down, twist it and just keep working and obviously, you pull in sometimes to try and get the disconnect in there, and then pull out. Eventually, it'll come off.
Remove your air intake tube. There are two fittings. You just press the green tab to the side, and pull them off. Again, the green tab. Pull it up and off, and then loosen your two band clamps, and pull the tube out with a flat blade screwdriver. Remove the hose from the radiator fill, and then remove the two 10 millimeter bolts that hold the bottle on. There's also a wiring harness clip back here that you'll have to pull off.
Remove the 8 millimeter bolt that holds the power steering reservoir in place. Then just pull it up and kind of set it off to the side. A 10 millimeter bolt holds the upper radiator shroud on here, and there's one right on the other side as well. We'll remove those. Use a good pair of pliers. Squeeze this clamp, and this little tab will actually lock it open. That's all right. Then twist the radiator hose and pull it off. Set it back as well. Then you can kind of pull up and back towards the engine, and pull your upper shroud up and off.
Two 10 millimeter bolts, one here on the driver's side, same place on the passenger side. We'll remove those. We're going to remove the two 13 millimeter bolts that hold the radiator and mount brackets, one on this side and in the same area on the other side is your 13 millimeter. Unclip the condenser hose there and on the passenger side, pull this clip out like that. Then take the A/C line and kind of move it out of the way. Then you can pull your radiator and condenser. It's right down in there. It's a 10 millimeter bolt and you got to remove that one and then the one on the other side, which we'll need a longer extension for, because it's further down in.
Place a long extension down in and get that 10 millimeter bolt and then remove it. You'll want stick magnet to retrieve it and the same thing on the other side. We're going to push the A/C condenser forward and try and lift it up and out of the radiator mounting brackets. Pull your condenser forward and free of the radiator mounting brackets.
Now you'll want to unbolt the bottom of your fan shroud 10 millimeter bolt here, and there's the same one on the other side. Take your shroud and just make sure that the lower radiator hose outlet is going to clear it. Then the other side, pull it down. Pull that out. Pull the hose from the lower fan shroud. Pull that out. Remove the safety clip from this mass air flow center connection. Remove that, and then we're actually going to remove our air box.
Your air box is supposed to be attached to this baffle up here, and you need to grab onto the ears, pull them, and disconnect it from the air box first. Ours has been disconnected, but you can then just pull up firmly and then get it from your radiator and pull it out. There's a fastener right here that holds a hose clamp on. Use a flat blade screwdriver to pry up the radiator support bracket. Pull the radiator up and kind of side to side.
You have to clear an A/C hose on this side from the bracket and once you have that, it will come up and out. Once you get your radiator to this point, just take your bracket, pull off to the side and pull the radiator from it. Actually, this radiator, even though it's dirty, is still in okay shape and we're just doing this to show you. We're not going to put a new radiator in when we don't need one.
To reinstall, take your brackets from the side and slide them on. You just want to make sure that this part here goes up above this part of the radiator here. Just putting zip ties through the body, and just trying to get the condenser kind of somewhat up into place a little bit, just so it's out of the way when I bring the radiator down in. Take a small bungee and just pull that back out of the way. Try to make a nice little pocket to go down into.
Put your radiator up. You've got these brackets that have to go down in. Feed the assembly down in slowly and get this one in underneath that hose first. Then you'll have to lift up on the condenser and get the other one down in. Lift to go back. With everything kind of preliminarily in place, we can cut the zip tie holding the condenser. You can remove it. These cushions on the bottom of the condenser should go back into the hole in the radiator bracket, and work them down in, probably use a screwdriver to help you push it down. Push the condenser up and make sure it goes in to its mounting holes in and down. Going to bolt in the top of the condenser. Try and create some space between the radiator and the bracket. Pull the condenser in and the bolt down in without dropping it. Just thread it in.
This side, I'm going to put the bolt on my magnet and try and execute the same thing and down in. See if we can start it. Magnet off, tighten it up and tighten up this side. Reinstall your 10 millimeter bolts that hold the brackets to the radiator. Tighten those up. On each side, the mount on the bracket needs to go in to this mounting surface here, so just lift up, pull it over, put it down in, and the same thing on the other side.
Let's thread in our 13 millimeter bolts that hold the bracket to the body and tighten those up. Put this pin or clip back in that holds the hoses down here, and then we can take off this bungee and bring this up and over and back into place. Push in right there, and lock this clip back into place as well. Put our lower fan trap back up in place. Take your transmission lines and push them kind of out of the way. Start the two bolts. We'll tighten up these 10 millimeter bolts. Then we'll bring our lower radiator hose down first.
Put it in place, and the transmission lines are actually right into place. These transmission lines, make sure there's no dirt on them. Push in. Hose clamp is still locked. Once you get it there, you can just push it and it tightens up. Bring it a little bit closer to the edge. Put the clamps back on, and just make sure that your drain is nice and tight before you refill. Make sure you reset the clip of the lower radiator hose into the fan trap.
Feed the shroud in. You can see there's holes in the shroud that correspond to tabs on the lower shroud. You lower it down in and get one side, and then make sure you can feed the other side on too and lift it up gently. Get this clip on, and make sure it goes back down correctly. You can also pull out on the lower shroud a little bit to help lines things up. Then re-install our two 10 millimeter bolts: one on this side, same location on the other side. Tighten those up.
Reinstall the air box. There's two pins on the side that go into holes here in the body and then the two on the bottom go into cushions on the bottom of the fender. Lower it down into place with the air intake tube first, and then you have to get the sideways in started just a little bit first. Then push it over enough to get the bottom ones down and in. These ears should be pulled back in and locked onto these hooks, but it's a pretty tough operation, so just make sure that this is pretty well lined up with that rubber intake shroud. Put your upper radiator hose back in and place and squeeze the clamp. Bring it into place and release.
Power steering reservoir, putting it back into place. It has a little tab down here that inserts into the upper radiator shroud and the eight millimeter bolt that holds it. Reconnect your mass airflow sensor. Lock it in place and then put your air hose back in place. Make sure it goes on there correctly. Tighten up this one with a flat blade screwdriver. Reconnect the sensors. Make sure you hear a click.
Put your radiator overflow bottle in place. This tab goes into a slot down in here and then this harness may be connected onto here. As you can see, the clip has come undone on ours. Let's slide the bottle into place. Then put your two 10 millimeter bolts on and tight those up.
Reconnect this hose. We'll refill the radiator first, and then fill the coolant bottle to the fill line. Run the engine, let the air bleed out of the system, let the vehicle cool down, refill it, and then just make sure you check your radiator fluid the first few times that you drive the vehicle. Put the cap back on once you fill it and this vehicle. You can check or fill the transmission fluid from up top. You don't really lose much during this repair, but if you were concerned about it, you could find the fill underneath and add some transmission fluid.
Thanks for watching. Visit us at 1AAuto.com for quality auto parts, fast and free shipping, and the best customer service in the industry.
RDA82642
877-844-3393
Monday - Friday 8:00am - 9:30pm ET
Saturday - Sunday 8:00am - 4:30pm ET
Specify your vehicle's year, make and model to guarantee fit.
This part does not fit a .


