Hi, I'm Mike from 1A Auto. We've been selling auto parts for over 30 years.
Hi, everyone. Sue from 1A Auto. Today we're going to be installing a cam position sensor in our 09 Honda CRV. If you need this part or any other part for your car, click the link in the description and head on over to 1AAuto.com.
Our first step to remove the cam position sensor, which is located back here, is we have to remove the air box. First thing I'm going to do is disconnect the mass airflow sensor by pushing down on the tab and wiggling the connector up. Then I'm going to disconnect the little clip here. I'm going to use a pair of needlenose, squeeze the tabs and give it a pull.
I'm going to remove the air box hose to the throttle body first. This is a 10 millimeter socket or Philips head screwdriver. I like to use a socket so it doesn't strip out. Just get it loose enough. Then I'm going to remove the, one, two, I think there's four, five tabs on the air box. One, two, three, four and then five. And remove the top lid of the air box, pulling it up. Sliding it off the hose. Getting that out of the way. Remove the air filter.
To remove the lower end of the air box housing, you're going to remove two mounting bolts and they have a 10 millimeter socket head.
That is a rubber bushing. I might have to use a lubricating spray to guarantee that's going to slide up with no problem. With two hands on it, firm grip, walk, just walk it back and forth. You're going to have to reach down and disconnect the air intake line from the window well. And you can lift this lower housing right out.
I disconnected the EGR connector so that the camera could give you a better view. At the end of my extension here on that blue connector is the cam position sensor. The instructions say to remove the EGR valve but in this case, I have a quarter inch, 10 millimeter swivel socket, and I think I'm going to be able to remove it without that. If you do not have a swivel socket, you will have to remove the EGR valve to access the cam position sensor.
Now with my quarter inch, 10 millimeter swivel socket and my extension, I'm going to go in there and guide, take off the mounting bolt to this cam position sensor. Break it free. You definitely going to need a flashlight, a light, it's kind of difficult to see. I'm going to grab these needlenose and grab that bolt and slide it out so I don't lose it.
Now I'm going to take my pliers and reach in there, give the sensor a little twist and pull at the same time. I'm going to disconnect the connector by pushing down on that tab and pulling off there. There's the connector. And now I can really grasp onto that cam position sensor and give it a good twist and hope for the best. There it comes.
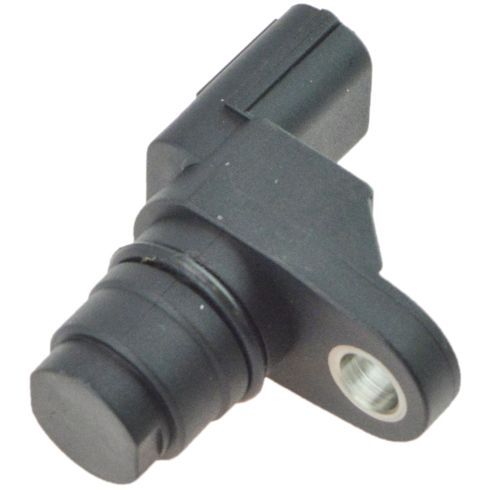
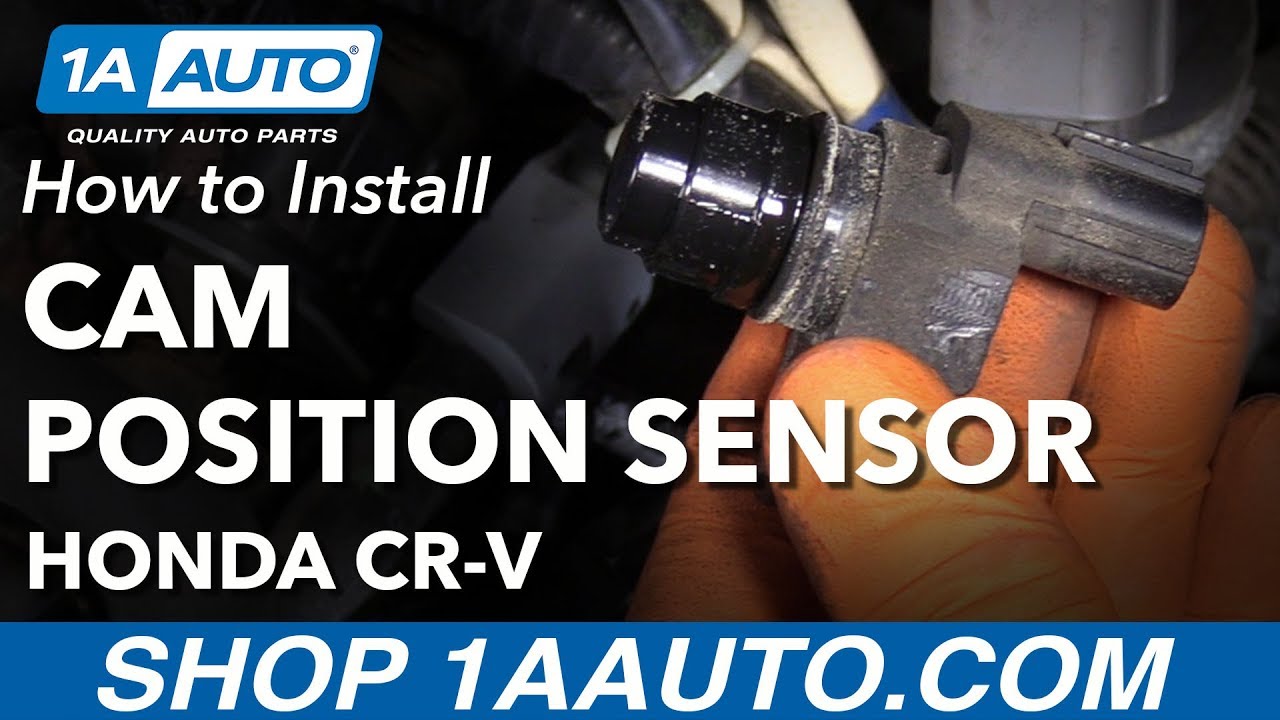
Here I have a cam position sensor. This one is the factory one that I just pulled out of my 09 Honda CRV and this is my new cam position sensor from 1AAuto.com. They mount the same. They're the same length. And the connector is identical. The old one is cracked from me taking it off. If you need this sensor or any other parts for your car, check out 1AAuto.com.
Now I'm going to install the new cam position sensor. You got to be really careful if you're going to reuse the plier method because you cannot crack the new one. I'm just going to guide it in gently and I have lubricated the O-ring, and I'm just going to give it a little push. Bring it right around til the bolt lines up. I have my 10 millimeter head bolt, and I'm going to put it into my quarter inch drive swivel socket. I'm going to guide it right down in there. I'm going to start this by hand.
Now that I've snugged that up by hand, I'm going to torque it to the specs of 8.7 foot pounds. Now I'm going to reinstall my cam position sensor connector. Guide it down there. Reuse my pliers. It's a tight spot. Now it's on and I can just give a slight push on til it clicks. There we go.
Connect that. Once again, you don't have to disconnect the top of the EGR valve solenoid. We did it so you at home would have a better view with the camera. It also helped my view and I didn't have to remove the EGR valve like the directions because I do have a quarter inch swivel that fit down there nice and smooth.
I'm going to put in the lower air box. I'm going to mount this hose first which is the air intake hose. Fresh air from the fender well area. Just keep pushing and tugging, it's a tight fit. There we go. Right into place. The rubber bushing over here, I took in and lubed up so I could pop this on a lot easier. Now we can guide it right over that pinnacle pin and put in our two mounting bolts with the 10 millimeter socket. There you go. Just going to start it, I'm going to put my other one in. Make sure it starts. You can snug those right down. Put our air cleaner in, in the top of the air box.
The air cleaner's pretty self explanatory. It has a cut out in the design, in the way it sits in there. And now I'm going to install the top of the air box. I'm going to slide it into the firewall end first and then guide this air intake hose on. You see there's a notch where the rubber's supposed to sit. Lines right up. Now I can push it down on top of the air filter and snap my five clips in. My housing clips. You do that by pushing on the flex part in the back and letting it slide right up. Some are easier than others.
And now I'm going to tighten down the air hose clamp with my 10 millimeter socket. Once again, that's just snug. You want it tight you don't want any air seeping in or the mass air flow sensor will set a faulty code. And now I can run my harness to my mass airflow sensor. Put in the guides that the manufacturer provides there. Clip it in the body clip on that housing and slide the connector right on. And you are done.
Thanks for watching. Visit us at 1AAuto.com for quality auto parts, fast and free shipping and the best customer service in the industry.