Brought to you by 1AAuto.com, your source for quality replacement parts and the best service on the Internet.
Hi, I'm Mike from 1A Auto. I hope this how-to video helps you out, and next time you need parts for your vehicle, think of 1AAuto.com. Thanks.
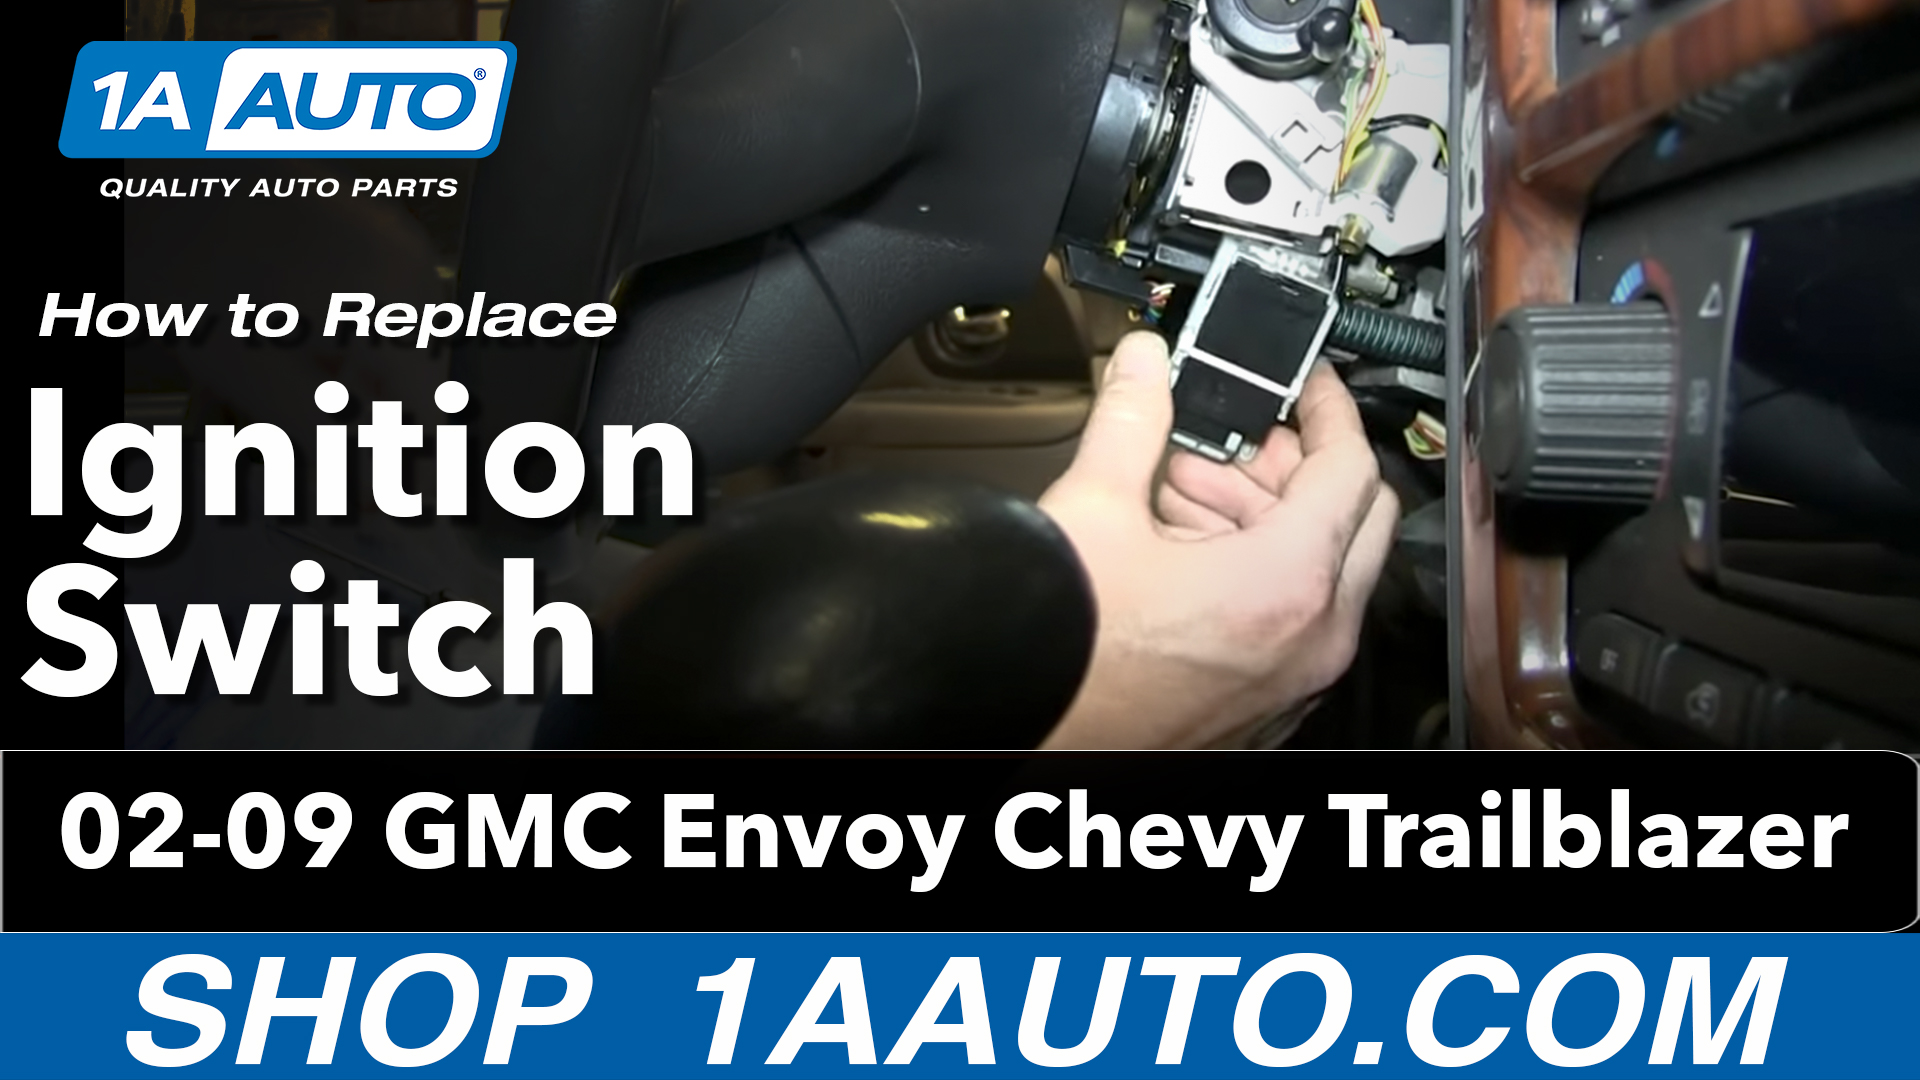
In this video, we're going to show you how to replace the ignition switch on this 2003 GMC Envoy XL. It's the same part and similar process on the regular Envoys from 2002 to 2009. The items that you'll need for this is a new ignition switch from 1AAuto.com, a flat blade screwdriver, Phillips screwdriver, 7mm and 8mm socket and ratchet and E5 inverted Torx bit.
Using an 8mm socket and ratchet, just loosen up and remove your negative battery cable. Now remove these two 7mm bolts: one right here and one right over here. We'll fast forward as Mike does that. Now, pull this panel down. Then remove these 7mm bolts and these 7mm bolts. You can pull that panel down and off.
Pry out the tilt lever on your steering wheel. Then remove these two Phillips screws and then, pull this down and remove these two Phillips screws. We'll fast forward as Mike does that. Now, pull this panel forward and pull it up and out. If any of those white caps falls off, just pick it up and put it back into place. Then you want to remove these two T25 Torx bolts and ours is missing, so we're not going to be able to do that, but there should be two T25 Torx bolts.
Now the cover's in two pieces, a bottom and a top piece, so you want to push back with your thumb and then pry down with a screwdriver around the ignition switch, and that should pull down. Then, the bottom should pull forward out of the top. Now tilt your wheel back up and there's an E5 Torx screw, it's a little bit hard to see but it's right up in there. We'll fast forward as I remove that.
Now lift from the back of the panel, just pull it up and then slide it back. Push back on this tab and pull these wires free. Then push in on the tabs on either side of this switch and just push in on this tab, pull it down and this tab, and if it reengages just push it again, and the switch will slide out. Then, just push in on the tabs on the harness and disconnect it.
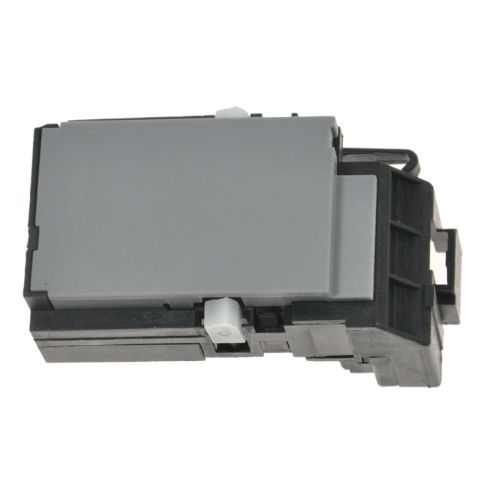
On the left is the old switch, on the right is the new one from 1A Auto. You can see they're identical and they'll fit exactly the same. Make sure everything is in the right position, you can see here, since you don't have a switch in there, this is moving really freely. To move it all the way back you need to press this little lock button and move it all the way, take your key out. The switch will rotate, you can see if you rotate it back it'll go a certain distance and then you have to press really hard, and that's actually the start function. Rotate it all the way back so you can see this space and then rotate that space so it's just about to go down into the switch. Reconnect it. Put the switch up in place and then use your screwdriver and get these wires back up into the clip and then before you connect the battery, just make sure it feels right, click it to run and start. Then again you have to press the button and come back. Reconnect your negative battery cable and tighten it up. All right, the battery's hooked up.
Now, for reassembly, you may want to disconnect your battery again before you proceed, just to make sure it doesn't run down. Then you feed that top panel back in, you need to feed it under the steering wheel and then clip it into place and then rotate your steering wheel up and put that E5 Torx bolt back up in there. Line up the tabs on the bottom panel, push it back up into place. Do the same thing on this side. Once you have it all re-clipped together you can replace those two T25 screws. Tilt the steering wheel down and push this panel back into place. You want to angle the bottom in first and once you get it to a certain point, there's clearance for the top, you just tilt it back and push it in. Then we'll fast forward as Mike replaces those four Phillips screws and then replaces that lower panel and the 7mm bolts that hold it in place. Then that bottom panel and the 7mm bolts that hold that up. After that, if you haven't already, reconnect your battery and you should be all set.
We hope this video helps you out. Brought to you by www.1AAuto.com, your source for quality replacement parts and the best service on the Internet. Please feel free to call us toll-free, 888-844-3393. We're the company that's here for you on the Internet and in person.