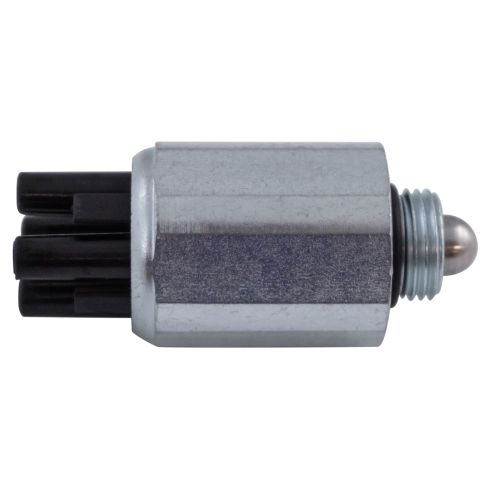
This new transfer case vacuum switch is a high quality, value priced, aftermarket replacement part.
If defective, your front axle disconnect vacuum motor will not activate to engage your front axle to 4WD from 2WD. This in turn, will cause your 4x4 shift light not to indicate 4WD, even though your transfer case is now in 4WD mode. With this situation, along with not getting proper traction, can cause damage to your transfer case!
Why search through junk yards hoping to find a used 4x4 vacuum switch when you can have it brand new! Replace that defective transfer case vacuum switch now before the bad weather hits!
Specifications
Vacuum operated
Replaces dealer part number: 53001101
Mounts directly on transfer case
Operated by the transfer case range rod
Fits Jeep and Dodge 4 wheel drive vehicles that use the following transfer cases:
New Process Gear:
NP207
NP231
NP241
NP241HD - Has a PTO (Power Takeoff Gear)
New Venture Gear:
NV231
NV241
NV241HD - Has a PTO (Power Takeoff Gear)
Example of how to locate and find which transfer case your vehicle uses ==>
Example of a transfer case identification tag (circular) that is located on the back side of the case. This example indicates that it is a 231J transfer case.
Note: If you have any questions about this fitting your application, please call your local Chrysler, Dodge, or Jeep dealer with the above part number.
This 4x4 Chrysler, Dodge, & Jeep vacuum switch is built to strict quality control standards and makes a great replacement!
Item Condition:New
Attention California Customers:
WARNING: This product can expose you to chemicals including Lead and Lead Compounds, which are known to the State of California to cause cancer, and birth defects or other reproductive harm. For more information, go to www.P65Warnings.ca.gov.
Lifetime Warranty
This item is backed by our limited lifetime warranty. In the event that this item should fail due to manufacturing defects during intended use, we will replace the part free of charge. This warranty covers the cost of the part only.
Returns: Parts with electrical components cannot be returned once installed.
FREE Shipping is standard on Orders shipped to the lower 48 States (Contiguous United States). Standard shipping charges apply to Hawaii, Alaska and US Territories. Shipping is not available to Canada.
Expedited is available on checkout to the United States, excluding Alaska, Hawaii and US Territories as well as P.O. Boxes and APO/FPO/DPO addresses. Final shipping costs are available at checkout.
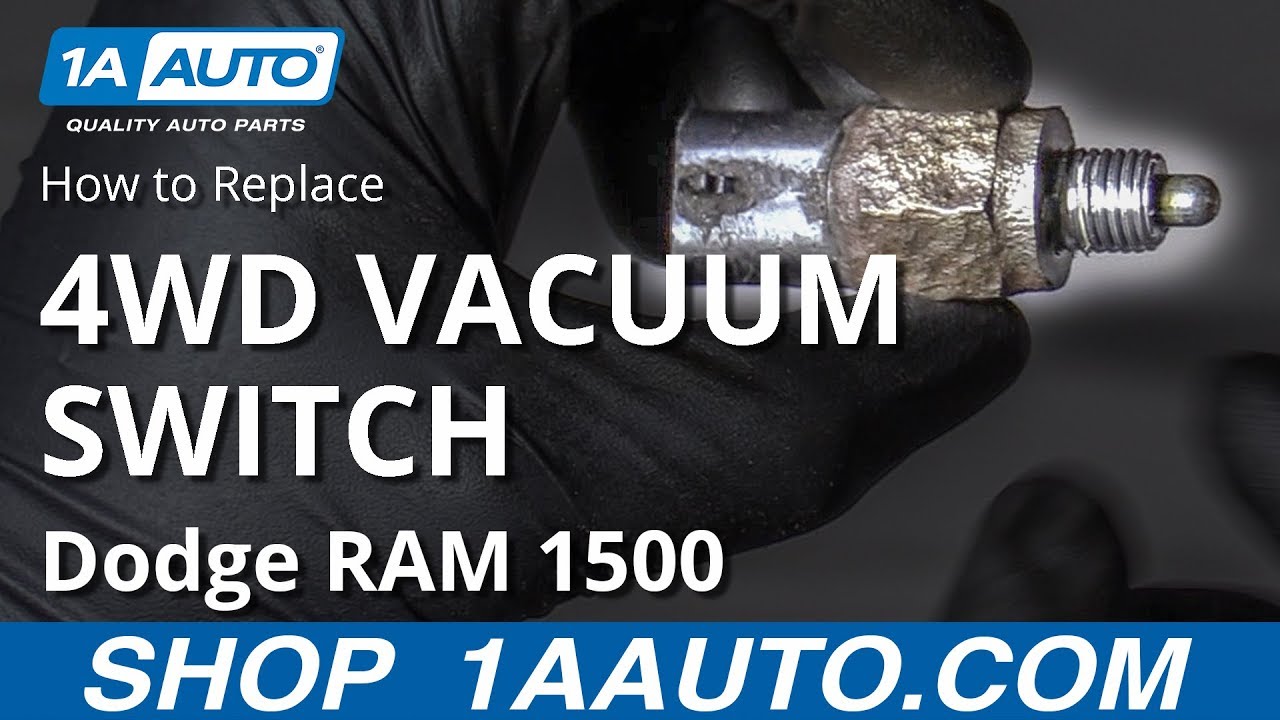
How to Replace 4WD Vacuum Switch 1994-2002 Dodge RAM 1500
Created on:
Tools used
Thread Sealing Tape
22mm Wrench
1. Removing the 4WD Vacuum Switch
Disconnect the electrical connector
Remove the vacuum switch with a 22mm wrench
2. Installing the 4WD Vacuum Switch
Apply thread sealant
Tighten the switch with a 22mm wrench
Connect the electrical connector
Hey, friends. It's Len here or 1A Auto. Today we're going to be working on our 1996 Dodge Ram 1500. I want to show you something very basic. Removing and reinstalling a four wheel drive actuator indicator. It's going to be super easy, I can do it and you can do it too. As always, if you need any parts, you can check us out at 1aauto.com. Thanks.
Okay, so we're underneath the vehicle and we found our four wheel drive actuator. Here's our indicator switch right here. This is the electrical that leads to it. Just grab this right here, give it a nice little tug, it comes right off. You check your connectors, make sure they look good, no funny colors. We'll set that aside. We're going to use a 22 or you can use a 7/8" wrench to remove this. Turn it to the left counter-clockwise. So there's our indicator. When you shift into four wheel drive, there's a shaft inside here, it comes sliding over. Bonk, pushes this in, flips on the light up top and it says, hey, you're in full wheel drive. It looks like it's fairly easy to do.
We're just going to clean this up. If you have a brand new one, of course, you would put in a new one. If you're just taking this one out to inspect it, you're going to put a little bit of a thread sealant on there and we'll reinstall it. I'm just going to go with a quick layer of thread sealer on here just because there is a little bit of differential oil inside this, because it comes up inside here and it runs through this tube. So we get that on there. I'm just going to start this into the threads there. Just thread this down as far as we can go and we're going to bottom it right out.
Okay, it bottomed out. Just give it a teeny bit more and that's it. Grab our electrical. If you wanted to, you can put a little bit of dielectric grease in there. It's a special kind of grease that allows current. I'm just going to connect this in. We've got it locked in right there, give it a nice tug. Awesome. Well, that's it. Easy peasy. Down the road you go, friends.
Thanks for watching. Visit one 1aauto.com for quality auto parts shipped to your door, the place for DIY auto repair. If you enjoyed this video, please click the subscribe button.
FWA72078
In Stock
Product Reviews
Loading reviews
3.00/ 5.01
1review
5 Stars
4 Stars
3 Stars
2 Stars
1 Star
0
0
1
0
0
part missing
Richard
December 10, 2017
o-ring was not included ! old one not usable. i had to make a special trip to a hydraulics company to fond one
Customer Q&A
My 4wd light will not turn off on my 98 ram 1500 4x4 but I’m am in 2wd confirmed any suggestions?January 18, 2020
Robert V
What size deep socket is this? Or any better way to remove it? And will a bad switch like this also cause my 4x4 light to stay onApril 30, 2020
Bruno E
10
Thanks for your inquiry. Written and video installation instructions are found on the product page under the "How-To & Tools" tab.
We're constantly adding new installation video instructions. If we do not have one for your vehicle on the product listing page, please check again at a later time or check our Video Library to see similar repairs here: https://www.1aauto.com/videos
April 30, 2020
T I
What size vacuum lines does it take?September 22, 2020
Jonathan H
10
Thank you for your inquiry. Actual Measurements are not listed or available. Our parts are exact replacements for your vehicle's OEM parts. The original part number for this replacement dealer part number: 53001101 As long as your year, make, and model match up with our listing, these parts will directly fit and function like the originals. Please let us know if you have any other questions. Thank you!.
September 22, 2020
Curtis L
I replaced a 1992 231 with a 98 231hd. Is this part compatible?May 1, 2022
John D
10
This part is listed to be a direct replacement for the vehicles listed on the 'Vehicle Fit' tab.
May 2, 2022
Andra M
Customer service
877-844-3393
Monday - Friday 8:00am - 9:30pm ET Saturday - Sunday 8:00am - 4:30pm ET
Enter Vehicle Year Make Model
Specify your vehicle's year, make and model to guarantee fit.
Year
Make
Model
Options
Drivetrain
This part doesn’t fit a . Select from parts that fit.