Brought to you by 1AAuto.com, your source for quality replacement parts and the best service on the Internet.
Hi, I'm Don from 1A Auto. I hope this how-to video helps you out, and the next time you need a part for your vehicle, think of 1AAuto.com. Thanks.
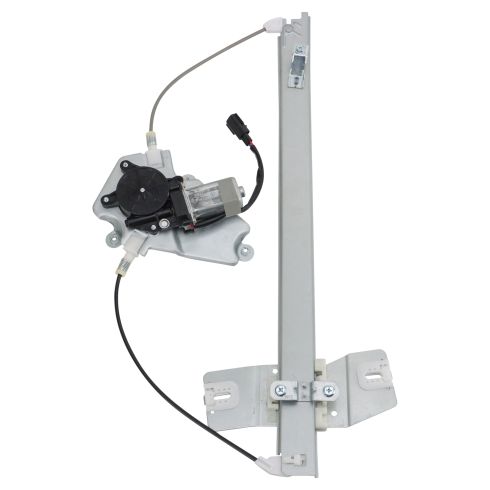
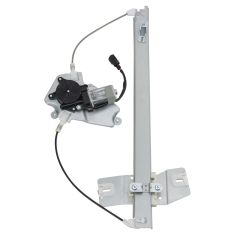
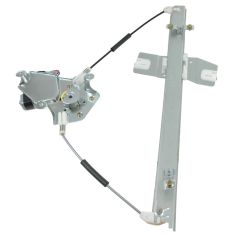
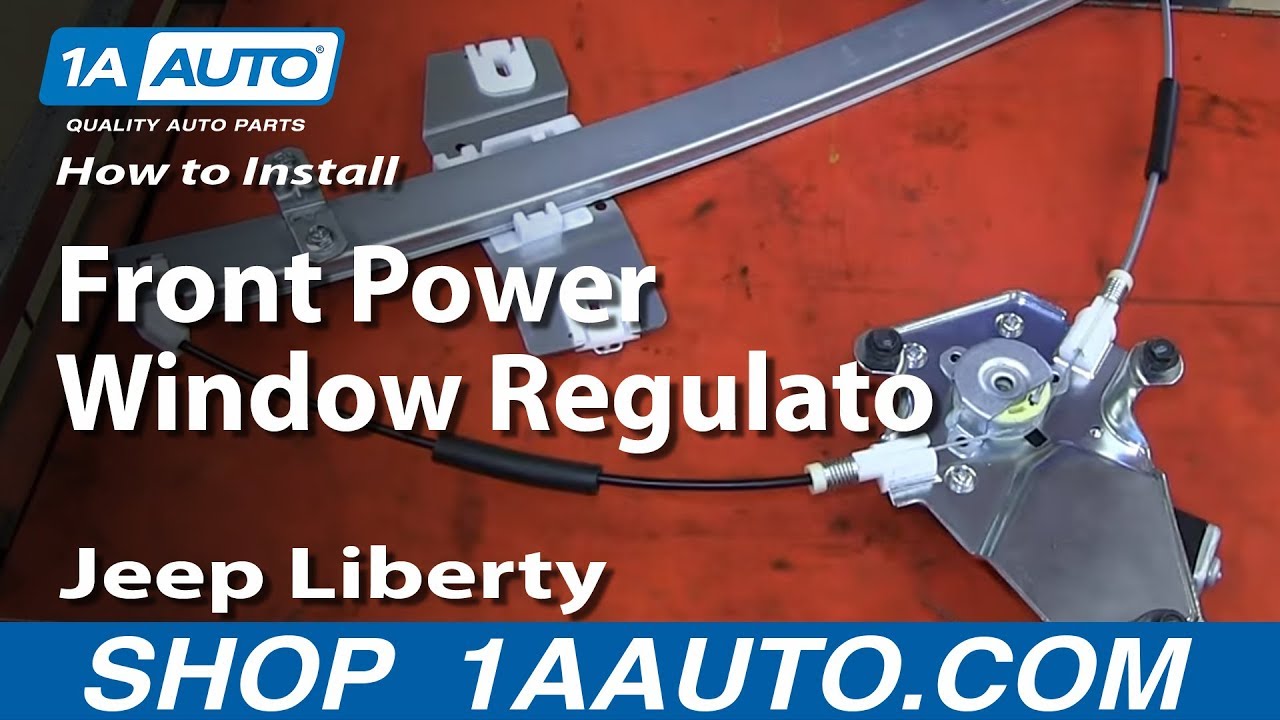
In this video, we're going to show you how to replace a front power window regulator on this 2006 Jeep Liberty. We'll show you on the driver's side, but the passenger's side is the same procedure. It's the same part and process on these vehicles from 2002 to 2006. The items you'll need are new window regulators from 1AAuto.com, a flat blade screwdriver, a Philips screwdriver, and a 10mm socket and ratchet. If you drive a 2006 Jeep Liberty, it's important that before purchasing a new window regulator you first locate your manufacturing date on your vehicle. Manufacturing dates can be found on the inside of the driver's door, as you can see on this picture. You'll notice on 1AAuto.com we have two types of regulators for two different manufacturing dates. If yours was made after February of 2006, you're going to need the other regulator.
Start off by prying out this little panel behind your door handle. Now remove this Philips screw, and this one down in your pull cap. We'll just fast-forward as Don does this. Now, pull out around the door panel to release the clips. When you get to the top, pry the door panel out. Once the clip pops free, pull the door panel up and off. On the back of your door panel, you want to release the clip on your door handle rod, and pull the door handle rod down and out. Then you want to push the tabs on both harnesses and release them.
Now, you want to remove the speaker. It's held in by these three Philips screws. We'll just fast-forward as Don removes those. Once you remove all three bolts, pull the speaker forward, push on the tab on the harness, and disconnect it. Then just remove your water shield. You want to just carefully peel that off the door, pull the harnesses, and your door handle rod through it. Ours is a little bit easier because it had been removed before. Take your time not to damage it.
Use a flat blade screwdriver and pry out these clips. Now push the window back and out of the regulator. Then push it up. If your window is in a different location when it breaks, you do the same process wherever it's at. Make sure your window is up, and tape it up. Now loosen these three knots. Then lift it up, and push those studs through the holes. Now do the same thing for these three bolts on your motor. Now push the red clip on your window motor. Then push the tab on the harness and pull it free.
We're just going to fast-forward a little bit here as he works the regulator out of the window. You want to lift the regulator up of the top inside corner of the door. Then feed it down through that hole. It takes some time to maneuver it out. On the left is the new window regulator from 1A Auto; on the right is the original. You can see the new window regulator from 1A is a little different, but it is going to bolt in, function, and plug-in exactly the same as the original.
Remove the three 10mm bolts from your old window motor bracket and put them into your new one. You don't want to put them down all the way so that you can hang the motor back up onto the door. Loosen these three knots on your window regulator. Now feed your window regulator back up into place. Then you want to just angle it so you can get your motor and your regulator back into place. You can hang them up. Then you put the bolts through the holes. Slide them down. Then, you want to do the same thing for motor. We'll just fast-forward as Don tightens all six of those bolts back up.
Reconnect your motor harness and push that red clip back in. Remove the tape on your window. Carefully lower the window back down into the door. You want to line up the studs on the window with the slots on the regulator. Once you have them lined up, just push the window back into the regulator. We'll fast-forward here as he puts the door handle rod, the lock, and the harnesses back through the water shield, and then pushes the water shield back into place.
Reconnect your speaker and line it back up. Then replace those three bolts. We'll fast-forward as Don does this and tightens them up. Now, to replace your door panel, push the harnesses back into place, push the door handle rod back into place, and re-clip it. Then line your door panel up, push it down onto the window sill and over that lock. Now make sure your clips are lined up and hit them in around the door panel. We'll just fast-forward here as Don replaces those two Philips screws and replaces that little panel behind the door handle.
We hope this video helps you out. Brought to you by www.1AAuto.com, your source for quality replacement parts and the best service on the Internet. Please feel free to call us toll-free, 888-844-3393. We're the company that's here for you on the Internet and in person.