WARNING: This product can expose you to chemicals including Lead and Lead Compounds, which are known to the State of California to cause cancer, and birth defects or other reproductive harm. For more information, go to www.P65Warnings.ca.gov.
Lifetime Warranty
This item is backed by our limited lifetime warranty. In the event that this item should fail due to manufacturing defects during intended use, we will replace the part free of charge. This warranty covers the cost of the part only.
FREE Shipping is standard on Orders shipped to the lower 48 States (Contiguous United States). Standard shipping charges apply to Hawaii, Alaska and US Territories. Shipping is not available to Canada.
Expedited is available on checkout to the United States, excluding Alaska, Hawaii and US Territories as well as P.O. Boxes and APO/FPO/DPO addresses. Final shipping costs are available at checkout.
How to Replace Liftgate Handle 2003-04 GMC Envoy XL
Created on:
Tools used
Flat Blade Screwdriver
Rust Penetrant
10mm Socket
Slip-Joint Pliers
Ratchet
1. Removing the Liftgate Handle Panel
Pull off the liftgate trim panel by hand
Remove the five 10mm nuts from the liftgate handle panel
Unclip the liftgate handle latch rod
Disconnect the liftgate wiring harness
Pull the liftgate handle panel off from the outside
2. Removing the Liftgate Handle from the Panel
Remove the liftgate handle pin
Remove the liftgate handle spring
Pull off the liftgate handle rod
Pull the liftgate handle off of its panel
3. Installing the New Liftgate Handle into the Panel
Put the new liftgate handle into the panel
Clip the spring onto the liftgate handle
Push the liftgate handle rod into the handle
Feed the pin into the liftgate handle
Put the C-clip onto the liftgate handle pin with pliers
4. Reinstalling the Liftgate Handle Panel
Put the panel into the liftgate using the studs to locate it
Snap the panel into place
Fasten the five 10mm bolts onto the panel
Reconnect the liftgate wiring harness
Clip the latch rod onto the liftgate handle
Test that the latch rod works
Apply penetrating oil to the latch
Test the liftgate handle
Push the liftgate trim panel into place using the locating tabs
Snap on the liftgate trim panel
Brought to you by 1AAuto.com, your source for quality replacement parts and the best service on the Internet.
Hi, I'm Mike from 1A Auto. I hope this how-to video helps you out, and next time you need parts for your vehicle, think of 1AAuto.com. Thanks.
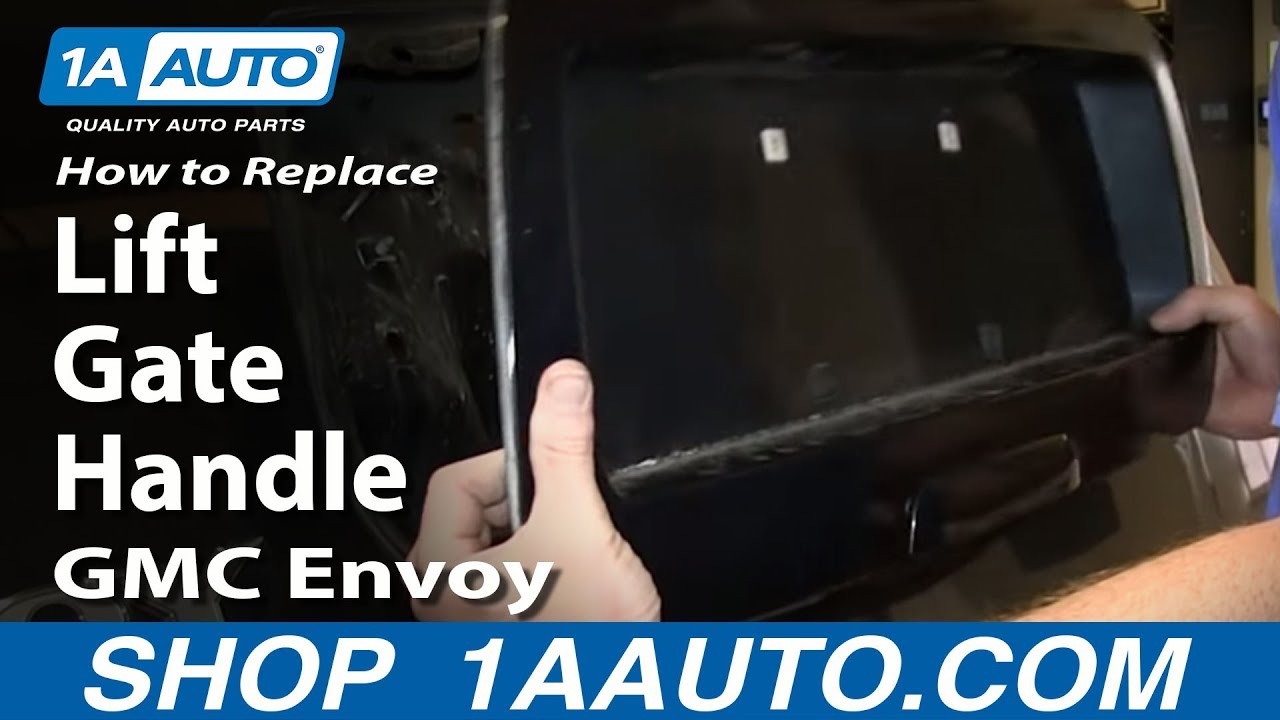
In this video we are going to show you how to replace the liftgate handle on this 2003 GMC Envoy XL. It's the same part and similar process on the XLs from 2003 to 2004 and on the regular Envoy from 2002 to 2009 an the items that you'll need for this are a new liftgate handle from 1AAuto.com, 10mm socket and ratchet, flat blade screwdriver and a pair of pliers.
Pull down on this panel, and then, pull back and down on this top part. Once you release all the clips, the panel will just pull free. Then, you want to remove these five 10mm nuts and we'll fast forward as Mike does that. Now, pull this clip down and off this door handle rod and then just pull the rod free. For the clip right up in here, pry up and slide that down, and you can just pull here, and then clip this, and you want to kind of straighten this out maybe even push it up into this hole. Now, don't close your tail gate but reach under and pull. Snap it out and this panel comes off.
You just squeeze the end of the clip to round it out it will fit through the hole then tap it through to get it started and then pull it down through the end and I had to use a little bit of penetrating oil here or something it would have been a little bit easier. Then, there is a spring right here, it's clipped on one end. You just kind of have to pull it up and out of the clip that is closer to my body there and it comes up and out and then this rod kind of rotates up. Turn it to get the peg out and then the handle comes up and out.
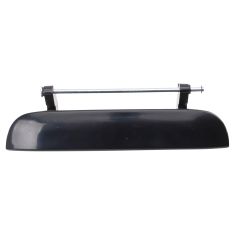
Here, you can see, on the left, is our original handle, and on the right, is the new one from 1A Auto. It's exactly the same; it will fit just like the original. Take your new handle and put into place and, for this spring, we just kind of push it down. It pushes down and clips in. You have to kind of lock this leg into place and rotate that down into place and now feed your new pin through obviously you start it through the panel first and then you just kind of move things around a little bit. It goes through the handle. Just move the handle back and forth a little bit and move that rod and then feed it through. It goes through the spring and then again through the handle and then the panel. You just kind of have to keep moving thing around just a little bit until it cooperates with you and goes through. The new handle comes with a little locking C-clip. Just use a pair of pliers, hold the C-clip, and snap it down onto the rod and it goes into a little slot, that's in the end of that rod. Make sure it's locked in.
Bring your liftgate down and put the panel in place. Make sure that harness feeds through the hole and then make sure that the studs are basically going through the liftgate and move it around a little bit and then snap the bottom into place. Just fast forward here as I start on those bolts by hand, kind of get them hand tight with the wrench and the tighten them up. Take this end of the harness and reclip it to the liftgate and then reconnect the harness and put your handle rod back into that clip and reclip it. Just test it out, and you can see that it works. It's a good idea to just spray some penetrating oil into the latch there, just to keep it in good working order. Then, you just want to test it out. Just close the liftgate and pull it out. You can see it works. Put the panel back in place. You kind of start it on. It has two large locating pins. Then, go to each side. Get those top corners up and in place. Get the center up in place and then just snap everything in
We hope this video helps you out. Brought to you by www.1AAuto.com, your source for quality replacement parts and the best service on the Internet. Please feel free to call us toll-free, 888-844-3393. We're the company that's here for you on the Internet and in person.
DHA64738
In Stock
Product Reviews
Loading reviews
5.00/ 5.02
2 reviews
5 Stars
4 Stars
3 Stars
2 Stars
1 Star
2
0
0
0
0
Great value door handle
Jim
April 13, 2018
Wonderful replacement part. Fit perfectly, and at a third of the price of OEM. Fit and finsh was great. Recommend highly.
Good quality parts
johnny
April 29, 2024
Good quality thanks for the part shipping was fast.
Customer Q&A
Is this just the handle or the kit with the lever?October 17, 2022
Frank P
10
This is just the handle.
October 17, 2022
Cristina P
Does this handle come with the spring and piece that clips the bar into?May 2, 2023
Jennifer M
10
This piece will come as only the handle as pictured and will not include the spring or the piece that clips into the bar.
May 2, 2023
Emma F
Customer service
877-844-3393
Monday - Friday 8:00am - 9:30pm ET Saturday - Sunday 8:00am - 4:30pm ET
Oldsmobile is a registered trademark of General Motors Company. 1A Auto is not affiliated with or sponsored by Oldsmobile or General Motors Company.See all trademarks.
Enter Vehicle Year Make Model
Specify your vehicle's year, make and model to guarantee fit.
Year
Make
Model
Options
Drivetrain
This part doesn’t fit a . Select from parts that fit.