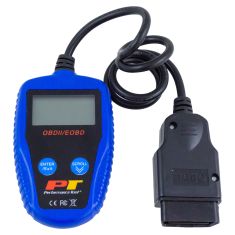
Install Tip: You may be required to reset the vehicle computer after installation of this part.
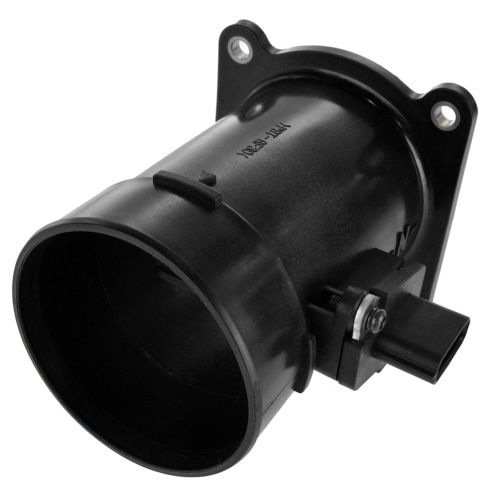
Quality Tested - built to a strict level of product standards. Air Flow Sensor Housing OptionIncludes Housing
Item Condition:New
Attention California Customers:
WARNING: This product can expose you to chemicals including Lead and Lead Compounds, which are known to the State of California to cause cancer, and birth defects or other reproductive harm. For more information, go to www.P65Warnings.ca.gov.
Lifetime Warranty
This item is backed by our limited lifetime warranty. In the event that this item should fail due to manufacturing defects during intended use, we will replace the part free of charge. This warranty covers the cost of the part only.
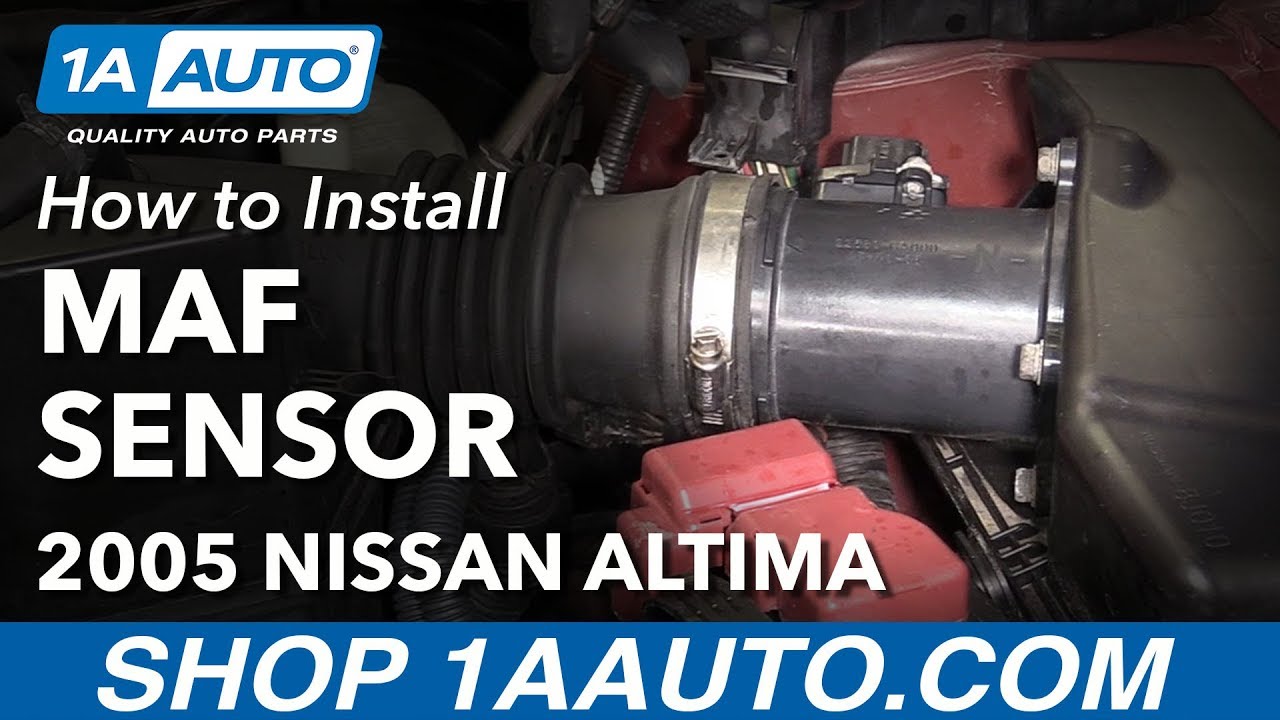
How to Replace MAF Sensor and Housing 2004-06 Nissan Altima
Created on:
Tools used
Socket Extensions
Flat Blade Screwdriver
Phillips Head Screwdriver
8mm Socket
10mm Socket
Ratchet
Cloth Rags
1. Removing the Mass Airflow (MAF) Sensor
Disconnect the MAF sensor electrical connector
Loosen the air intake hose clamp with an 8mm socket and ratchet or flat blade screwdriver
Separate the intake hose from the MAF sensor
Unclip the air filter box cover
Pull the air box cover up and off
Remove the four 10mm bolts that hold the MAF sensor to the air box cover
Pull the bracket off the MAF sensor
Pull the MAF sensor off the air box
2. Installing the MAF Sensor
Clean the air box cover with a rag
Line up the MAF sensor on the air box
Line up the bracket on the lower sensor side of the MAF sensor
Start the four 10mm bolts by hand
Clip the air box cover onto the air box
Fit the intake hose onto the MAF sensor
Tighten the intake hose clamp with an 8mm socket and ratchet or flat blade screwdriver
Connect the MAF sensor electrical connector
We're going to change out the mass airflow sensor. We've got our hood off here, so you can see what's going on better, but you don't need to remove the hood to do this.
Start by disconnecting the electrical connector. Push in the lock. It can be pretty stuck. Try to wiggle the connector. There we go. I'm going to undo this hose clamp. You can use a flat-bladed screwdriver but sometimes they slip off. So, alternatively, you can use an 8mm socket and ratchet. Work the hose off.
Now we're going to remove this top of the air box. Undo the clips here. There's some plastic tabs; it's going to lift off of those and out. We're going to go over to the bench to replace this sensor.
Here we've got our air box cover and our old mass air flow meter. To remove it you could use a Philips head screwdriver, if you choose. It’s a little bit trickier. There are 10mm bolts, so I'm going to use a 10 mm socket and ratchet.
So this entire mass air flow meter is an assembly. You don't have to remove the sensor from it. You're going to remove the entire assembly with this tube. And these bolts just go inside of the box to this metal plate. So there's not really much torque holding them on. They should come out fairly easily. Get that one loose. They come out pretty loose. Of course, once they are loose, it might be easier to just use a Philips screwdriver.
This is our old mass airflow meter from our vehicle. Here's a new one from 1AAuto.com. As you can see, they are identical. It comes with a new mass airflow meter already assembled into this pipe, just like the old one. These have some tamper-proof torques, so this isn't supposed to be removed. It's got a new seal in here. It's got these little brass inserts so the bolts don't pull through. This will install and work perfectly for you.
Take a rag and wipe some of this dirt right from the air box here, before installing a new mass air flow meter. You can see the threaded holes. Those are part of this plate that is riveted to the air box. It's going to be installed just like this. We're going to get one of our bolts caught on the top. I will replace this bracket that was on the bottom. It looks like it had a harness connected to it that might've broken off in the past. I'm just going to install it down here, the way we found it before. Get that bolt started. Use my 10 mm socket and ratchet to tighten these. When you're installing your mass air flow meter, just be careful with it. Try not to bang it around; you can damage the sensor. I'm just turning these just so they get tight and then I'm stopping. I'm just going to go in a cross pattern to sit down evenly. The new mass air flow meter is installed.
To reinstall the air box cover, there are three plastic tabs here that match the three plastic tabs on the cover. Get that started in the intake tube and then also feed it into those plastic tabs. Take the intake tube and work it over there and make sure it's seated. Push the cover down, and put the clips back over it. Take an 8 mm socket or a flat-bladed screwdriver and tighten the clamp. Reconnect the electrical connector. The job is complete.
Thanks for watching. Visit us at 1AAuto.com for quality auto parts, fast and free shipping, and the best customer service in the industry.
ESA48445
In Stock
Product Reviews
Loading reviews
There are no reviews for this item.
Customer Q&A
No questions have been asked about this item.
Customer service
877-844-3393
Monday - Friday 8:00am - 9:30pm ET Saturday - Sunday 8:00am - 4:30pm ET
Enter Vehicle Year Make Model
Specify your vehicle's year, make and model to guarantee fit.
Year
Make
Model
Options
Drivetrain
This part doesn’t fit a . Select from parts that fit.