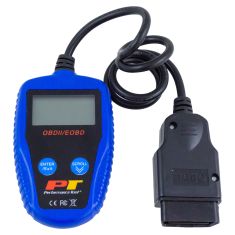
Install Tip: You may be required to reset the vehicle computer after installation of this part.
Quality Tested - built to a strict level of product standards.
Item Condition:New
Attention California Customers:
WARNING: This product can expose you to chemicals including Lead and Lead Compounds, which are known to the State of California to cause cancer, and birth defects or other reproductive harm. For more information, go to www.P65Warnings.ca.gov.
Lifetime Warranty
This item is backed by our limited lifetime warranty. In the event that this item should fail due to manufacturing defects during intended use, we will replace the part free of charge. This warranty covers the cost of the part only.
How to Replace Mass Air Flow Sensor 2004-15 Nissan Titan
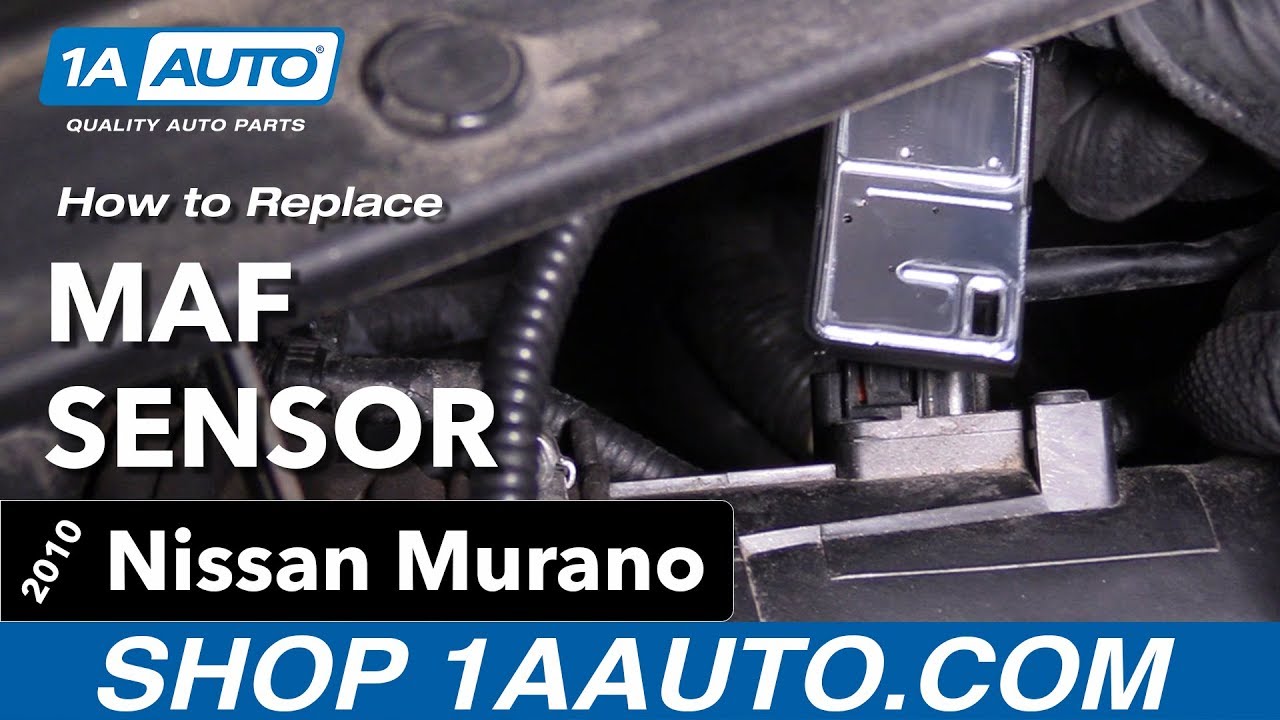
How to Replace MAF Sensor 2009-14 Nissan Murano
Created on:
Tools used
Phillips Head Screwdriver
1. Removing the Mass Air Flow Sensor
Disconnect the mass air flow sensor wiring harness
Remove the two Phillips head screws from the mass air flow sensor
Pull off the mass air flow sensor
2. Installing the New Mass Air Flow Sensor
Slide the new mass air flow sensor into place
Insert the two Phillips screws into the mass air flow sensor
Connect the mass air flow sensor wiring harness
Brought to you by 1AAuto.com, your source for quality replacement parts and the best service on the Internet.
Hi, I'm Don from 1A Auto. I hope this how-to video helps you out, and next time you need parts for your vehicle, think of 1AAuto.com. Thanks.
In this video we're going to show you how to replace a Mass Air Flow Sensor on this 2004 Nissan Titan and it's the same part and similar process on these Titans from 2004 to 2013. The only items that you're going to need for this are a new mass airflow sensor from 1AAuto.com and a Phillips screw driver.
Your mass airflow sensor is right here. Just push the tab on the harness and pull it free and then remove these two Phillip's screws. We'll just fast-forward as Don does that. Then, your mass airflow sensor pulls right out.
Take your new mass airflow sensor and push it into place. Then replace those two Phillip's screws and we'll just fast-forward again as Don tightens those up. Now reconnect your harness and you're all set.
We hope this video helps you out. Brought to you by www.1AAuto.com, your source for quality replacement parts and the best service on the Internet. Please feel free to call us toll-free, 888-844-3393. We're the company that's here for you on the Internet and in person.
Tools used
Socket Extensions
6mm Socket
Ratchet
1. Removing the Mass Air Flow (MAF) Sensor
Disconnect the MAF sensor electrical connector
Remove the two 6mm bolts from the MAF sensor
Pull the MAF sensor off the air intake tube
2. Installing the MAF Sensor
Line up the MAF sensor on the intake tube using the locating pins
Install the two 6mm bolts into the MAF sensor
Connect the MAF sensor electrical connector
Hi. I'm Mike from 1AAuto. We've been selling auto parts for over 30 years!
Mass airflow meter is located here, on top of the intake tube, aft of the air filter. To change it, I'll push in on this connector to unlock it. Lift it off, push that down.
There's a screw here and a screw here. It's a six millimeter, or it's a very small Phillips head, you can put in there. I'm going to use the six millimeter ratchet and remove it. Carefully take this one out and don’t lose the screw. Now, on the opposite corner is the other screw.
This is loose. The mass airflow sensor will come right out, straight out.
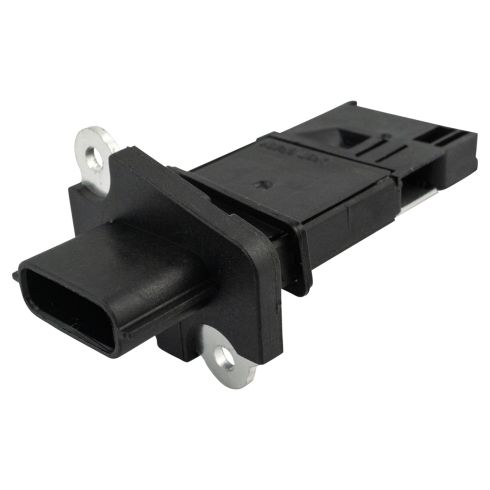
This is the mass airflow meter sensor. It is keyed on both sides and there's little pins that match on the air intake tube. It only goes in one way. So, this is the correct way. It will sit down nice and even. The screw holes line up. The tabs line up. The lock for the electrical connector’s towards the top. If you tried to put it in backwards, flip it over here, it's not going to fit right. It's close, but it's not quite there. It doesn't really want to line up with the tab. The screw hole doesn't line up. So, if you tried to struggle with this and force it, you could break it. It definitely, when it fits the right way, goes in real easily. You can also tell, there's a direction of flow, so the air is coming from the air filter. It's going into the engine, so it needs to go into this opening and that's how it reads the amount of air going into the engine. It's going to sit in, just like this.
I'll reinstall those screws. These are just really small screws. They're not going to take a lot of torque. I'll get this back one set up. They’re just little machine screws, little insrets in the air tube. You don't want to over tighten them. Get them in there with my fingers. I'm going to take the ratchet and just very lightly tighten them. Right where I feel them get tight, I'm just going to stop.
With those tightened up, I can put the connector back on. It'll click when it locks in place.
Thanks for watching. Visit us at 1AAuto.com for quality auto parts, fast and free shipping, and the best customer service in the industry.
Product Reviews
Loading reviews
There are no reviews for this item.
Customer Q&A
No questions have been asked about this item.
Customer service
877-844-3393
Monday - Friday 8:00am - 9:30pm ET Saturday - Sunday 8:00am - 4:30pm ET
Suzuki is a registered trademark of Suzuki Motor Corporation. 1A Auto is not affiliated with or sponsored by Suzuki or Suzuki Motor Corporation.See all trademarks.
Enter Vehicle Year Make Model
Specify your vehicle's year, make and model to guarantee fit.
Year
Make
Model
Options
Drivetrain
This part doesn’t fit a . Select from parts that fit.