Brought to you by 1AAuto.com, your source for quality replacement parts and the best service on the Internet. Hi, I'm Don from 1A Auto. I hope this how-to video helps you out and the next time you need a part for your vehicle, think of 1AAuto.com. Thanks.
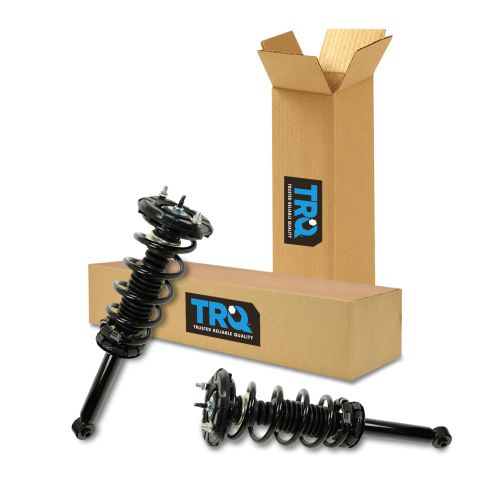
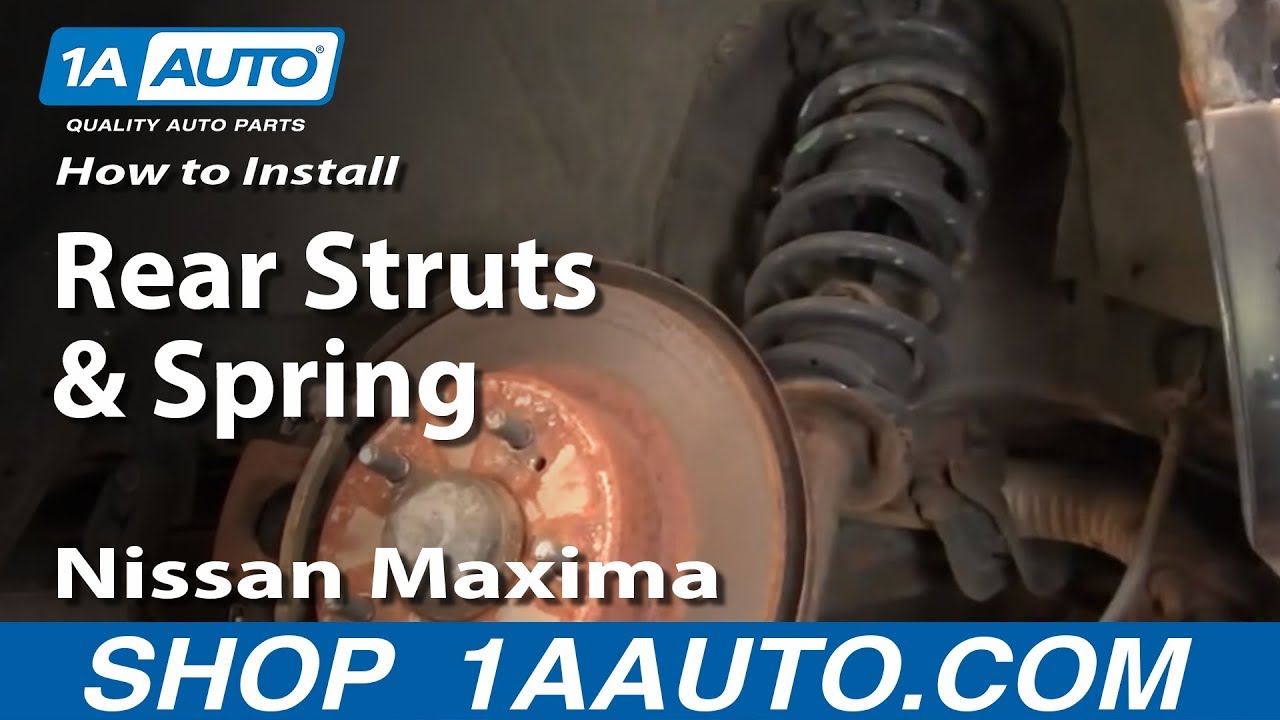
In this video, we're going to show you rear strut replacement on this 2003 Nissan Maxima. Procedure's basically the same for any 2000-2003 Maxima as well as the Infinity I30. We're going to show you the right hand side. The left hand side is basically the same procedure. You'll need new struts, a pair of new struts from 1AAuto.com. We always recommend doing these in pairs. A jack and jack stand, 17 and 21 mm sockets with your ratchet and you'll either probably need a breaker bar or a pipe for some extra leverage. You'll need a 14 mm socket with a smaller 1/4 in drive ratchet, couple of the bolts are hard to get to, kind of tight, and then you'll also want a flat blade screw driver.
Starting in the trunk, take the trunk mat, flip it over, get it out of your way, as well as the spare tire cover. We've got one connector there. Using a flat blade screwdriver, you're going to find the indent, which happens to be right there. Pry it. What should happen is that it will lift out and come out. Next, you're going to see a trim piece around the rear carpet area and if you can just see the carpet pads and pull it out of the way, you'll find your nuts for the top of your strut mount.
The first one that you can see pretty easily comes out easily with a 14 mm socket and a 3/8 ratchet. The second one, the one that's not so easy to see or get to, the best bet is a 14 mm socket again, but you want a 1/4 drive ratchet, which is a much smaller length ratchet and you can see Don contorting himself into the trunk and getting to it there. Okay, you'll want to remove the rear wheel. If you don't have the benefit of air tools, you'll probably want to loosen the lug nuts while the vehicle's on the ground, then jack up and then secure the vehicle and jack stands. Remove the lug nuts, which are 21 mm and remove the wheel and tire.
Using a 17 mm socket, 1/2 in breaker bar, remove the lower strut bolt and using our pipe over our handle, get a little extra leverage and apply smooth pressure. While we're removing the screw, we want to make a note of the placement of the bottom of the coil spring. It's facing the front of the car. Okay, just fast forward as Don takes that bolt the rest of the way out. Sometimes, kind of pulling up or down on the suspension while you're pulling this bolt out helps get it out a little quicker. Important to note while that bolt is coming out, the body of the car is supported and the rear suspension is hanging free.
We've got the old strut, torn up boot. The exact same replacement part from 1A Auto, new boot, new mounting hardware, and new strut mount. Should go in exactly the way as the old one came out. We've got the new strut ready to go in. Make sure you remove the nuts and remember your placement on the bottom coil, facing the front of the car. Sometimes as you find it necessary, apply pressure the lower control arm. Okay and we'll speed up while Don's putting that bolt in and as you saw I just came in there, pulled down on the suspension, made it a little easier for Don to be able to wind up that lower bolt hole. You want to torque to 75 foot pounds.
Okay and put the top bolts in. You see Don just folds both seats down in the back and can reach right in and get that first bolt in nice and easy. The second bolt though is a more of a challenge. You can see the only way to really do it is get right in the trunk again and use your left hand, curl it in there and start it on and then use your 1/4 in drive and 14 mm socket and just tighten it up as best you can. The torque specs on these are probably about 20-25 foot pounds. As long as you get it in there and basically as tight as you can with that 1/4 in drive ratchet, you should be all set.
Okay, and just fast forward. Make sure you put the trim back in place and then the one clip that fastens in place to hold it. Keeping the fast forward going here. Put your tire back in place, start the lug nuts by hand, make sure they don't cross thread, then tighten them up preliminarily. With the vehicle back on the ground, tighten or torque your lug nuts to a hundred foot pounds and use a star pattern to tighten them.
We hope this helps you out. Brought to you by www.1AAuto.com, your source for quality replacement parts and the best service on the Internet. Please feel free to call us toll free 888-844-3393. We're the company that's here for you on the Internet and in person.