Hi, I'm Mike from 1AAuto. We've been selling auto parts for over 30 years! We're dedicated to delivering quality auto parts, expert customer service, and fast and free shipping, all backed by our 100% satisfaction guarantee. So visit us at 1AAuto.com, your trusted source for quality auto parts.
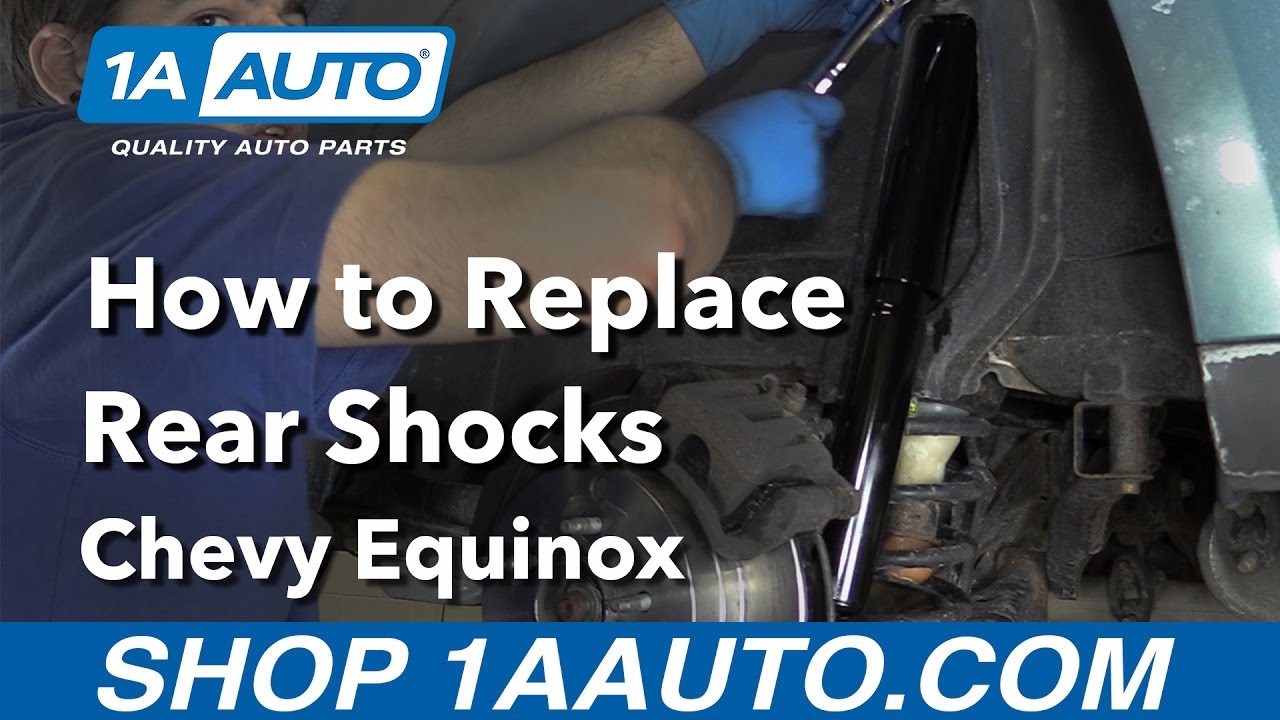
In this video, we're gonna be working with our 2008 Chevy Equinox. We're gonna show you how to remove and replace your rear shock or shock absorber.
If you like this video, please click subscribe. We have a ton more information on this and many other vehicles. And if you need parts for your car, you can follow the link down in the description over to 1AAuto.com.
Here are the items you'll need for this repair: trim tool, full socket metric set, ratchet, socket extensions, torque wrench, breaker bar, flat head screwdriver, gloves, dust mask, eye protection, jack, jack stands
Using a 19mm socket and a breaker bar, break all of your lug nuts loose about one turn to make it easy to get them off once our vehicle is in the air. Raise and support your vehicle. We're using a lift to make it easier to show you what's going on, but this job can easily be done in your driveway or garage at home on a jack and jack stands. Finish removing your lug nuts and remove the wheel and tire from the vehicle.
Remove all of the plastic pop fasteners throughout the inner wheel well liner. There are a few ways to do this, but with a flat blade screwdriver you can pop all the heads out. You don't have to remove them fully, just get them out about halfway and slide the forked end of a trim tool underneath and pop them out. Once all of the pop tabs for the wheel well liner are out, you'll have to remove the 10mm screw all the way in the top of the wheel well. We'll do this using a socket ratchet and extension. Once all the fasteners are removed, remove the wheel well liner. Place it out of the way.
Remove the 18 millimeter bolt at the top of the shock with an 18 millimeter socket and breaker bar to start. Once you get it loose, you may be able to finish removing it with a socket and ratchet. Remove the bolt and move on to the 18 millimeter bot and nut on the bottom of the shock. Brace the nut on the back of the shock mount with a wrench and loosen the bolt with your 18 millimeter socket and breaker bar. Once the bottom bolt is removed, come grab the shock. You should be able to compress it by hand and remove it from the vehicle.
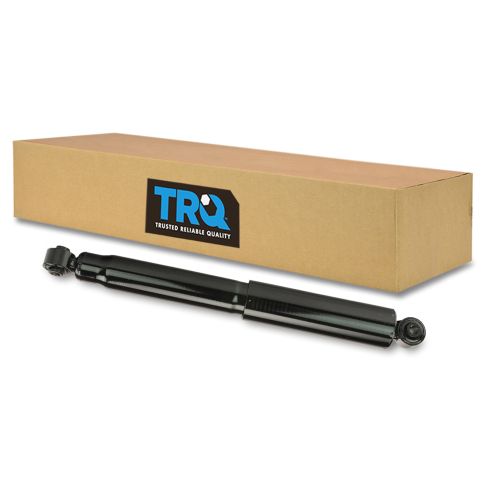
Here we have our old shock that we removed from our vehicle and our new part from 1AAuto.com. As you can see, these parts are exactly the same. We have a nice dust cover here on the top of the shock, the same length shock body on the bottom. You have the same mounting locations both bottom and at the top with some nice new high quality bushings in there. Your shocks are responsible for controlling the rate of movement of your suspension in keeping it from bouncing, and so if your suspension is bouncy or feels like it's jarring like a very hard, sharp movement going over bumps, your shocks could be at fault. These new parts from 1A Auto will go in direct fit just like our original equipment, getting our vehicle handling right and smooth, and fix you up right.
Reinstall the shock by starting at the bottom, lining it up and putting the bolt through a couple of threads. Once you have that secured, push down and compress the shock body. The new one's gonna be a little bit harder than the old one. Line it up. Place a screw jack or floor jack underneath the vehicle's spindle. Raise it up until the shock hole lines up with the mounting location. Reinstall your bolt and tighten it down with your 18 millimeter socket and ratchet. Once the top bolt is tight, you can tighten down the bottom as well. Lower your jack or screw jack. Torque the shock 81 foot-pounds on the top and bottom bolt.
Reinstall your wheel well liner. Make sure that these edges tuck in behind the actual wheel well. Tighten up the 10 millimeter nut at the top of your wheel well liner and reinstall all of your plastic clips. Simply pop them back into the holes and then push the heads back down.
Reinstall your wheel and tire. Get all of your lug nuts on as tight as you can by hand. Lower the weight of your vehicle back onto the tires. With the partial weight of your vehicle back on the tires, then tighten up your lug nuts to 100 foot pounds in a cross pattern.
Thanks for watching. Visit us at 1AAuto.com for quality auto parts, fast and free shipping, and the best customer service in the industry.