Brought to you by www.1AAuto.com; your choice for quality replacement parts and the best service on the Internet. Hi, I'm Mike Green. I'm one the owners of 1AAuto. I want to help you save time and money repairing and maintaining your vehicle. I'm going to use my 20 plus years of experience, restoring and repairing cars and trucks like this, to show you the correct way to install parts from 1AAuto.com. The right parts installed correctly. That's going to save you time and money. Thank you, and enjoy the video.
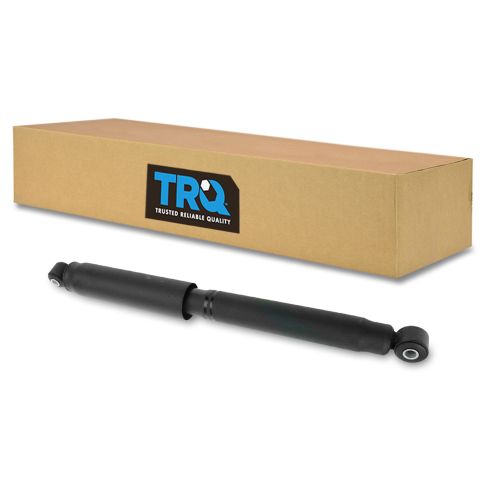
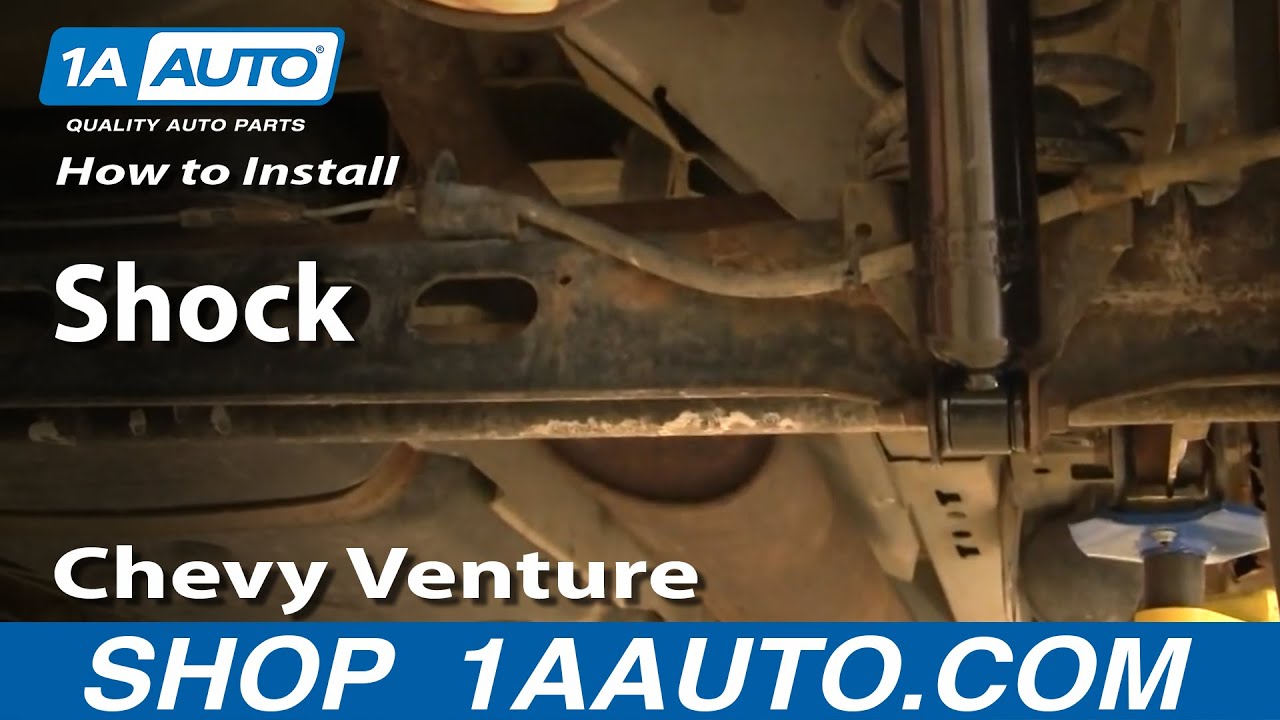
In this video, we're going to show you how replace the rear shocks on this '98 Chevy Venture, same as pretty much any '97 to '05 Venture, Transport, Montana, or Silhouette. You'll need a 18mm socket, ratchet, and an extension, as well as a 18mm wrench. You can do this without jacking up the vehicle, but, obviously, jack and jack stands make it easier. Removing the rear shocks on these vehicles is pretty easy. What you're going to do is use an 18mm wrench here, and then a socket ratchet or your impact wrench on this side. Remove this bolt first. Then, up in your wheel well, there's another 18mm bolt, that you use your socket and ratchet on. I got my 18mm socket ratchet with an extension. Break this bolt, loosen it up. 18mm wrench. Again, socket and ratchet.
You might want to use a piece of pipe, get some extra leverage. Just put it on your ratchet, then pull gently. Don't go crazy. You don't want to break your ratchet. Just until you start getting it. Before you go to remove that bolt all the way, you want to support your suspension. You can even do this without jacking the vehicle up. Jacking it up makes it a lot easier to get that top bolt. Now, I'm going to remove the top bolt the rest of the way. I'm just going to use the impact wrench to make it go a little easier. That bolt out and shock comes down. Here's our old shock. It's pretty easy to push in.
Not necessary bad yet, but definitely much easier than the new shock. New shock pushing down like that. Take your bolt. Put a new shock up in there. Like this so you can see. Push this shock right up in there. Then, push the bolt in. Move the shock around a little bit until you get that bolt in. Your socket ratchet, your extension. Push on that bolt and get it started. Push the shock in. Problem I've run into is this sleeve is just pushed that way a little bit. What I'm trying to do ... This sleeve here is pushed that way a little bit, so what I'm trying to do is push that sleeve through a little bit. Looks like I need to let my axle down just a little bit. Needs a little bit of force here, just to get it through.
What I've done is put the jack under the middle of the axle to put all the weight of the vehicle back on the axle. You want to tighten up the shock. This is the axle in its normal running position. Not hanging way down. Now, I'll just hit a little fast forward here, as I put the bolt back on, and tighten it up. I just used my ratchet and tighten it as tight as I can. This bolt probably should be about 100 foot pounds, but you don't really need to use a torque wrench to make it perfect. I got most of the weight on the wheels, so it's up where it should be. I going to tighten it up just preliminarily with the impact wrench. I always tighten with my hand tools, so I know exactly how tight it is. We should be good. We can replace the other side the same way.
We hope this helps you out. Brought to you by www.1AAuto.com, your source for quality replacement parts and the best service on the Internet. Please feel free to call us at toll free 888-844-3393. We're the company that's here for you on the Internet and in person.