Hey, friends. It's Len here at 1A Auto. Today, we're working on a 2007 Toyota FJ Cruiser. We're going to be replacing the window switch. It could be a very easy job. I want to be the one that shows you how to do it. If you need this or any other part, you can always check us out at 1aauto.com. Thanks.
Now, we've got the door open. We're just going to grab a small pocket screwdriver, or you could try to use something like this. This would be optimal, but it's not every much space to try to get in there. Being careful not to scuff up our door panel, I'm just going to go right in between here on the front side. You don't want to go in the back, and I'll show you why. I'm just going to push it towards the rear and lift. Lifts up. If you go from the rear, you got this little hooky-do and it goes underneath this part, so you'll be lifting and prying, prying and lifting, denting and scratching and all sorts of bad things. Just go right from the front. It's easy enough. Okay?
We're just going to take off this whole unit right here. You just squeeze this little tab. It should squeeze. Here we are. Take a look at our electrical connector. That looks like it's in good condition. I don't see any funny colors in there, rust, or water, debris. Right here is our switch. If you wanted to, you could take the whole thing right out of here. It might be easier to do that. Just do the same thing. Squeeze right here, give it a little tug. Pull it away. Easy peasy. Take a look. Looks good. We know both of those are good.
To get out our window switch, what you want to do is apply pressure. Push on the switch, then just go right in between here with your pocket screwdriver. Give it a nice little pry, starts popping out. Do the same thing on this side. See if I can get it to work with me here. There's our window switch. Easy peasy.
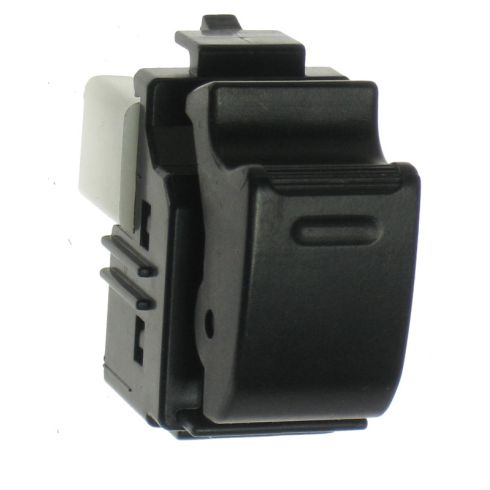
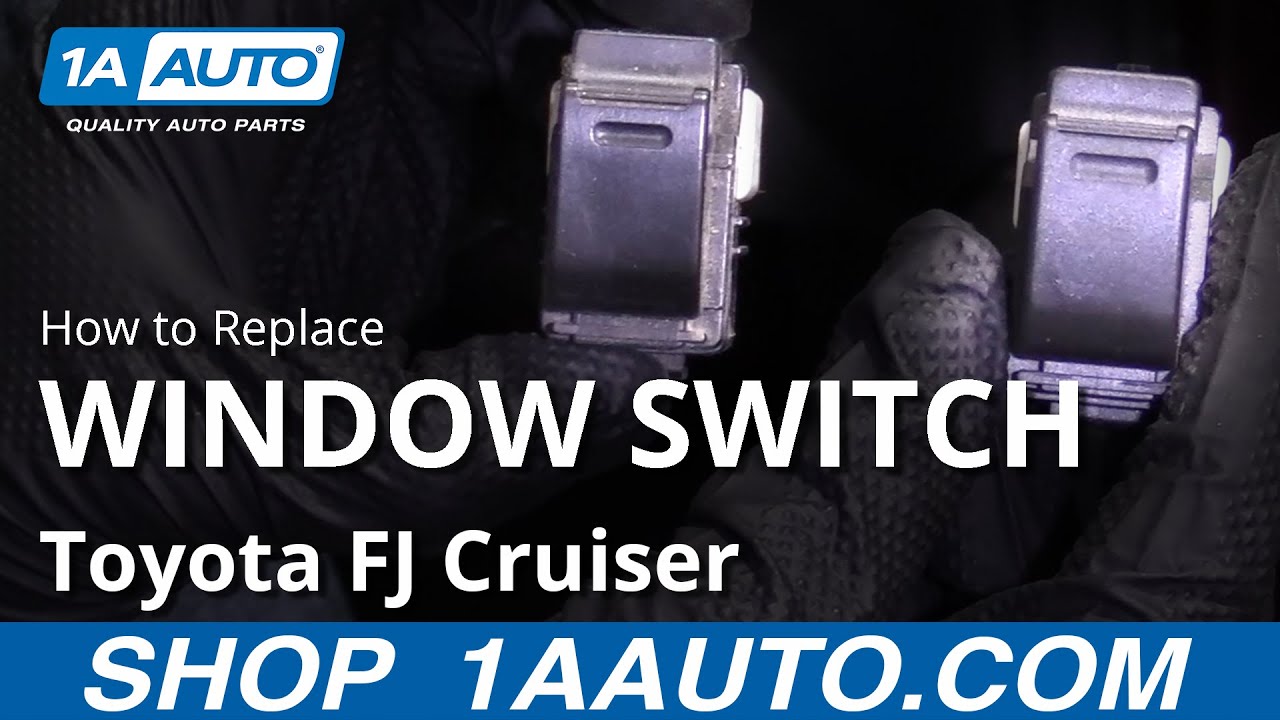
Okay, friends. A quick product comparison for you. Right here, we have our original 2007 Toyota FJ Cruiser passenger side window switch. Over here, we have our brand new quality 1A Auto part. As you can tell, they both look exactly the same. Check the connector, same amount of prongs in there, looks the exact same. Looks the same from every angle. With that said, I don't see any reason why this wouldn't be a quality part to go ahead and install into the vehicle, so I'm going to do it. If you need this, or any other part, you can always check us out at 1aauto.com. Thanks.
So this is the way that it's going to face. Right? I'm just going to bring it around this way. Line up those grooves with that slot, and then press it in. Just like that. Give it an nice tug, make sure it doesn't fall out. Last thing you want to do is have it all together, go like this and hold, the thing goes boonk. Very nice. Now we can move ahead to the next step.
So, here we go. Let's get all this connected back in. We're going to take our connector, listen for a click noise. There it is. Give it a nice tug. Feels good. Move on the the next one. Same thing, listen for a click, tug, feels good. We're going to put our little hooky-do here, underneath here, and then slide the front down. Just like this. Bonk, bonk. That's my thing. Cool. Thanks for watching. Visit 1aauto.com for quality auto parts shipped to your door. The place for DIY auto repair. And if you enjoyed this video, please click the subscribe button.