WARNING: This product can expose you to chemicals including Lead and Lead Compounds, which are known to the State of California to cause cancer, and birth defects or other reproductive harm. For more information, go to www.P65Warnings.ca.gov.
Lifetime Warranty
This item is backed by our limited lifetime warranty. In the event that this item should fail due to manufacturing defects during intended use, we will replace the part free of charge. This warranty covers the cost of the part only.
Returns: Parts with electrical components cannot be returned once installed.
FREE Shipping is standard on Orders shipped to the lower 48 States (Contiguous United States). Standard shipping charges apply to Hawaii, Alaska and US Territories. Shipping is not available to Canada.
Expedited is available on checkout to the United States, excluding Alaska, Hawaii and US Territories as well as P.O. Boxes and APO/FPO/DPO addresses. Final shipping costs are available at checkout.
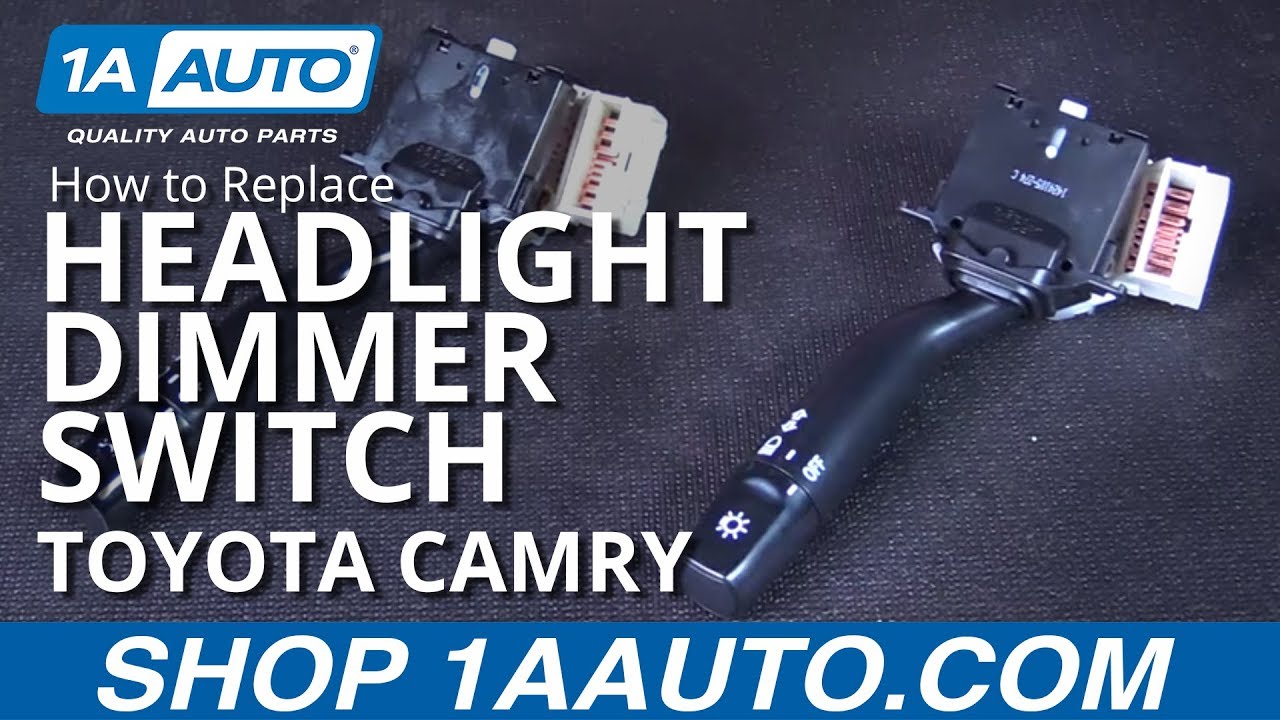
How to Replace Headlight Dimmer Switch Without Fog Lights 1997-2001 Toyota Camry
Created on:
Tools used
Flat Blade Screwdriver
Phillips Head Screwdriver
10mm Wrench
1. Disconnecting the Battery
Loosen the negative terminal with a 10mm wrench
Let the disconnected battery sit for 30 minutes to drain power from the modules
2. Removing the Dimmer Switch
Remove the Phillips head screw from the lower steering wheel column
Turn your key to accessory mode
Turn the wheel 90 degrees
Remove the Phillips head screw from the column
Turn the wheel 180 degrees
Remove the Phillips head screw from the column
Separate the steering column cover with a flat blade screwdriver
Remove the upper portion
Remove the panel from the tilt column lever
Remove the bottom portion
Disconnect the switch connector
Remove the two Phillips head screws from the switch
Remove the switch
3. Installing the Dimmer Switch
Insert the switch into place
Tighten the two Phillips head screws to the switch
Connect the switch connector
Insert the upper steering column cover into place
Tilt the column up and insert the lower column portion
Press the tilt trim piece into place
Tighten the Phillips head screw to the bottom of the column
Turn the key to run
Rotate the wheel and tighten the two Phillips screws
Straighten the wheel
Remove the key
4. Connecting the Battery
Reconnect the battery with a 10mm wrench
Turn the key to the on position
Check the parking, low beam, high beam, and turn signals for operation
Brought to you by 1AAuto.com, your source for quality replacement parts and the best service on the Internet.
Hi, I'm Mike from 1A Auto. I hope this how-to video helps you out, and next time you need parts for your vehicle, think of 1AAuto.com. Thanks.
In this video, we're going to show you how to replace the headlight dimmer switch in a 1998 Toyota Camry. This information should be the same from '97 to '01, as long as your vehicle does not have fog lights.
The items you'll need for this repair are a new headlight dimmer switch from 1AAuto.com, a Phillips head and flat blade screwdriver, as well as a 10 mm wrench.
Using a 10mm wrench, loosen the negative terminal on your battery. Remove and isolate the terminal.
Remove the Phillips head screw from the bottom of the clam shell on the steering column. Turn your ignition key to run. Turn the wheel 90 degrees to the right. Remove this Phillips head screw. Rotate the wheel in the opposite direction and remove this Phillips head screw. Using a small flat blade screwdriver, separate the upper and lower steering column covers. Lift up and remove the upper portion of the clam shell. Pop out the panel around the tilt column lever.
You need to remove the front with a flat blade screwdriver. Tilt the column up. Remove the lower portion of the clam shell. Remove the connector at the bottom of the multi-function switch, and remove these two Phillips head screws. Remove the switch from the column.
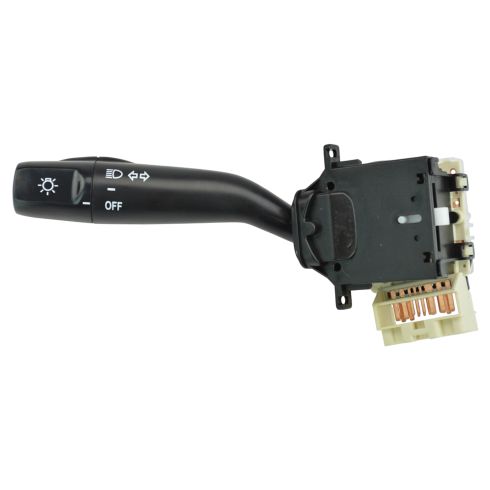
Here, we have our old part that we've removed from the vehicle and our new part from 1AAuto.com. As you can see, the parts are identical in size and shape. We have the same connector on the bottom with the same two bolt mounting locations. We have the same reset tab for our turn signals, as well as the same graphics. Ours are nice and bright on the new part. Some of the things that your headlight dimmer switch controls is the parking lights, headlights, the high beams, as well as the left and right turn signals. If you've traced your lighting problem back to your headlight dimmer switch, this new part from 1A Auto is going to go in direct fit, just like your original equipment, and fix you up right.
Connect the connector to your new headlight dimmer switch. Line it up. Slide it into its place in the side of the steering column. Install and tighten down both Phillips head screws with a Phillips head screwdriver. Place the upper portion of your steering column cover back on. You may have to drop the tilt steering wheel down to make this easier. Tilt the column up and install the lower portion of the cover. Reinstall the cover on the tilt portion. Install the Phillips head screw at the bottom of the column.
Insert your key. Turn it to run, so you can rotate the wheel 90 degrees. Tighten the Phillips head screw with a screwdriver. Rotate the wheel 180 degrees in the opposite direction and install the last screw. Straighten the wheel, turn your key off, reconnect the battery, and check for proper operation of the headlight dimmer switch.
Reconnect the negative battery terminal and tighten it down. Turn your key on. Check that the left and right turn signals are both operational. Make sure your parking lights, low beams, and high beams also work.
Thanks for tuning in. We hope this video helped you out. Next time you need parts for your car, please visit 1AAuto.com. Also check out our other helpful how-to and diagnosis videos.
SWA41781
In Stock
Product Reviews
Loading reviews
4.94/ 5.017
17 reviews
5 Stars
4 Stars
3 Stars
2 Stars
1 Star
16
1
0
0
0
Turn signal control install
T
March 1, 2017
Worked as suggested. Thank you for your help. I will look to you first for future needs. Tom.
Easy install
William
March 2, 2017
Switch was easy to install and restored all fan speeds. Delivered on time.
installed part
R
August 29, 2017
part fit good and worked just fine thank you. Your review must be at least fifty characters in length in length inlength inlength in length in length in length.
Can't say much
Damon
November 8, 2017
Part came quicker than i expected and was a perfect fit. The install video made it a breeze and took less than 20 min to do the job.
Recent purchase and install of TS/HS Lever
Gerald-J-
December 23, 2017
When I needed a new lever I thought of 1aauto. The price was right and I reviewed the installation video for what appeared to be a challenging task. However, after viewing the video, and getting the lever I completed the removal of the broken lever and installed the new one in less than 30 minutes. It was easy and pretty much the same as in the 1aauto video. The lever works as described.
Installed in 1998 Camry. Works perfect. Exact fit.
B
January 12, 2018
Installed in 1998 Camry. Works perfect. Exact fit.
R
July 26, 2018
The switch arrived on schedule, and worked very well as a replacement. The video instruction is clear and helpful. Will use 1A Auto again without hesitation.
Michael
June 10, 2019
Part was easy to replace and fixed the problem.customer service was very helpful and got everything straightened out and got part to me
Works perfectly
D
April 16, 2020
First time I've ever done the slightest bit of work on my car other than cleaning out the trash. I used a YouTube video for the instructions, but 1aauto's instructions are great, too. Total novice can do this.
Part works great, and yes - it does automatically turn off after you've turned (parts on other sites generally don't).
Thanks 1aauto for saving me time and money!
OEM quality
Joel
November 26, 2020
works fine. Unfortunately, it wasn't what I needed to solve my proble. But I went ahead and installed it anyway. Works fine.
Good Replacement Part
Robert
June 13, 2021
Arrived promptly, direct fit replacement for the original. Took about 20 minutes to R&R and works perfectly. Happy purchaser.
Thomas
August 18, 2021
Quick, efficient, affordable and appears to be a quality product
Antonio
August 29, 2021
Perfect fit, works great!
This is a perfect fit for my 97 Camry, high quality and very affordable!!!
Sean
June 3, 2022
I am an experienced DIY mechanic and I do a TON of work on my 97 Toyota Camry as well as my other family member's cars. I needed this part for my car and my local Toyota dealer wanted almost $200 for this part, which is ridiculous for a 25 year old car. This aftermarket part looked completely identical to the old, cracked dimmer switch I took off my Camry, everything matched up... and it went right in no problem. Works great, high quality. This was a good purchase.
Gary
October 7, 2022
Good product. Easy to install.Video helpful. Thanks
Edward
March 14, 2023
Perfect fit! Easy to install
Thanks for keeping my bad girl on the road for 447,683 miles
Thomas
September 22, 2023
Excellent quality. Easy to install. Great video to explain step by step. Saved well over $ 100 by installing myself. Great company to deal with. 1 complaint--- you do not have a BLOWER RESISTOR for my 1999 Toyota Camry. My mileage is 447,683 original; I am attempting to take this bad girl to a million , with your companies help. Thanks for being who You are.
Tom Schisler --Baltimore, Md. U S A
Customer Q&A
When replacing turnsignal,light switch does this have anything to do with airbags?February 24, 2019
Leeman S
10
No this does not have anything to do with airbags but as a precaution always discount your battery before working around the steering column.
February 24, 2019
Douglas K
10
Has no effect on airbag ,its just removal of column casing not wheel
February 24, 2019
Barry B
10
No. My switch plugged in and was held in place by two screws. A pretty simple replacement!
February 24, 2019
J E
10
No, this item will not have anything to do with the air bag light coming on.
February 24, 2019
Emma F
Customer service
877-844-3393
Monday - Friday 8:00am - 9:30pm ET Saturday - Sunday 8:00am - 4:30pm ET
Toyota is a registered trademark of Toyota Motor Corporation. 1A Auto is not affiliated with or sponsored by Toyota or Toyota Motor Corporation.See all trademarks.
Enter Vehicle Year Make Model
Specify your vehicle's year, make and model to guarantee fit.
Year
Make
Model
Options
Drivetrain
This part doesn’t fit a . Select from parts that fit.