Replaces
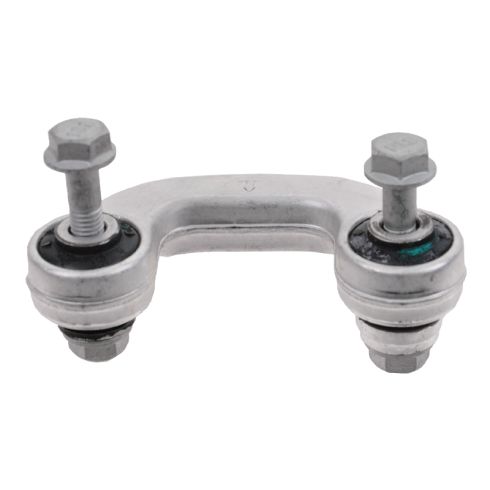
VW Audi Front Driver Side Sway Bar Link TRQ PSA68129


PSA68129
This part doesn’t fit a . Select from parts that fit.
Specify your vehicle's year, make and model to guarantee fit.
This part does not fit a .
Buy in the next and
Get it by: Tuesday, Jan 20 with expedited shipping
Frequently bought together
Specify your vehicle's year, make and model to guarantee fit.
This part does not fit a .
Part Details
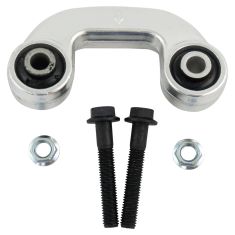
- Hardware
- Bushing
- No
- No
About TRQ:
TRQ is a trusted brand dedicated to making every repair a success story by combining premium parts with easy installation. Each TRQ part is engineered by a team of automotive experts to meet or exceed OEM standards, delivering enhanced performance and maximum longevity. With rigorous in-house testing, the brand ensures superior fit and function across every product line. TRQ also provides customers with best-in-class, step-by-step installation videos—so you can complete repairs with confidence, whether you're a first-time DIYer or an industry professional.
Our steering and suspension components are pre-greased and sealed for long life and do not require the extra maintenance typically required by greaseable versions.
Attention California Customers:
![]() WARNING: This product can expose you to chemicals including Lead and Lead Compounds, which are known to the State of California to cause cancer, and birth defects or other reproductive harm. For more information, go to www.P65Warnings.ca.gov.
WARNING: This product can expose you to chemicals including Lead and Lead Compounds, which are known to the State of California to cause cancer, and birth defects or other reproductive harm. For more information, go to www.P65Warnings.ca.gov.
Lifetime Warranty
This item is backed by our limited lifetime warranty. In the event that this item should fail due to manufacturing defects during intended use, we will replace the part free of charge. This warranty covers the cost of the part only.
FREE Shipping is standard on Orders shipped to the lower 48 States (Contiguous United States). Standard shipping charges apply to Hawaii, Alaska and US Territories. Shipping is not available to Canada.
Expedited is available on checkout to the United States, excluding Alaska, Hawaii and US Territories as well as P.O. Boxes and APO/FPO/DPO addresses. Final shipping costs are available at checkout.


Created on:
Tools used
- Remove the center cap with a cap removal tool or pick Loosen the 17mm lug nuts with the vehicle on the ground Raise the vehicle with a floor jack Secure the vehicle on jack stands evenly on both sides Remove the lug nuts Pull off the wheel
- Remove the lower 16mm bolt with a ratchet, 16mm socket, and a 13mm wrench Remove the upper 16mm bolt with a ratchet, 16mm socket, and a 13mm wrench If needed, use rust penetrant and locking pliers Remove the sway bar link
- Insert the sway bar link into place Hand tighten the upper bolt without cross threading it Remove the upper 16mm bolt Remove the lower 16mm bolt Torque the bolt to 30 foot-pounds and a 1/4 turn
- Slide the wheel into place Start the 17mm lug nuts by hand Tighten the lug nuts preliminarily Lower the vehicle to the ground Tighten the lug nuts to 90 foot-pounds in a star pattern Reattach the center cap
Brought to you by 1AAuto.com, your source for quality replacement parts and the best service on the Internet.
Hi, I'm Mike from 1A Auto. I hope this how-to video helps you out, and next time you need parts for your vehicle, think of 1AAuto.com. Thanks.
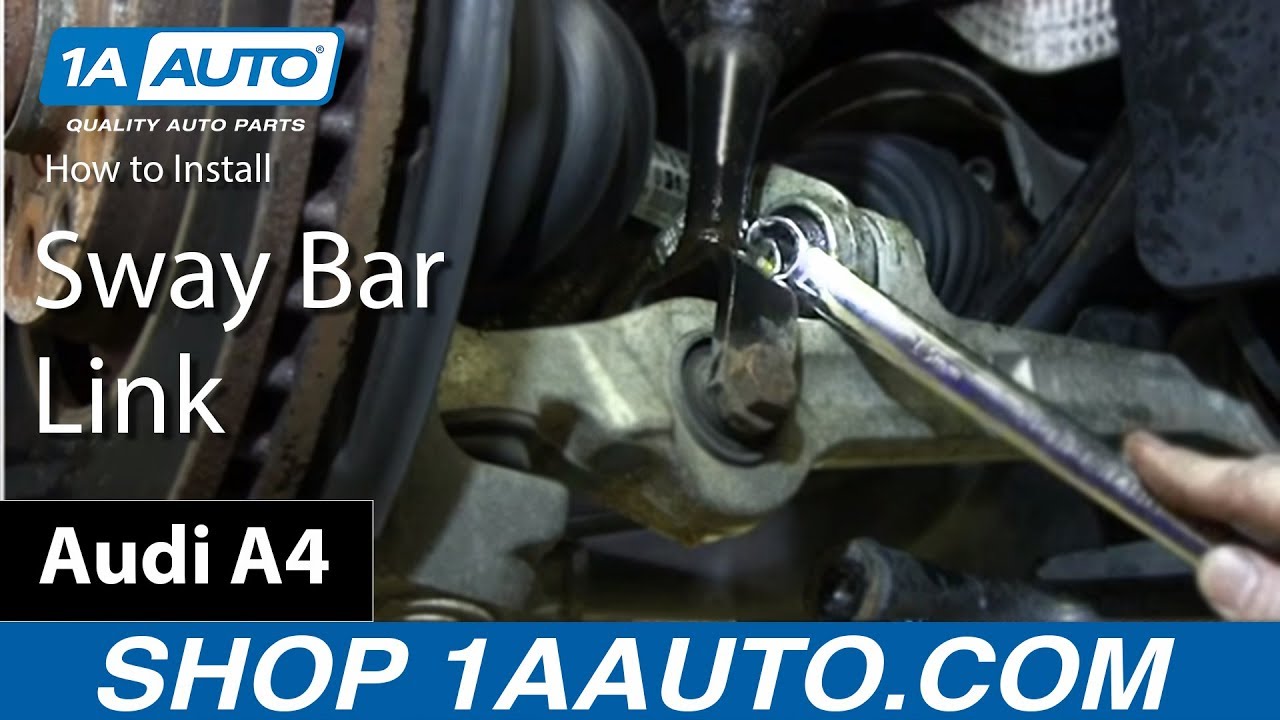
In this video, we're going to show you how to replace the sway bar end links on this 2007 Audi A4, same as any '02 to '09 A4, as well as some years of S4 and other Audi and VW vehicles. Items you'll need include: new sway bar link or links from 1AAuto.com, 17mm socket and ratchet with a breaker bar or your tire iron to remove the wheel, 16mm socket and ratchet, 13mm open end wrench, locking pliers and penetrating oil, jack and jack stands.
Remove the wheel. Use the special center cap removal tool, available at 1AAuto.com, or you could use a 90 degree pick. Put it into the center of the cap and pull. Loosen your lug nuts. They're 17mm. Loosen them with the vehicle on the ground. Raise and support the vehicle. We'll remove the lug nuts the rest of the way.
Obviously, if you had the benefit of our tools, you didn't need to loosen them up on the ground, but you can loosen them now with either wrench. I'm going to use an impact gun. Now, remove the wheel.
Stabilizer link is right here, and what happens is these rubber bushings wear out. You need a 16mm socket and ratchet and a 13mm open end wrench. You could technically do this with your vehicle on the ground and the wheels turned and crawl in down here, but it's a lot easier to raise the front of the vehicle evenly.
You can't have one side raised more than the other. Raise the front end of the vehicle evenly, and then turn your wheels so you can get to the 16 millimeter bolt here and remove it. The top one, 13mm wrench and then 16mm again. I'm going to spray a little penetrating fluid into the end. Let it sit for a while. This nut is aluminum, so best case you get a 13mm on here, 12-point to hold it.
Even that, the nut is so soft due to the fact that it's aluminum that it just kind of distorted it, so I'm actually going to put a pair of locking pliers on and try to hold the whole aluminum shaft there to get a better grip on it.
Put your new link in place. This bolt is aluminum, so you want to be very careful not to cross-thread it. So lift the link up, make sure it's flush against the mounting point on the control arm. Now, I'm just going to preliminarily tighten this up. I still want to be able to move the link around a little bit. Get in place.
If you need to, you can use a jack. Put it in place. Lift the stabilizer bar up and thread the bolts in. Technical torque specification is 30 foot-pounds plus a quarter of a turn, but you can't really get a torque wrench in here, so I'm just going to use a handheld wrench and get them nice and tight.
Reinstall the wheel back up in place. Kind of a pain because there's no lug studs. Twist it to line up the holes. Tighten the lug bolts preliminarily, and lower the vehicle.
Now torque your lug bolts to 90 foot-pounds using a star pattern. Put your center cap back on. Just note the largest space here. Find the largest space between the tabs on your cap, then peek in behind.
Thanks for tuning in. We hope this video helped you out. Next time you need parts for your car, please visit 1AAuto.com. Also check out our other helpful how-to and diagnosis videos.
PSA68129
877-844-3393
Monday - Friday 8:00am - 9:30pm ET
Saturday - Sunday 8:00am - 4:30pm ET
Specify your vehicle's year, make and model to guarantee fit.
This part does not fit a .


