WARNING: This product can expose you to chemicals including Lead and Lead Compounds, which are known to the State of California to cause cancer, and birth defects or other reproductive harm. For more information, go to www.P65Warnings.ca.gov.
Lifetime Warranty
This item is backed by our limited lifetime warranty. In the event that this item should fail due to manufacturing defects during intended use, we will replace the part free of charge. This warranty covers the cost of the part only.
How to Replace Washer Fluid Pump 2006-10 Volkswagen GTI
How to Replace Windshield Washer Pump 1999-2005 Volkswagen Jetta or Golf
Created on:
Tools used
Socket Extensions
Flat Blade Screwdriver
Drain Pan
Ratchet
T25 Torx Driver
1. Removing the Grille
Remove the T25 Torx bolts from the grille
Pull the grille forward and off the bumper
2. Removing the Bumper Cover
Remove the access panel in the wheel well
Remove the T25 bolt on either end of the bumper in the wheel well
Disconnect the fog light connector
Pull the fog light out
Remove the T25 Torx bolts from the splash shield
Pull the bumper cover out on both sides
Remove the bumper cover
3. Removing the Windshield Washer Reservoir Pump
Have a drain pan ready
Disconnect the wiring harness and connectors from the pump
Drain the washer reservoir
Lift the pump up and out
4. Installing Windshield Washer Reservoir Pump
Insert the pump into place
Connect the wiring harness and connectors to the pump
5. Installing the Bumper Cover
Insert the bumper cover into place
Tighten the T25 Torx bolts to the splash shield
Connect the fog light and connector
Tighten the T25 bolts on either end of the bumper
Connect the access panel in the wheel well
6. Installing the Grille
Insert the grille into place
Tighten the T25 Torx bolt to the grille
Hi, I’m Mike from 1A Auto. We’ve been selling auto parts for over 30 years!
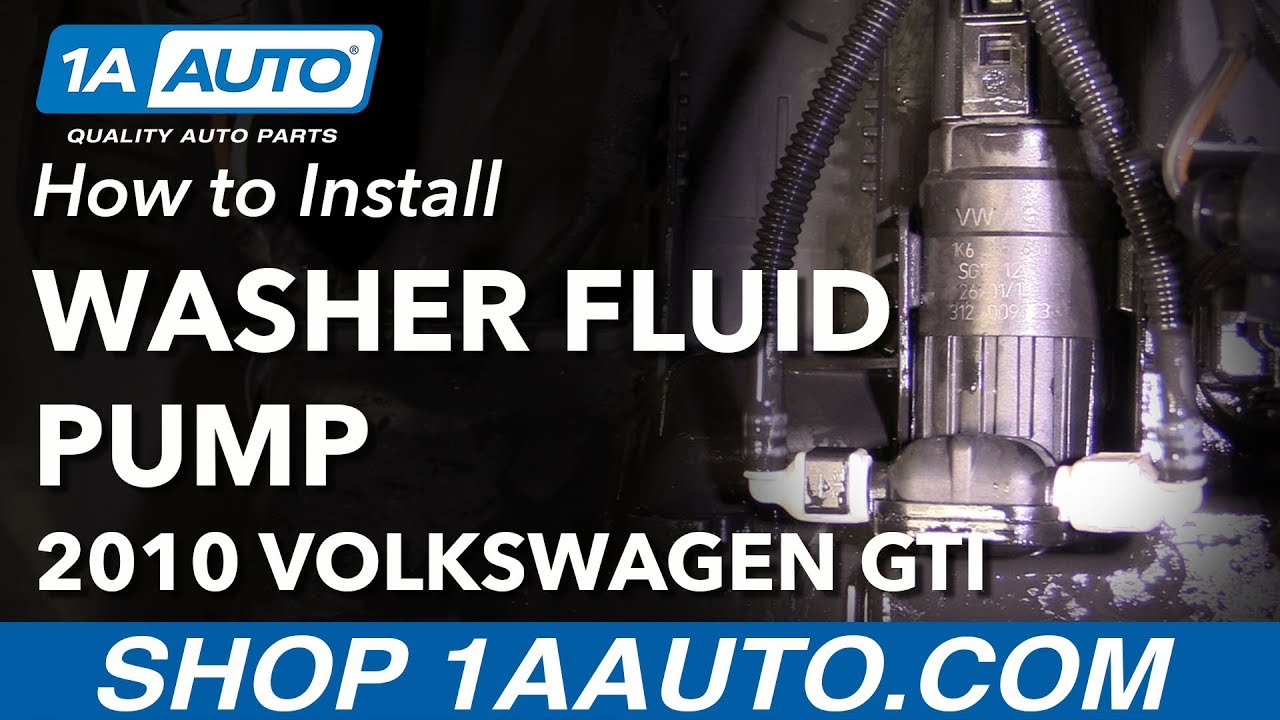
In this video, we will be removing and reinstalling a washer fluid pump in a 2010 Volkswagen GTI. We're going to take these T25s out of the front grille. We're using a T25 socket extension and a ratchet. Then, going to grab underneath the grille and just pull forward. There's little clips underneath. That came out easy. You may have to work at it a little bit. I'm going to pull this panel off. Grab underneath and pull. We have a T25 that goes straight up and down. I'm going to use our T25 socket and extension. Get on it. There's two more down here. We're going to pull our connector for our fog lights. You're going to push on this little tab here and then pull down. The connector will pull right out. Push down and pull that straight out.
The driver's side is the same. On the driver's side, the wiring harness had a retainer that's attached to the bumper. You're going to pull it straight out. We're going to take out all these T25s. There's one here, one here, one there, one there, one there, one there, these two, and these two. Now, on both sides, I'm going to grab right here and pull out. I'm going to take these last two out and we'll pull straight forward.
You’re going to want a bucket or something to catch the fluid when you pull this off, but we'll pry this little guy up with a flat blade tool just like that so it's up and that pulls off. Do the same with the other side. Pull that one off. Grab up here the connector high up on the connector and then pull. To get the pump out, you're going to pull straight up.
To install, we're going to take and line it up. Push it straight down. We're going to connect our connector until it clicks. We're going to take this hose, pop it on there. Push the white tab down. That's the lock. Then, connect this hose to this side. Push down the black lock.
For ease of installation, it's easier if you have a partner when taking it off and can line it up. Install these two T25s. I'm going to install these T25s. Next, we're going to connect the marker light and push that in. Now, we're going to connect the fog light. Just push it on till it's locked in. Do the same for the driver's side. Right. We're going to install this last. We're going to install this T25 going up. You're going to push on the bumper and make sure it lines up while you're tightening it and put these torque screws in. Install the cover. Put it in the top and push in.
Install the grille and line it up down below. And push to lock it into place. Install these four T25 torx screws.
Thanks for watching. Visit us at 1AAuto.com for quality auto parts, fast and free shipping, and the best customer service in the industry.
Tools used
Flat Blade Screwdriver
Drain Pan
1. Removing the Washer Pump
Place a drain pan beneath the washer bottle
Remove the washer pump harness with a flat blade screwdriver
Disconnect the washer hose with a flat blade screwdriver
Promptly plug the hole with your finger
Pry out the washer pump
Cover the hole with your hand
2. Installing the Washer Pump
Connect the new washer pump into the washer bottle
Reconnect the washer hose
Connect the washer pump harness
Dispose any excess washer fluid safely
Brought to you by 1AAuto.com, your source for quality replacement parts and the best service on the Internet.
Hi, I'm Don from 1A Auto. I hope this how-to video helps you out, and the next time you need a part for your vehicle, think of 1AAuto.com. Thanks.
In this video, we're going to show you how to replace the washer pump on this 2004 Volkswagen Jetta. The items you'll need include a new washer pump from 1AAuto.com, a drip pan, and a flat blade screwdriver.
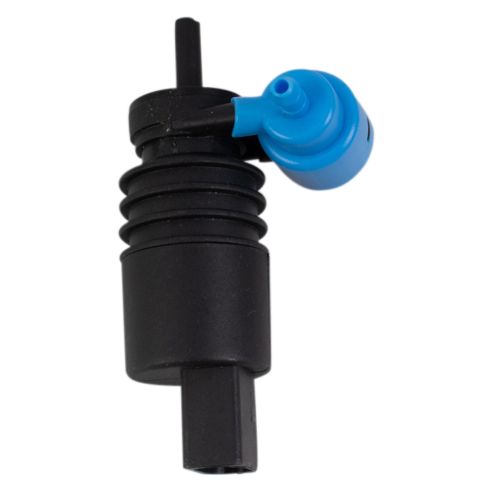
On the left is the old washer pump from this vehicle, and on the right is the new one from 1aauto. You can see they are very similar, and they will fit exactly the same. Don is going to show you the best way to replace them. If your washer pump has failed, chances are you've still got some washer fluid in your washer reservoir here.
What we're going to do is try to swap out this pump as best as we can so we don't lose any fluid. We're going to start by having a catch pan down here (drip pan). Then we're going to have our new part handy and ready to go.
I'm going to start by prying this connector loose. Basically, get a flat blade in there and pry up until it clicks. Pull it up. All right, now you can see down here where the water hose is attached. Use a screwdriver long flat blade and pry that off and you can see a little fluid just came out. All right, I've got my finger over it. I'm going to pull the washer pump up.
Remember, I've got my new one right here. Okay, that's up and out. Okay, I'm going to go back in with the new one. Reconnect the hose. Reconnect my connector. Hopefully, I haven't lost too much fluid. Just a little bit came out. and whatever you've got dispose of safely.
We hope this video helps you out. Brought to you by www.1AAuto.com, your source for quality replacement parts and the best service on the Internet. Please feel free to call us toll-free, 888-844-3393. We're the company that's here for you on the Internet and in person.
WWA06635
In Stock
Product Reviews
Loading reviews
5.00/ 5.01
1review
5 Stars
4 Stars
3 Stars
2 Stars
1 Star
1
0
0
0
0
Just Great!!
beto
April 12, 2023
Your product works perfect and with your how to videos was super easy to install. I save a bunch replacing this part!! Thank you so much!!
Customer Q&A
No questions have been asked about this item.
Customer service
877-844-3393
Monday - Friday 8:00am - 9:30pm ET Saturday - Sunday 8:00am - 4:30pm ET
Volkswagen is a registered trademark of Volkswagen AG. 1A Auto is not affiliated with or sponsored by Volkswagen or Volkswagen AG.See all trademarks.
Enter Vehicle Year Make Model
Specify your vehicle's year, make and model to guarantee fit.
Year
Make
Model
Options
Drivetrain
This part doesn’t fit a . Select from parts that fit.